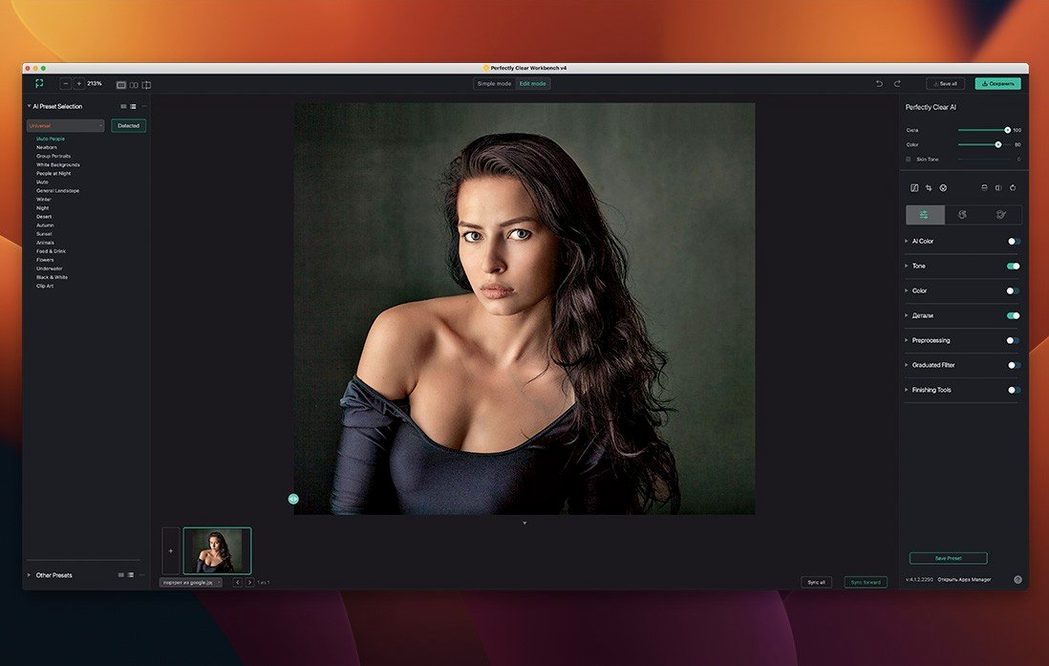
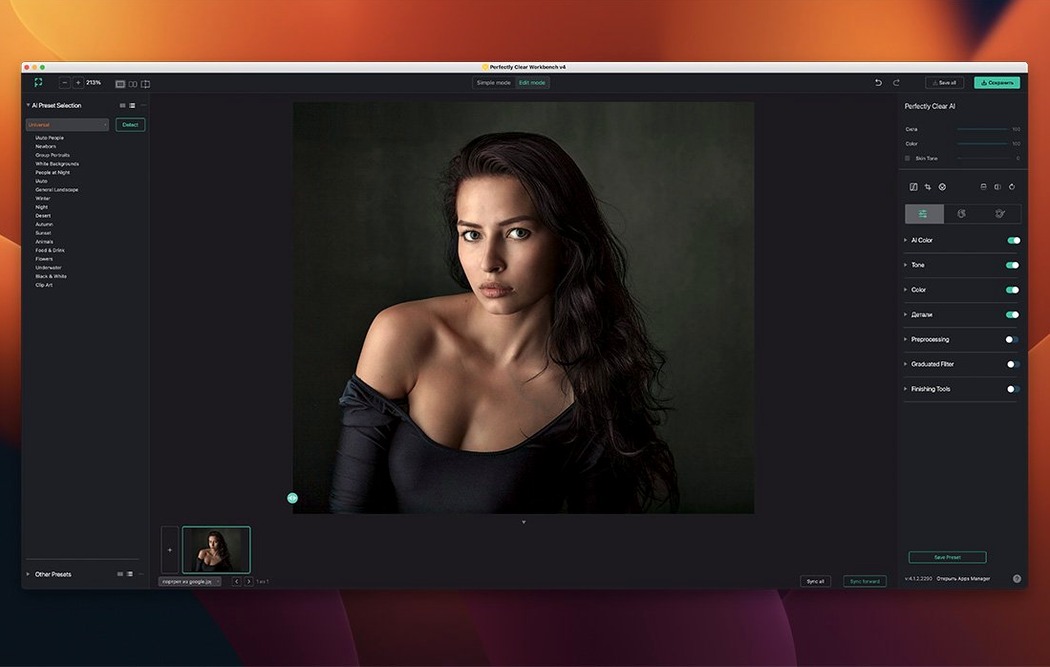
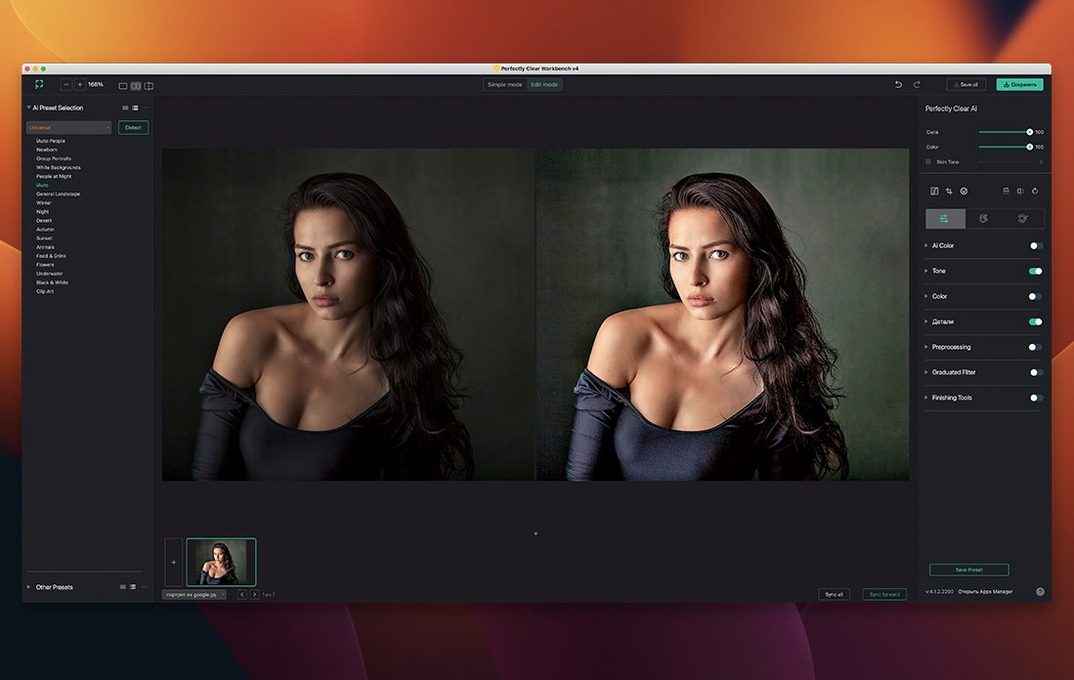
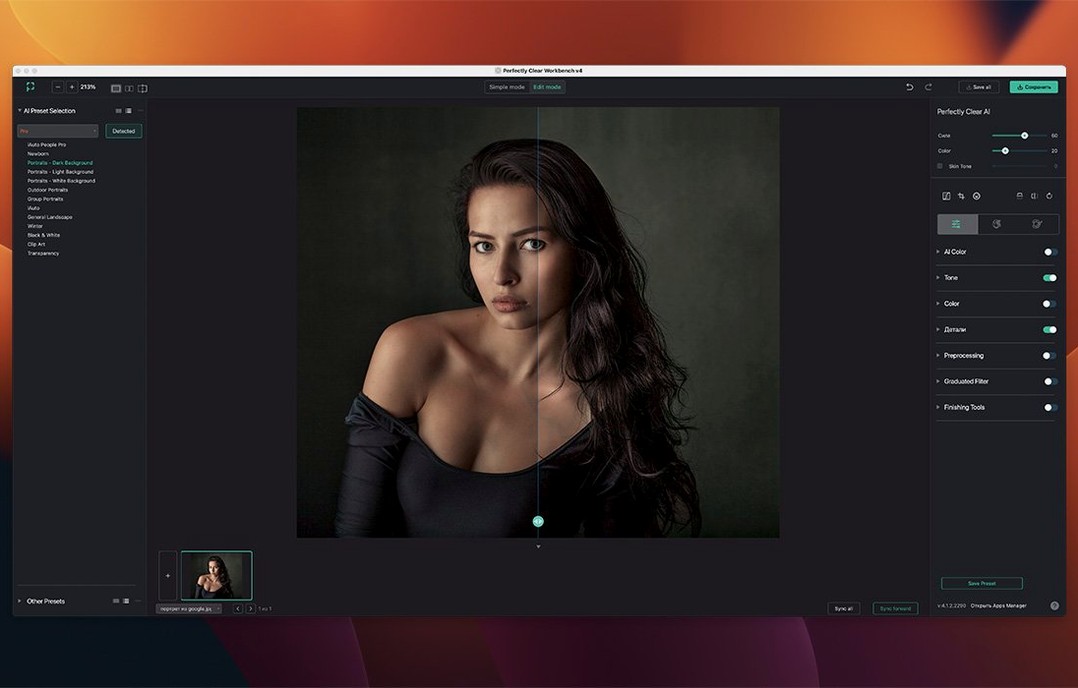
Perfectly Clear WorkBench is a desktop utility for testing Athentech's image correction libraries and exporting the processing settings you dial in. It is built for photographers and developers who need to preview corrections before applying them in a larger workflow or SDK.
Rosetta 2 required on Apple Silicon Macs
Compatibility is straightforward but has sharp edges. The application requires macOS 10.15 and runs exclusively on Intel Macs. There is no native Apple Silicon support, so you will be relying on Rosetta 2 on newer machines. The bigger gatekeeper is image format: WorkBench only understands RGB images with 8-bit or 16-bit color depth. Monochrome or CMYK files need a trip through a converter before they touch this software. RAW shooters should note the extra step—files must first pass through Adobe Camera Raw and be loaded into Photoshop before WorkBench can get to them.
Face recognition meets the new Color Restore slider
The current version, 4.8, arrives with a redesigned interface and a new histogram to guide your adjustments. A face recognition library powers automatic exposure for portraits and group shots, and the old Brightness control has been rethought as Color Restore. You will find a pre-processing section for Input Looks and manual exposure correction, along with dedicated enhancements for skies and foliage. The preset management got a serious overhaul, making it easier to save and recall your looks. When you land on a correction you trust, you can export the settings quickly for reuse in other projects or for integration with the correction SDK.
Controls move closer to your eyes for batch edits
The interface got a quiet but meaningful reshuffle. Controls you used to hunt for now sit closer to where your eyes already rest, so dialing in a correction on a batch of event photos feels less like a treasure hunt. The histogram lives in its own panel now, and it updates in real time as you push sliders—no more squinting at thumbnail previews to guess if your highlights are clipping.
Several tools received under-the-hood improvements that show up in practical ways. The face recognition library got faster at picking out faces in crowded group shots, and it handles profiles and partial turns more reliably than before. Skin tone and blush adjustments now use improved color pickers, so matching complexion across a set of headshots takes fewer trips back and forth. Light Diffusion and Vibrancy each gained dedicated strength sliders, which means you can add a little glow without committing to the full-strength look the old on-off controls delivered.
Preset management received the biggest rework. You can now organize your saved corrections into folders, rename them without digging through Finder, and preview what a preset does before applying it. For anyone who processes photos in batches, this cuts down the guesswork considerably—pick a preset, see the thumbnail update, commit.
A portrait photographer's Saturday afternoon
Imagine you shot a family reunion last weekend—thirty people, dappled shade from an oak tree, a mix of skin tones, and a sky that blew out in half the frames. You have a folder of two hundred keepers that need consistent corrections before the client sees them. You are not a retoucher by trade, but you know what looks right.
You open Perfectly Clear WorkBench and load the first group shot. The face recognition library finds all seven faces, even the toddler half-hidden behind a shoulder. Face Aware exposure lifts the underexposed faces without touching the already-bright background. You pull the Black Point tool down just enough to anchor the shadows in the dark sweaters, then nudge the Color Brightness slider to keep the reds in Aunt Lena's dress from glowing. The histogram confirms nothing is pegged at either end. You save this look as a preset called Oak Tree Shade, then apply it to the remaining frames with one click per image. What used to take a morning now wraps up before the coffee gets cold.
A workflow for building and exporting correction presets
Here is how to go from a raw-looking image to an API-ready preset you can hand off to a developer or reuse in your own pipeline.
- Load an image. Open a well-exposed RGB file that represents the lighting conditions you want to correct—outdoor shade, mixed indoor light, or studio flash. Avoid monochrome or CMYK files; convert them first.
- Set the baseline. In the pre-processing section, apply an Input Look if you have one that matches your camera profile. Adjust manual exposure if the image needs a global brightness shift before any correction logic kicks in.
- Enable face-aware corrections. If the image includes people, let the face recognition library identify the faces. Adjust Face Aware exposure and check each face region—you can scale individual faces with one click if the detection box is slightly off.
- Dial in the creative adjustments. Use the sky and foliage enhancements if the scene calls for them. Set Light Diffusion to a low strength for a subtle softening, then bring Vibrancy up until colors feel alive but not artificial. Open the Color Restore control (the former Brightness tool) and fine-tune any color washes.
- Check the histogram. Watch for clipping in the highlights and crushing in the shadows. Pull the Black Point tool until the darkest areas feel intentional, not lost.
- Save and name the preset. Give it a descriptive name that captures the lighting scenario and any creative choices—Golden Hour Backlight v2 or Studio Headshot Clean. The improved preset manager lets you file it in a logical folder.
- Export for reuse. Use the export function to write the preset to an API-ready text file. This is the step that makes WorkBench different from a standard photo editor—the file you generate can be fed directly into the Perfectly Clear SDK for automated processing.
The whole sequence, from opening an image to exporting a tested preset, takes under ten minutes once you know your way around the new interface. For anyone who builds correction pipelines or tests libraries, that speed matters.
Version 4.8 brings a fresh face and a smarter workflow. Here is what changed:
- A redesigned interface.
- A new histogram to track your tonal range.
- Added image correction tools and improvements to existing ones.
- Significantly reworked preset management for saving your looks.
- macOS 10.15 or newer
- Intel processor (Apple Silicon runs via Rosetta 2)
- RGB images with 8-bit or 16-bit color depth
Questions I actually get
Can Perfectly Clear WorkBench open RAW photos directly?
No, RAW files must be opened in Adobe Camera Raw and loaded into Photoshop before you can use them in WorkBench.
What image formats does Perfectly Clear WorkBench support?
It works with RGB images at 8-bit or 16-bit color depth. Monochrome and CMYK images need to be converted to RGB first.
Does Perfectly Clear WorkBench run on Apple Silicon Macs?
It is built for Intel Macs, so you will run it through Rosetta 2 on an Apple Silicon machine.
Porch talk 0
Come in or pull up a chair to leave a comment.
Nobody has pulled up a chair yet. If you used it on a real Saturday, say what the hour was.