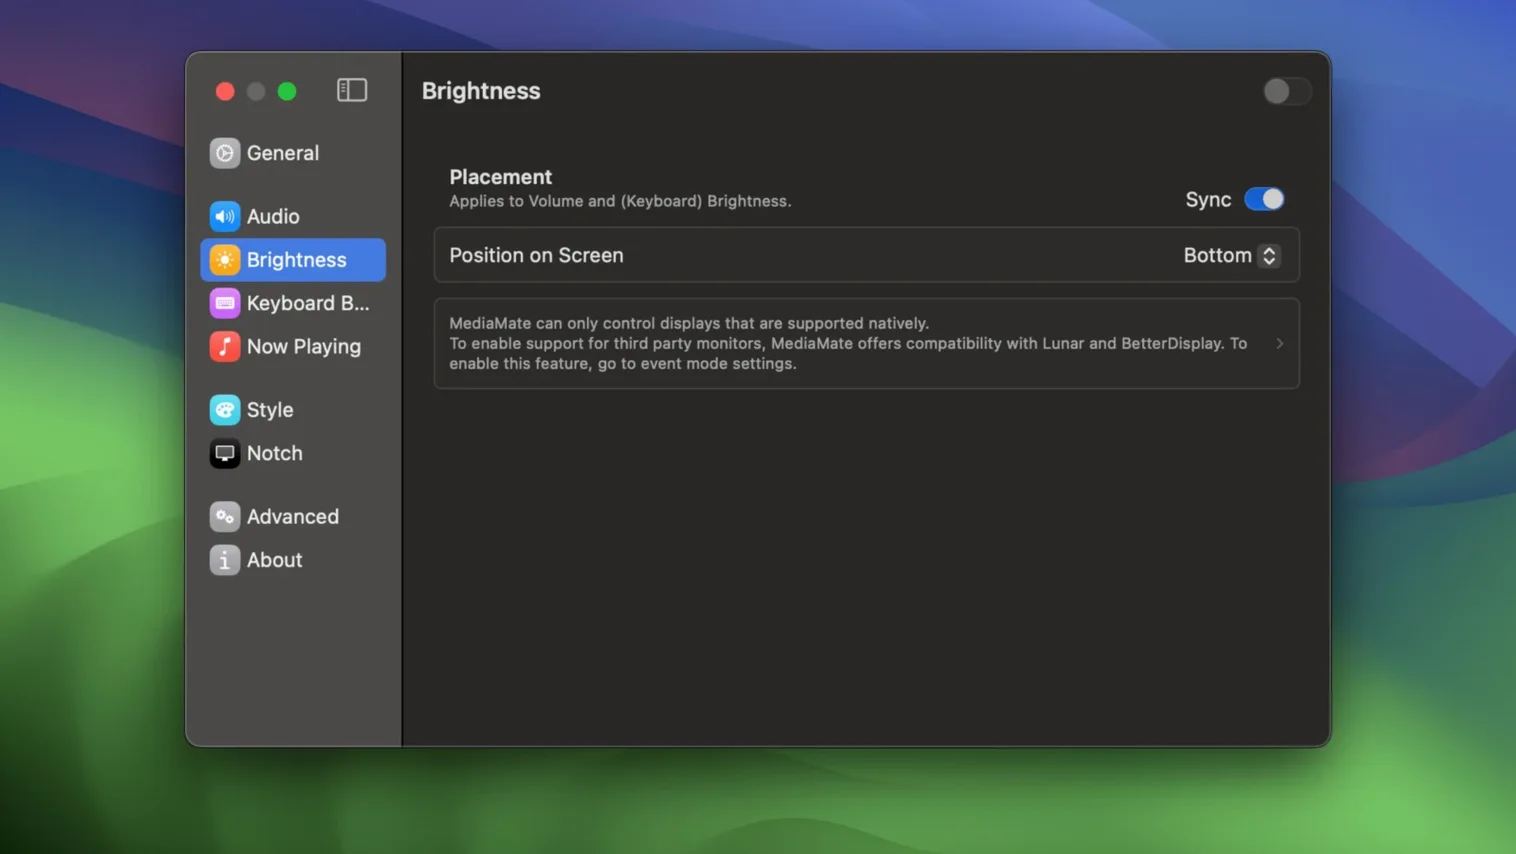
That big, blocky volume square Apple ships? MediaMate swaps it for something smaller and easier on the eyes. The app gives you custom HUDs for volume, brightness, and the current track, all in one place.
Volume HUD — a compact replacement for the built-in macOS volume overlay, so adjusting sound doesn't take over the middle of your screen.
Brightness HUD — same idea for screen brightness, keeping the indicator tidy and out of the way.
Now Playing HUD — a subtle overlay that shows what's playing without pulling you out of whatever you were doing.
Touch Bar mode — Macs with a Touch Bar use a separate display mode, so the HUDs land where they make sense.
It's a small tool that sits alongside the rest of your setup without demanding much attention. If the default overlays have been bugging you, this is a clean way to quiet them down.
Dueling Volume HUDs
The first thing most people do wrong is leave both MediaMate and the system overlays running at the same time. You'll see two volume HUDs stacked on each other — the chunky Apple one and the new compact one fighting for space. Go into System Settings, hunt down the keyboard backlight or display controls, and make sure macOS isn't also popping up its own overlay for the same keys you're sending through MediaMate. On some setups the system HUD hangs around until you restart, so give the machine a quick reboot if things look doubled up.
Another stumble: forgetting that Touch Bar Macs need the separate display mode turned on. Out of the box, MediaMate defaults to the standard screen overlay, and on a Touch Bar machine that means the HUD appears both on the bar and as a screen overlay. Check the app's preferences for the Touch Bar toggle and pick where you want it. Most people settle on screen-only once they see how tidy it looks.
A quieter mistake is leaving every HUD feature enabled before you know which ones you actually want. The Now Playing overlay is lovely when you're working with music in the background, but if you spend all day in Logic Pro or Final Cut, the constant track-change pop-ups can get distracting. Turn it on, live with it for an afternoon, then decide. The app lets you disable any piece independently.
Finally, beginners sometimes assume the keyboard backlight slider works on every Mac. It doesn't — it needs a Mac with a backlit keyboard and the appropriate sensors. On a desktop Mac with a third-party mechanical board, that slider sits there doing nothing, and that's expected.
Window Dimming vs. Hardware Feedback
Next to HazeOver, the difference is focus. HazeOver dims background windows to draw your eye to the active one — it's about workspace attention, not hardware feedback. MediaMate never touches your windows; it only replaces the overlays that fire when you tap a volume or brightness key. Someone running both would barely notice they overlap, because they solve different problems.
BetterTouchTool covers part of the same ground. It can draw custom volume and brightness HUDs, but you have to dig through dozens of trigger and action panels to set them up. BetterTouchTool is a Swiss Army knife — trackpad gestures, window snapping, Touch Bar widgets — and the HUD feature is one small blade. MediaMate just does the HUDs, and the result is a simpler preferences window and less trial and error getting the look right. If you're already deep into BetterTouchTool for other reasons, its HUD options might be enough. If all you want is the overlays, MediaMate is the lighter lift.
Then there's MonitorControl, which handles external display brightness and volume over DDC. MonitorControl replaces the brightness and volume controls for connected monitors that don't speak Apple's protocol. MediaMate replaces the on-screen feedback for whatever controls you're already using — built-in display, Apple keyboard keys, whatever. The two work nicely side by side. MonitorControl manages the signal to the monitor; MediaMate manages what you see when you adjust it.
Keyboard Tap as the Light Fades
It's early evening. You've got a playlist running through Apple Music, a code editor open, and the room is getting darker as the sun drops. You reach for the keyboard brightness key and tap it down a notch. A small, rounded bar slides in near the top of the screen — just a soft white pill with the backlight level — then fades after a second.
A track change comes. In the corner, a translucent chip appears with the album art, track title, and artist name. It hangs for a few moments and disappears without a sound, without stealing focus from the editor. You barely registered it, but now you know what's playing.
Later, a video call gets loud. You tap the volume down key a few times. The volume HUD appears — same pill style, different icon — and shows the level dropping smoothly. No giant speaker icon blocking the presenter's slides. You adjust twice more during the call and never lose eye contact with the screen content.
Before bed, you plug the MacBook into a monitor and close the lid. The brightness keys now control the built-in display that's off, so you ignore them. But the keyboard backlight still works, and the HUD confirms each step as you dim it to zero.
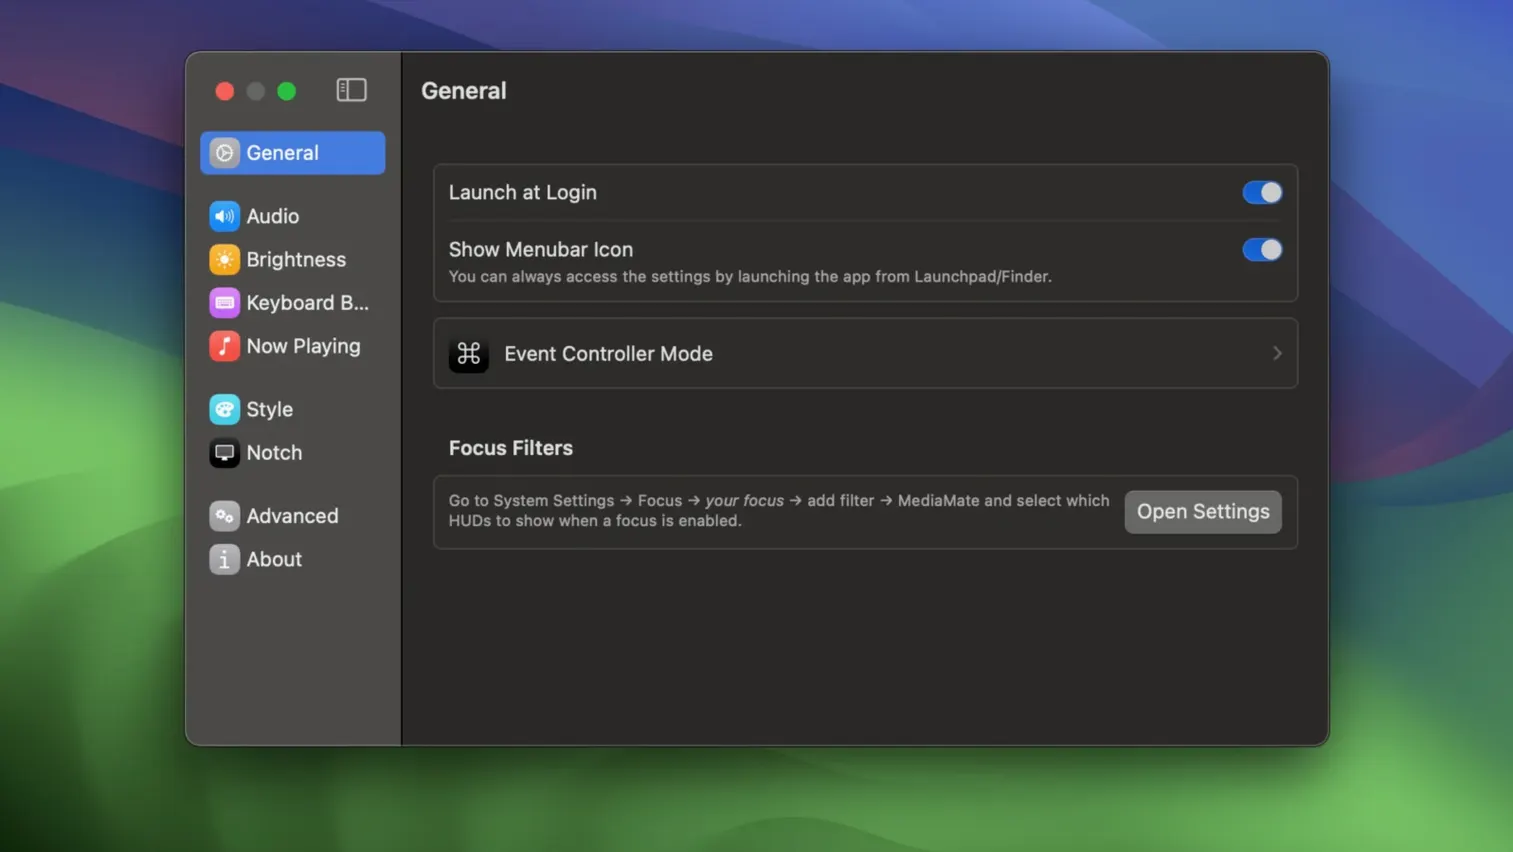
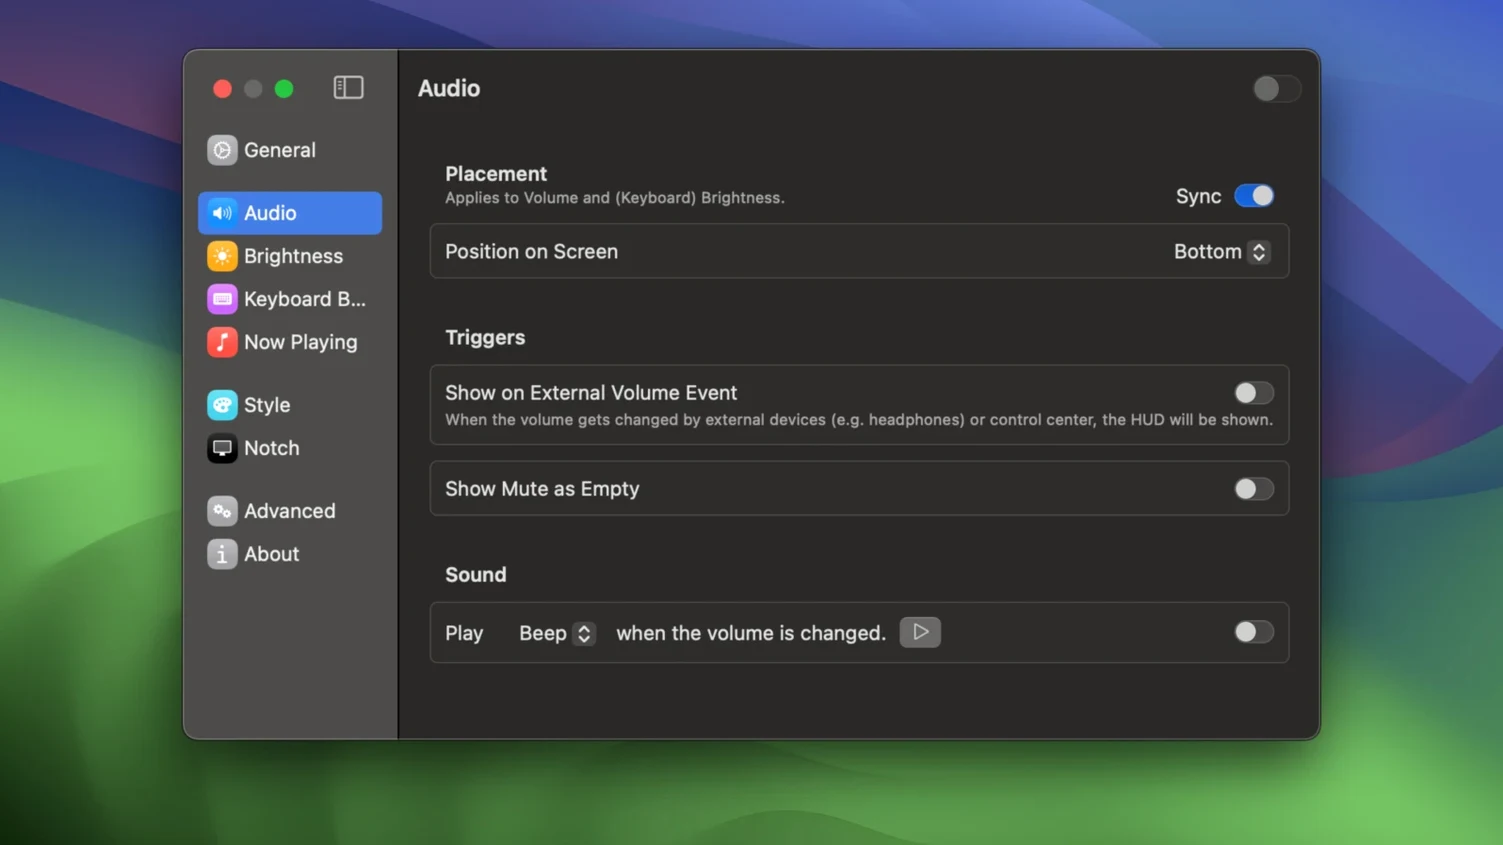
That's the rhythm of a session: small, quick adjustments, each confirmed by an overlay that's gone before it overstays its welcome. If you've been hunting for a mediamate mac setup that stays out of your face, the app fits that brief without fuss. The mediamate download is straightforward — open the disk image, drag the app into Applications, and launch it from Finder or Launchpad. It starts doing its job right away, and the preferences window is there when you're ready to tweak how long the HUDs linger or which corner they call home.
- macOS 13 Ventura or later
- Apple Silicon or 64-bit Intel
Questions I actually get
Does MediaMate work on Apple Silicon and Intel Macs?
Yes. MediaMate supports both ARM and 64-bit Intel Macs running macOS 13 Ventura or later.
Porch talk 0
Come in or pull up a chair to leave a comment.
Nobody has pulled up a chair yet. If you used it on a real Saturday, say what the hour was.