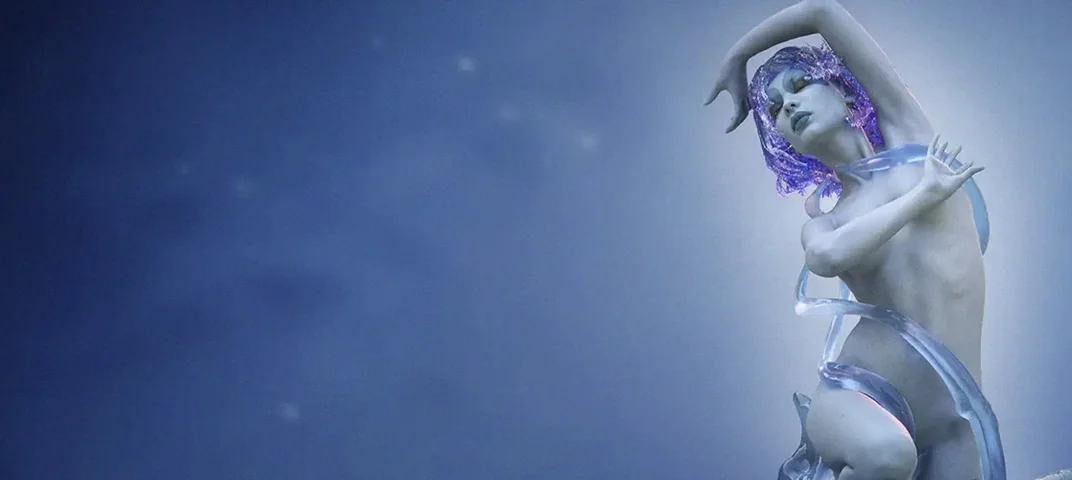
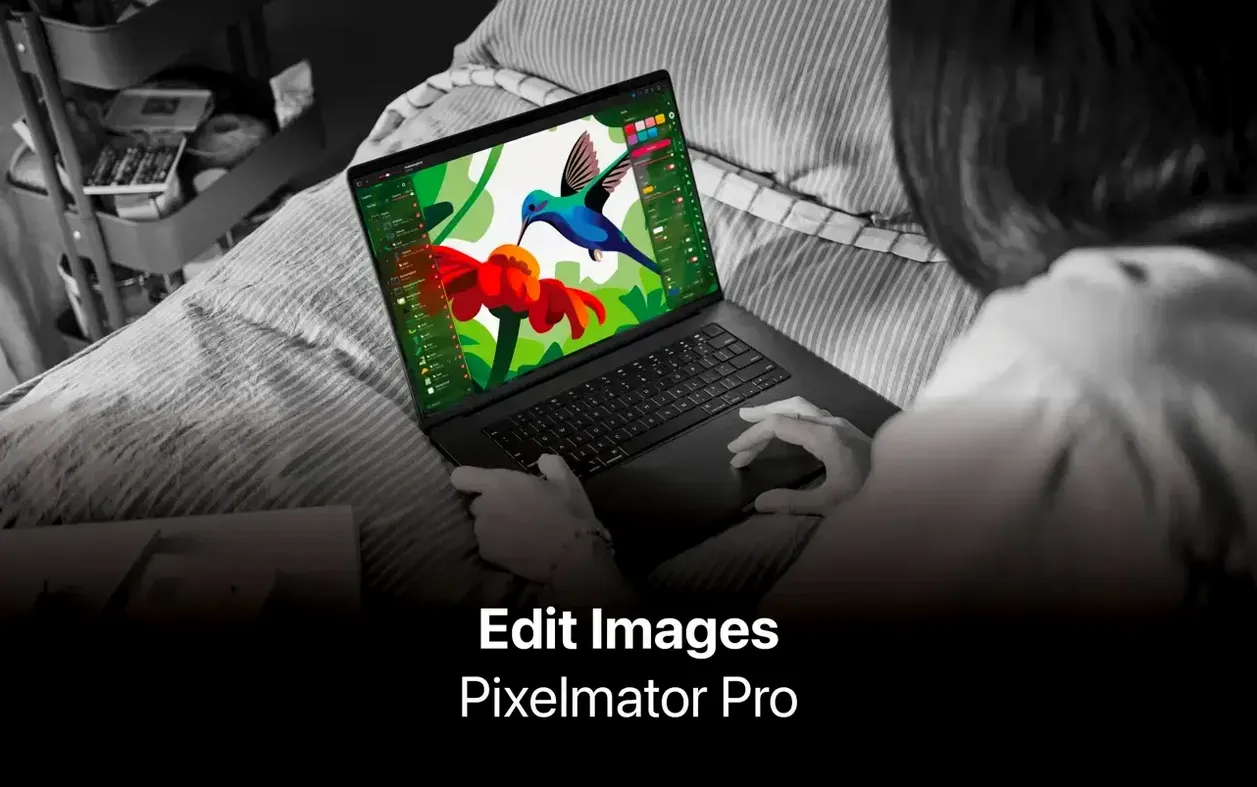
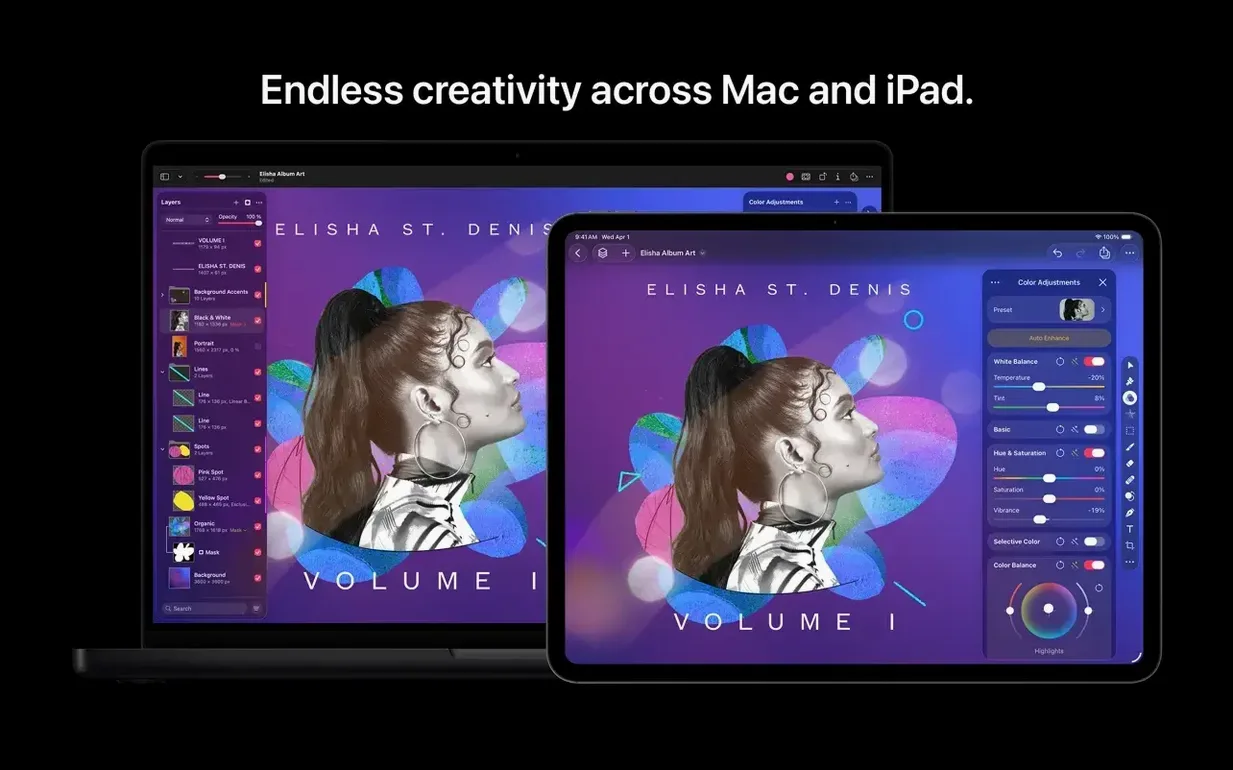
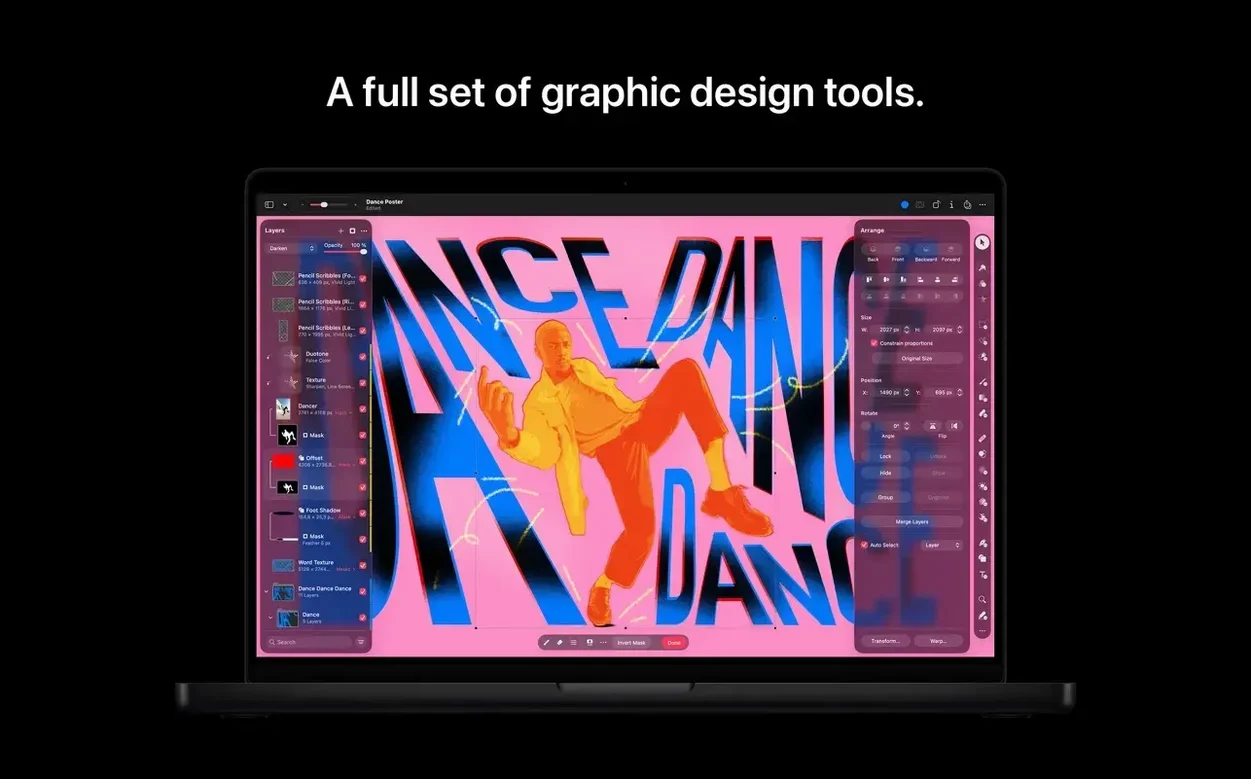
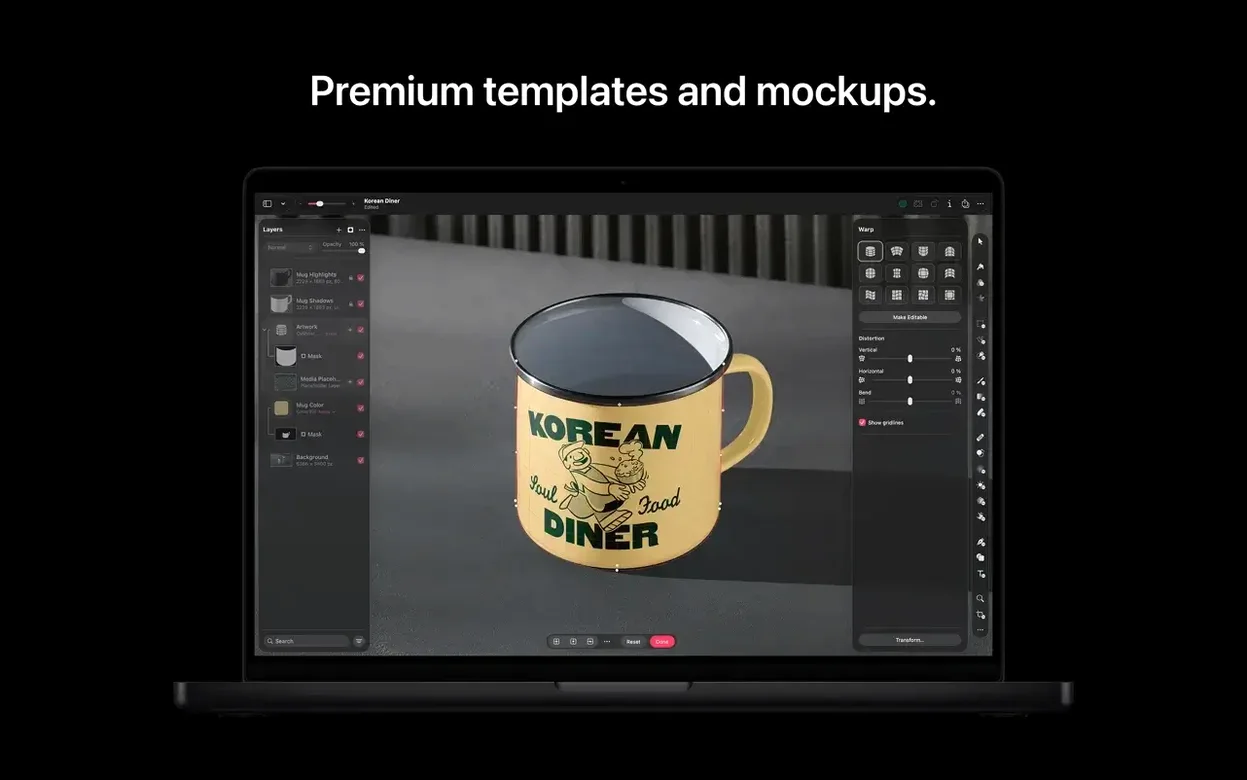
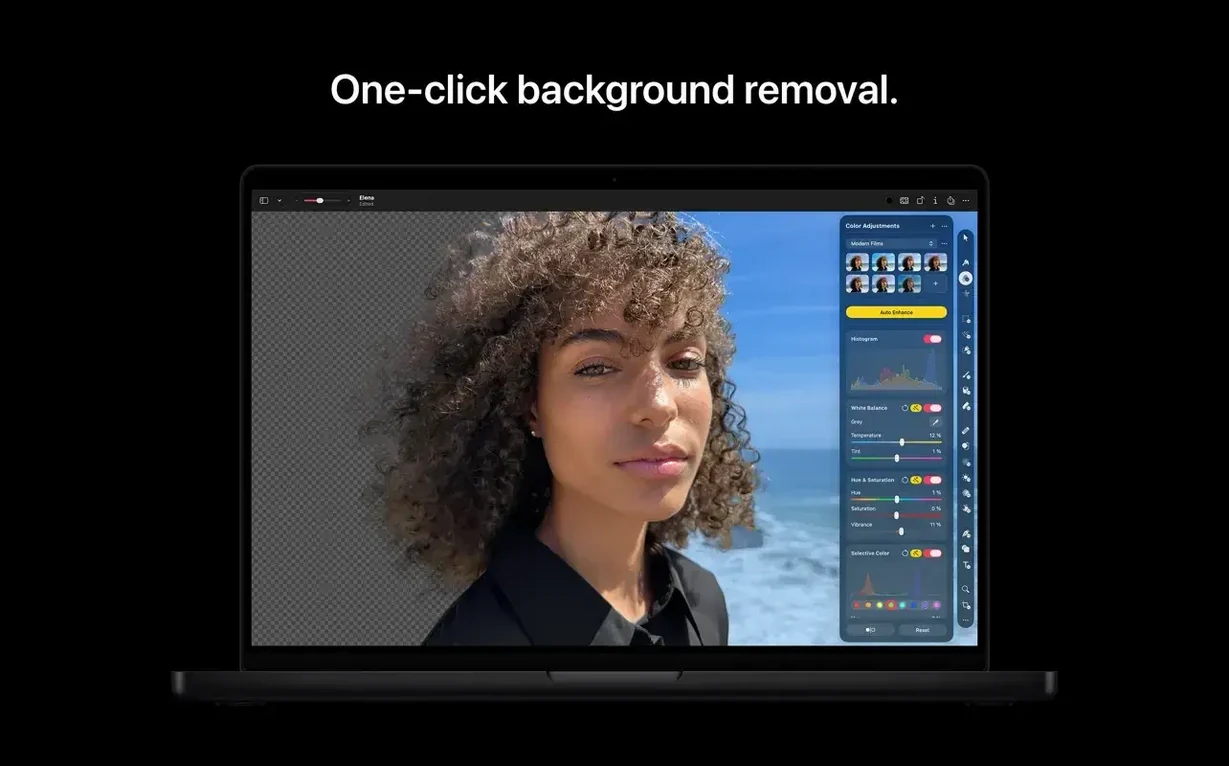
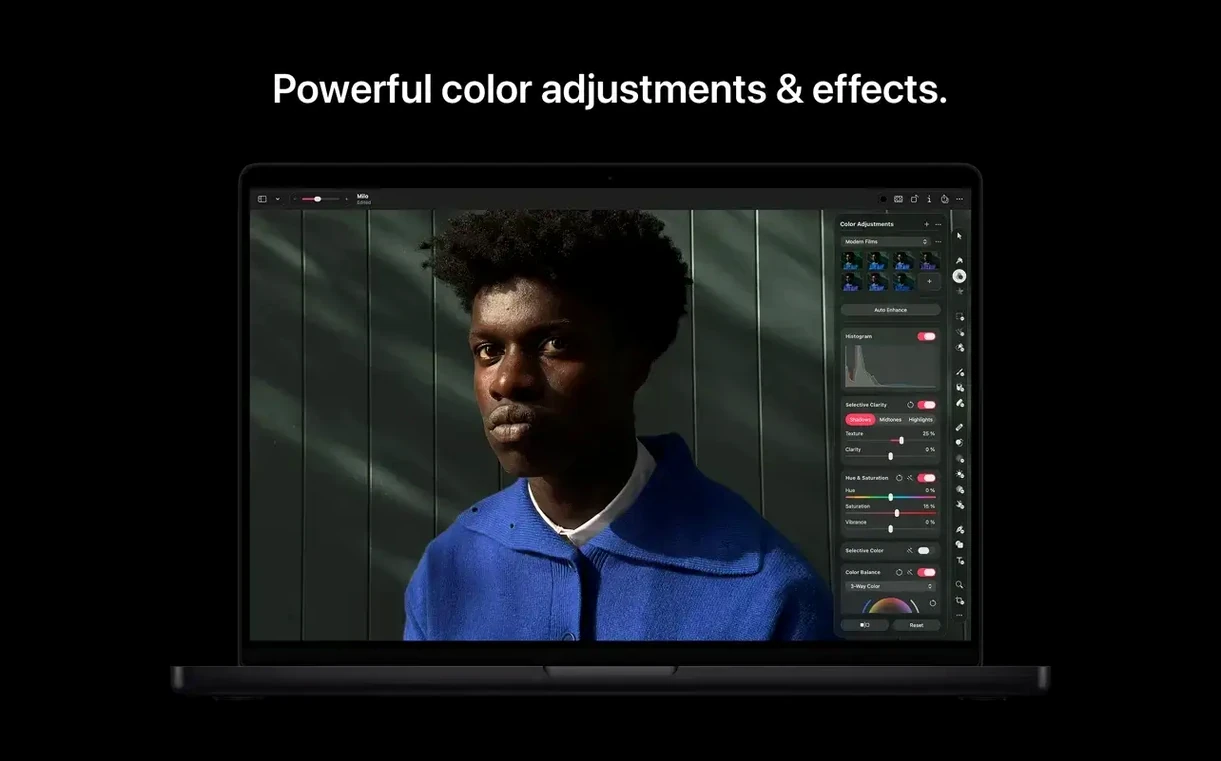
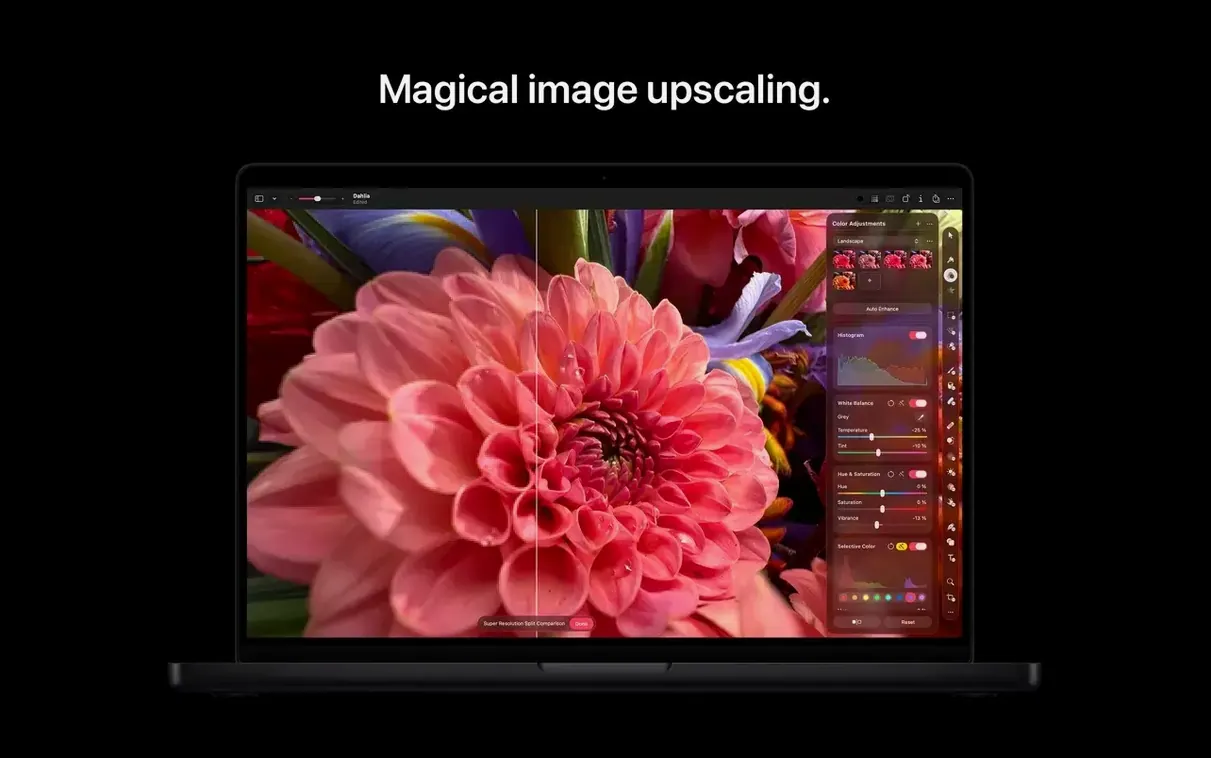
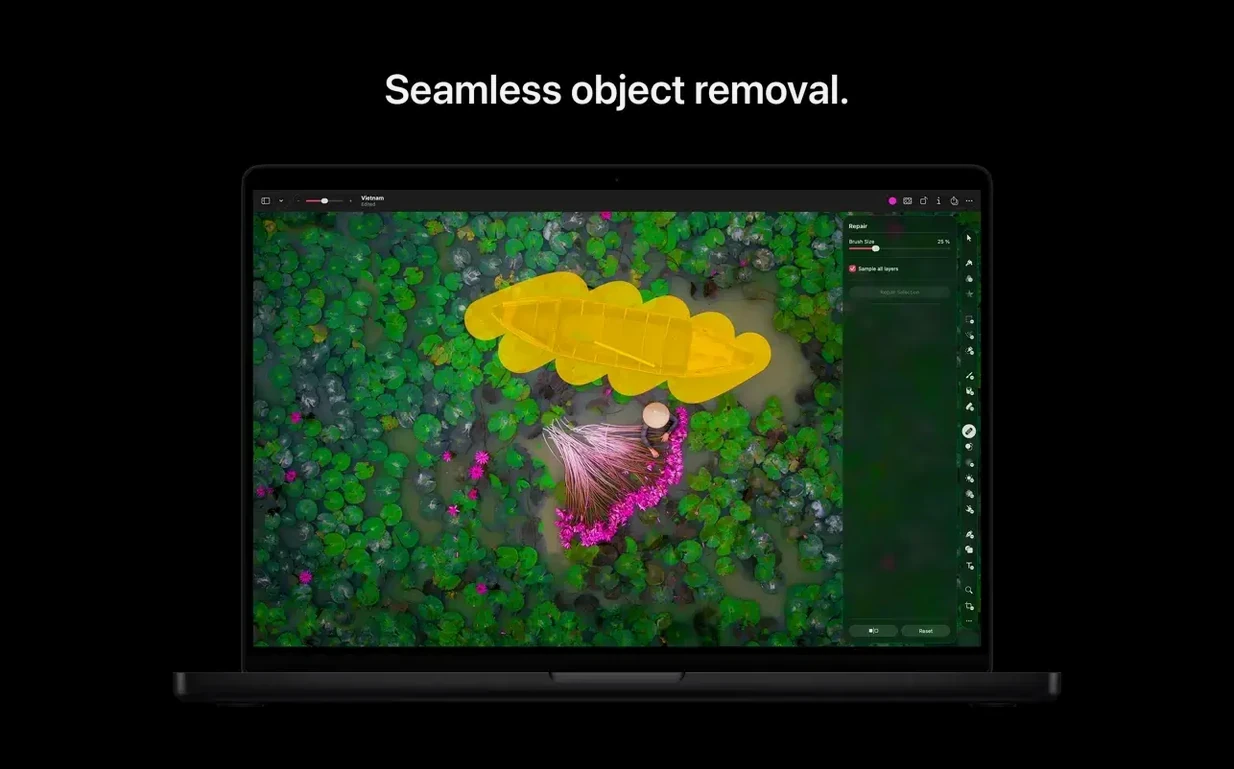
Version 4.3 landed at the end of June and it nudges Pixelmator Pro deeper into on-device generation. You can now describe what you want in plain text — a texture, a different sky, a custom vector shape — and watch it appear on the canvas. Content Hub is the other big piece: a browser for stock photos, illustrations and shapes you can drop straight into a composition without leaving the app.
Single-Window Photo Retouching to Vector Art
- Photo enhancement and retouching in a single-window workspace
- Opening and editing layered Photoshop files without conversion
- Drawing, painting, and custom vector shape generation from text
- Batch processing via Automator actions for repetitive tasks
- Sharing finished work directly to Photos, Mail, or AirDrop
Apple Silicon and macOS 26 Required
- Requires a Mac with Apple silicon and macOS 26
- No Windows or Linux version exists
- The single-window design means no floating tool palettes, which takes a moment to adjust to
Option-Drag Tricks That Speed Every Edit
Pixelmator Pro hides a handful of thoughtful touches behind gestures and keyboard shortcuts. Once you know they exist, you reach for them without thinking — and they shave seconds off nearly every editing session.
Hold the Option key while dragging a layer style in the Layers sidebar, and the effect copies itself onto the destination layer instead of moving. It is the kind of thing you wish every design app did. The Quick Fill shortcut (Shift-Option-Delete) fills a selection with the foreground color instantly, no menus required. If you are retouching a portrait at high zoom, press and hold the ` (backtick) key to toggle a temporary zoom-to-fit — release it and the canvas snaps back to your working magnification. It is perfect for checking how a skin retouch reads at full size without losing your place.
The Color Balance adjustment in the Color Adjustments pane has another quiet trick: double-click any of the three sliders to reset just that one parameter to zero. You do not have to hunt for a tiny reset arrow. And if you work with custom gradients often, drag any saved gradient from the palette directly onto the canvas to fill the active layer — no fill tool activation step in between.
Fixing Washed-Out RAW Files on Open
A few situations trip people up regularly, usually right when they are trying to move fast. The fixes are straightforward once you know where to look.
RAW files open washed out. Pixelmator Pro applies its own default RAW processing, which can look flatter than what a camera’s JPEG engine produces. The quickest remedy is to open the RAW Layer options (double-click the layer thumbnail) and bump the Boost slider to taste. That recovers contrast and saturation in one move, without touching the image data destructively.
Text suddenly turns into pixels. The app rasterizes type the moment you apply any pixel-based effect — blur, paint, or the Repair tool — to a text layer. If you need to keep text editable, group it with an empty pixel layer above and apply effects to that instead. Or keep a duplicate text layer hidden as a backup.
The Repair tool leaves smudgy trails. This often comes down to brush size. With a brush set too large relative to the blemish, the tool samples unwanted texture from the surrounding area. Shrink the brush to just slightly wider than the spot you are removing, and work in short strokes rather than one long drag. For complex backgrounds, switch the Repair tool mode from Automatic to Standard — it gives you manual control over the source sampling point.
SVG files open with missing elements. Pixelmator Pro reads SVG better than most raster editors, but complex SVGs with CSS-based styling or certain gradient types sometimes arrive incomplete. A practical workaround: open the SVG in a browser first, export it as a high-resolution PNG, and bring that into Pixelmator Pro for further work. For simple vector shapes, the new shape generation feature in 4.3 is often faster than repairing a stubborn SVG.
Nondestructive Editing Habits to Build First
The app rewards a little early exploration. Spending an hour up front saves you from fighting the interface later.
Day one: set up nondestructive habits. Before you edit anything important, open the Layers sidebar and get comfortable with the Add Adjustment Layer button (the half-moon icon). Apply color and tone changes here rather than directly to an image layer. You can reorder, disable, or tweak them any time. Also flip the switch in preferences to Keep original when adding effects — it creates a duplicate layer automatically, which has rescued more late-night editing sessions than I can count.
Day two: learn the machine-learning tools. The ML Enhance button in the toolbar produces results tuned to the kind of photo you are editing — portraits, landscapes, and low-light shots each get different treatment. Try it on a few images and immediately check what sliders it adjusted; you start to learn what the model sees. Then spend ten minutes with the Quick Selection tool (the wand icon). Click a subject once, refine the edge with a small brush, and you have a mask ready for compositing. It is not perfect on hair or fur, but it is surprisingly close most of the time.
Day three: build a few Automator actions. If you process batches of images — resizing product photos, adding a watermark, converting formats — set up one or two Automator workflows. Pixelmator Pro ships with dedicated Automator actions for applying adjustments, resizing, and exporting. Once saved, you can trigger them from Finder’s Quick Actions menu without even launching the main editor window.
Editing 30 Ceramic Mug Photos in One Flow
Imagine someone who sells handmade ceramics online. They shoot a batch of thirty mugs on Saturday morning under window light, using a mirrorless camera set to RAW. The light is soft but the white balance leans a little blue, and every shot needs the same crop to match the shop’s square thumbnail format.
Back at the Mac, they open the first file. ML Enhance dials in a warmer white balance and lifts the shadows on the mug handle. A quick crop to 1:1, a subtle Curves adjustment to brighten the clay texture, and the Repair tool cleans a tiny dust spot on the rim — all inside one window, no plug-in panels to manage. They save the Curves adjustment as a preset, apply it to the next three images with two clicks, and set up an Automator action for the remaining batch: square crop, Curves preset, export as JPEG at 85% quality. What would have been a Sunday afternoon chore finishes before lunch.
For this person, the appeal is not just speed. It is that Pixelmator Pro handles the RAW files natively, keeps the edits nondestructive, and never forces them to learn a subscription-based ecosystem. The tools they need for catalog-ready product shots — levels, white balance, spot healing, batch export — are all within reach without a second window.
Photographers Thriving on a One-App Workflow
Three groups of Mac users seem to settle into Pixelmator Pro faster than others, and for different reasons.
Photographers who prefer a single-app workflow. If you are already comfortable making local adjustments, dodging and burning, and color grading in one piece of software rather than round-tripping between a RAW processor and a pixel editor, Pixelmator Pro fits that mental model. Its adjustment layers, retouching tools, and RAW support cover the full pipeline. The batch Automator actions mean you can process a wedding or event without opening a second program.
Designers and illustrators who need vectors in a raster world. The app opens and edits SVG files, generates custom vector shapes from text descriptions, and lets you combine vector and pixel layers in the same composition. Someone designing a poster or album cover can drop in a generated shape, tweak its bezier points, add raster textures on top, and export a print-ready PDF — all without leaving the canvas.
Mac users who want a capable editor without a subscription. Not everyone needs to name a specific tool here, but the sentiment matters. Pixelmator Pro ships with a deep feature set — layer-based editing, Core ML enhancements, RAW processing, vector support, batch export — and once you have it installed, you have it. No monthly fee, no cloud storage upsells, no feature-gated tiers. For hobbyists, students, and small business owners who shoot their own product photos or maintain a personal website, that is the right balance of power and simplicity.
If you already work inside Apple’s ecosystem — Photos library, Mail, AirDrop — the integration feels natural. And if you are searching for a pixelmator pro mac download that runs natively on Apple silicon, version 4.3 is built for exactly that hardware. Some people hunt for a pixelmator pro torrent or a pixelmator pro crack to explore the full feature set before committing; whatever path leads you to the canvas, the tools are ready the moment you launch.
Version 4.3, released June 30, 2026, brings several on-device generation tools and an integrated asset browser.
- Content Hub for inserting photos, graphics, shapes, and illustrations
- Generate Image for creating images from text descriptions
- Generate from Image for text-based edits and transformations
- Custom vector shape generation from text descriptions
- Improved support for Switch Control and VoiceOver
- macOS 26 or later
- Mac with Apple silicon
Questions I actually get
What file formats does Pixelmator Pro open?
It handles JPEG, TIFF, PNG, PSD, HEIF, SVG, PDF, GIF, BMP, TGA, and JPEG 2000 files, including layered Photoshop documents.
Porch talk 0
Come in or pull up a chair to leave a comment.
Nobody has pulled up a chair yet. If you used it on a real Saturday, say what the hour was.