If your Mac runs Final Cut Pro smoothly, mInfographics will feel right at home. MotionVFX builds these tools for Apple's editing workflow, and the plugin works on both Intel and Apple Silicon machines without any special setup.
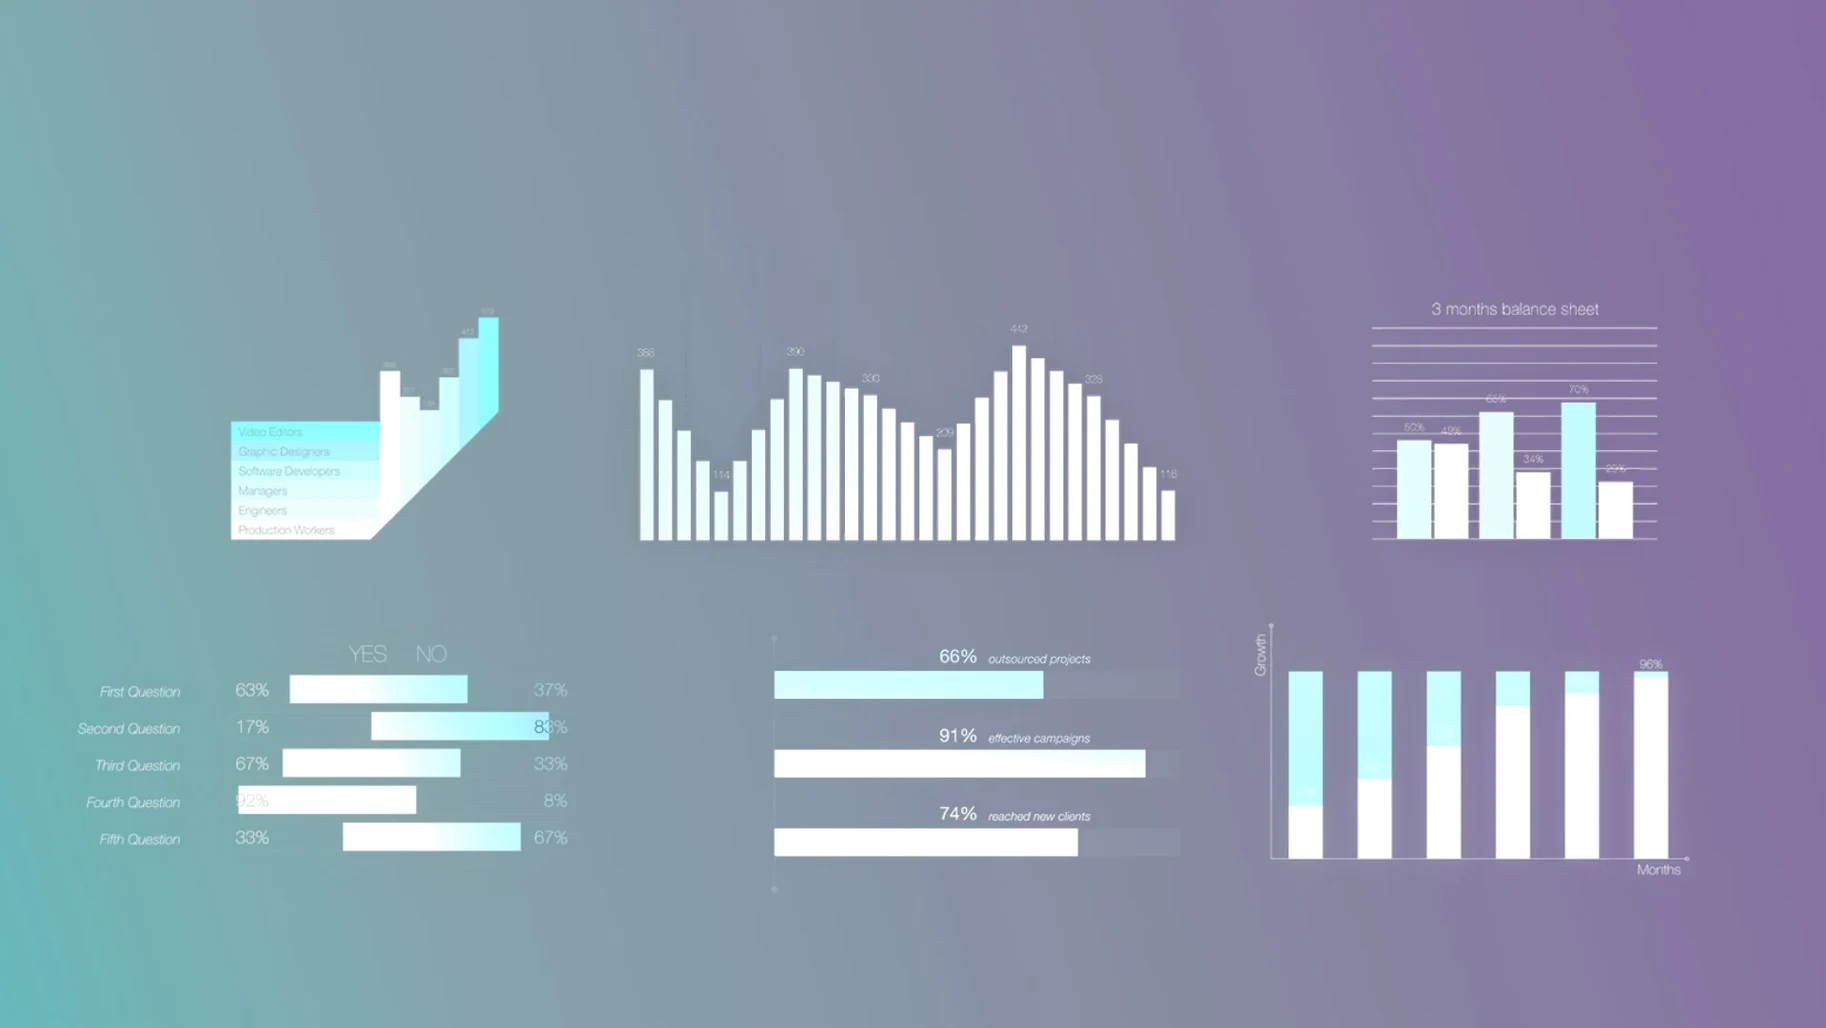
The heart of it is 60 universal elements you can drop into a timeline. Each one accepts number and description customization, so a statistic about quarterly growth doesn't have to look like a template you borrowed from someone else's project.
What makes it useful for a mix is the data visualization side. You get charts and graphs that turn raw numbers into something an audience can read in two seconds. Drop a bar chart over a talking head, adjust the values, and the pacing of your edit starts to make sense.
MotionVFX keeps the interface in English and designs everything for editors who want to move fast. If you build explainer videos, corporate recaps, or anything with figures that need visual weight, this one earns its spot in your Titles folder.
There are a couple of adjustments I reach for before dropping a single element into a timeline. Open Final Cut Pro and look for the mInfographics category under Titles in the effects browser. Most of the presets default to a safe, neutral gray and a medium animation speed that works for a boardroom edit but feels a little polite for anything with energy.
Highlight an element in the browser and glance at the inspector. The first thing worth changing is the animation curve. Many presets ship with a linear ease that makes bars and counters arrive on screen at a steady, predictable pace. Tug that toward an ease-out, and the same graphic suddenly feels like it belongs in a product launch. The on-screen controls let you do this by dragging a handle right in the viewer — no need to dig through keyframe menus.
The second setting lives under the color chip for each element. The factory palette is restrained, which is smart for starting out, but swapping the fill and accent colors to match a brand takes fifteen seconds. I tend to set a global look early: pick two brand colors, apply them to one bar chart and one number counter, then use the Paste Attributes command to spread those choices across the rest of the graphics in the project. It keeps a 90-second explainer from looking like a swatch book.
One more tucked-away setting: the decimal rounding on number counters defaults to one decimal place. If you are showing revenue figures in the millions, that trailing ".0" reads as noise. Set it to zero decimals and the counter snaps to whole numbers immediately.
Why your templates vanish in Final Cut Pro
The most frequent head-scratcher comes from the install path. MotionVFX templates need to sit in /Users/[YourName]/Movies/Motion Templates/Titles, not in the system-level Library folder. If you drop the unpacked folders into the root Library instead, Final Cut Pro ignores them completely. Double-check the path, then restart the application. The elements should appear under Titles immediately after a relaunch.
Another snag pops up when editors search for a motionvfx torrent or a motionvfx free download from an incomplete source and end up with a folder structure that is missing the generator files. The symptom is predictable: the category name shows up in the browser, but the thumbnails are blank and dragging them to the timeline does nothing. The fix is straightforward — make sure the unpacked result contains .generator or .title bundles, not just loose media. A clean copy of the plugin has 60 distinct element folders, each with its own bundle inside.
A third issue involves the on-screen controls not appearing in the viewer. This usually means the playhead is not parked directly over the clip in the timeline. Select the clip, make sure the playhead sits on it, and the handles should light up. If they still refuse to appear, toggle the Transform tool off and back on from the viewer's pop-up menu — it nudges Final Cut Pro to refresh its overlay.
One more that trips up editors moving fast: the chart values accept commas in some locales and reject them in others. If a number refuses to update in the inspector, try typing it without any thousand separators. A plain "1500000" always takes, while "1,500,000" occasionally gets ignored depending on your system region settings.
First days with mInfographics
Spend the first hour building a small library of saved effects presets. When you tweak a bar chart to match a client's colors, set the animation curve, and dial in the font weight for the description text, save that combination as an Effect Preset from the inspector menu. By lunch you will have three or four presets that cover most situations, and dropping in a fully styled graphic becomes a single drag instead of a five-minute setup.
A practical exercise for the first afternoon: pull a 60-second section of an old project that relied on static lower-thirds for data. Replace four or five of those text cards with animated counters and a horizontal bar chart from mInfographics. Render the section and watch it next to the original. The difference in pacing is immediate, and it teaches you which element types carry which kind of information best. Bar charts work for comparisons, ring charts for proportions, and simple number counters for a single figure that needs gravity.
Another tip that pays off early: pair a number counter with a short audio sting. The built-in animations have a natural peak moment — usually about three-quarters of the way through the preset duration — where the final value settles into place. Line up a subtle sound effect with that beat and the graphic feels twice as polished without any extra work in the motion tab.
Four stacked charts, zero timeline stutter
On an Apple Silicon machine, these 60 elements stay remarkably light. I have stacked four animated charts over 4K ProRes footage and the timeline scrubbed without a stutter. Rendering times are negligible for the simpler counters; the more elaborate ring and pie charts with transparency and soft shadows add a few seconds to an export, but nothing that feels heavy. On Intel Macs, the same session runs fine at Good quality playback — just flip to Better Performance if you are layering more than three infographics at once and want to keep the viewer responsive.
Memory use is modest. Final Cut Pro's activity monitor readout barely nudges when you add mInfographics elements compared to some third-party transition packs that load hefty texture files. The templates rely mostly on vector-style shapes generated inside Motion, so they scale clean and do not pull large raster assets into RAM.
Stability has been uneventful, which is the best kind. No crashes linked to the plugin, no corrupted project files, and no mysterious beachballs during an export. MotionVFX targets Final Cut Pro's native architecture, so these elements behave like built-in titles rather than external processes that need to stay in sync. The one quirk worth knowing: if you rename the template folders after installing them, Final Cut Pro loses track of the elements until you restore the original names. Keep the folder structure as it unpacks and everything stays predictable.
- macOS with Apple Silicon or Intel processor
- Final Cut Pro
- Interface language: English
Questions I actually get
Is MotionVFX mInfographics compatible with Final Cut Pro?
Yes. Apple lists MotionVFX as a supported developer on its Final Cut Pro ecosystem page, and the plugin is designed specifically for video editors using Final Cut Pro.
Porch talk 0
Come in or pull up a chair to leave a comment.
Nobody has pulled up a chair yet. If you used it on a real Saturday, say what the hour was.