
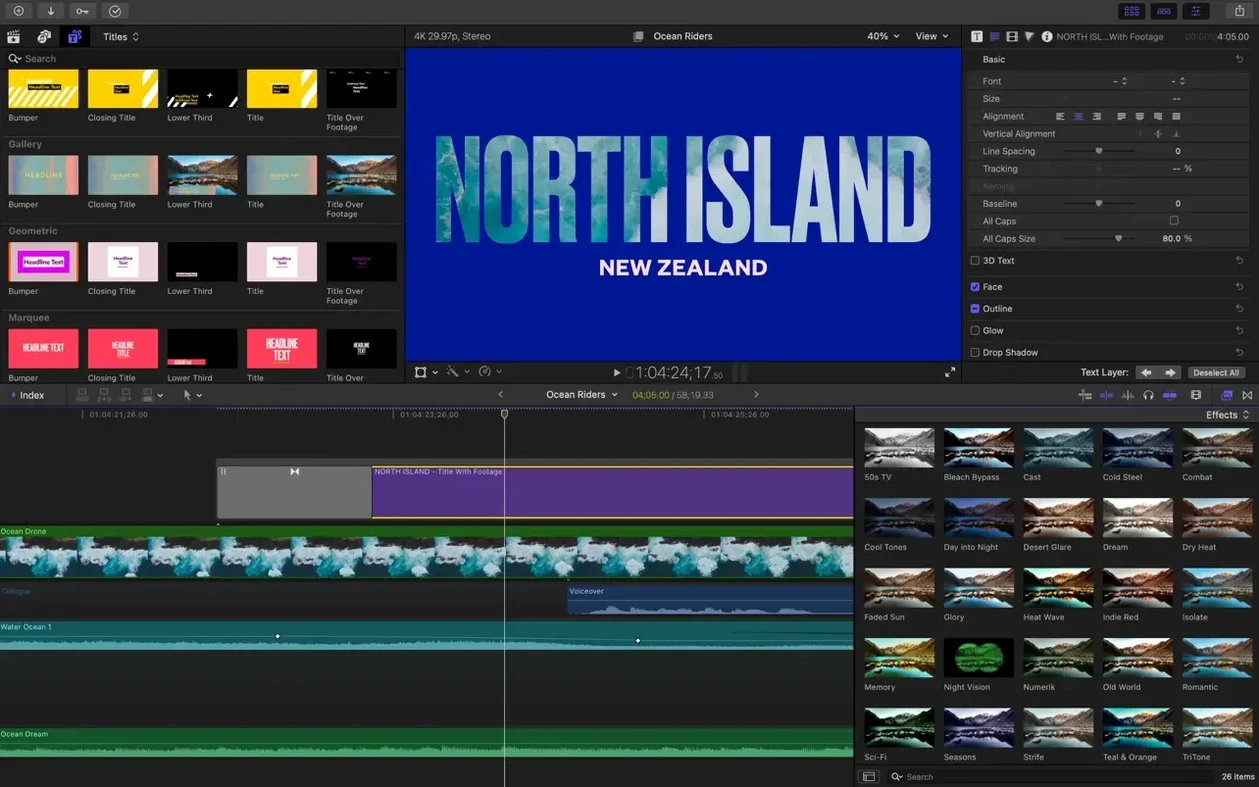
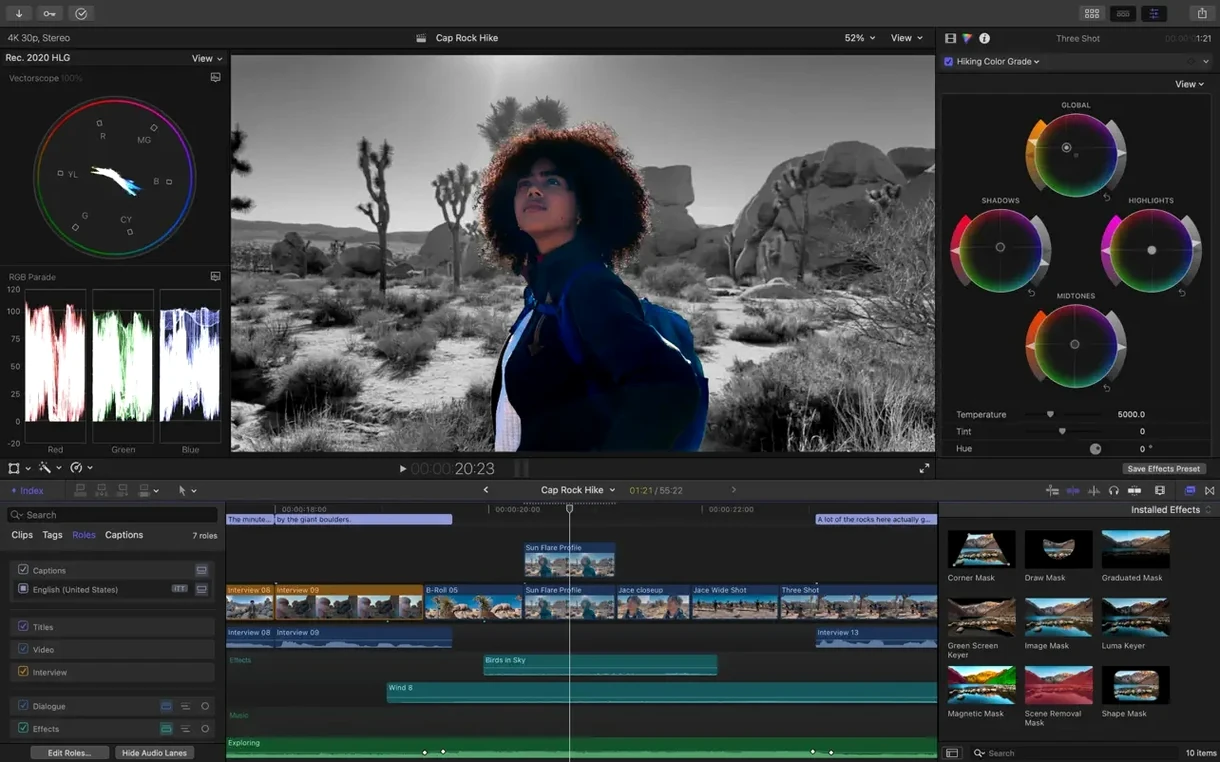
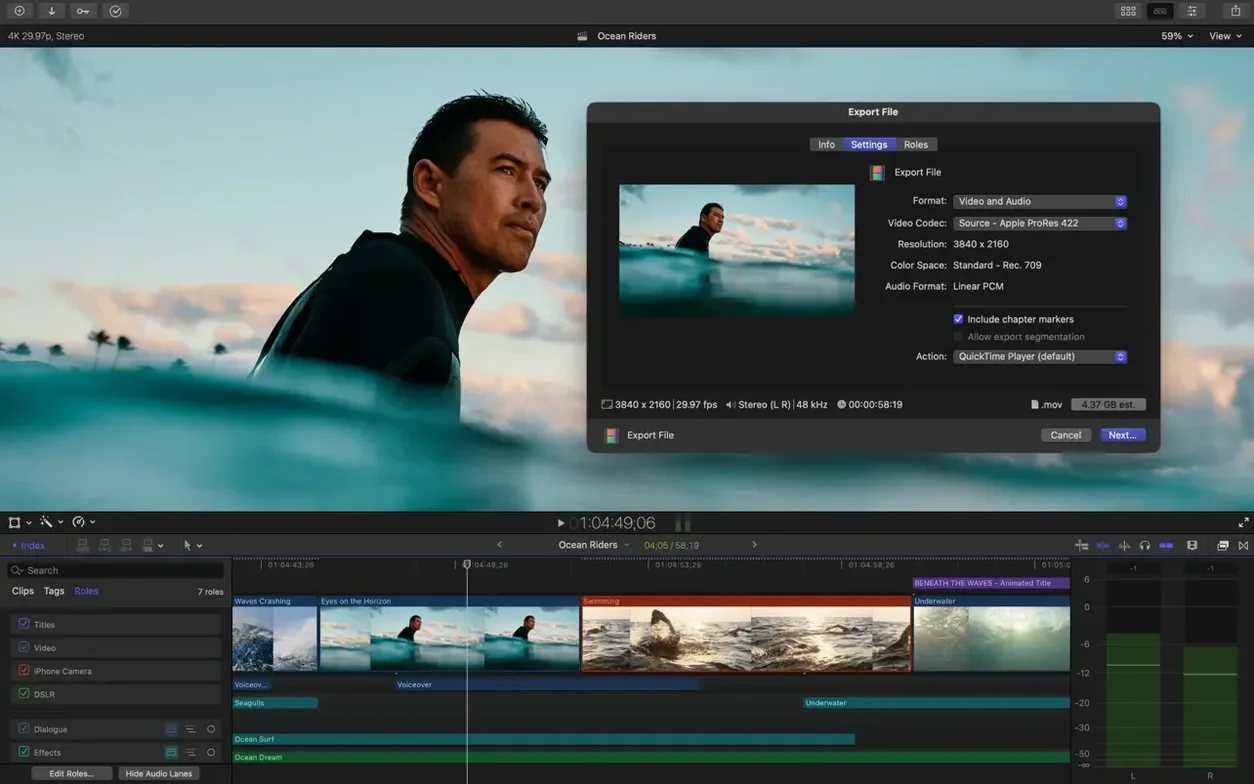
Final Cut Pro is Apple's professional video editor built to feel at home on a Mac. You get a magnetic timeline, deep media management, and a growing set of machine-learning tools that quietly handle the tedious stuff so you can focus on the cut.
Where do I even start after importing footage?
Drop a clip on the timeline and head straight to the new Generate Captions command. It creates subtitles right inside the project, and you can tweak the typeface and placement before export—no third-party service required.
My video is landscape but I need a vertical version too. Now what?
Smart Conform lives in the inspector and analyzes your shots to keep the important action inside a square or vertical frame. It is not perfect on busy handheld footage, but for interviews and locked-off shots it saves a manual reframe session.
Track a Title to a Face or Object
Select the clip, open the inspector, and add an Object Tracker. Drag a title or effect onto the tracked face or object, and Final Cut Pro handles the motion keyframes on its own.
What if my clips were shot on different cameras and the color looks off?
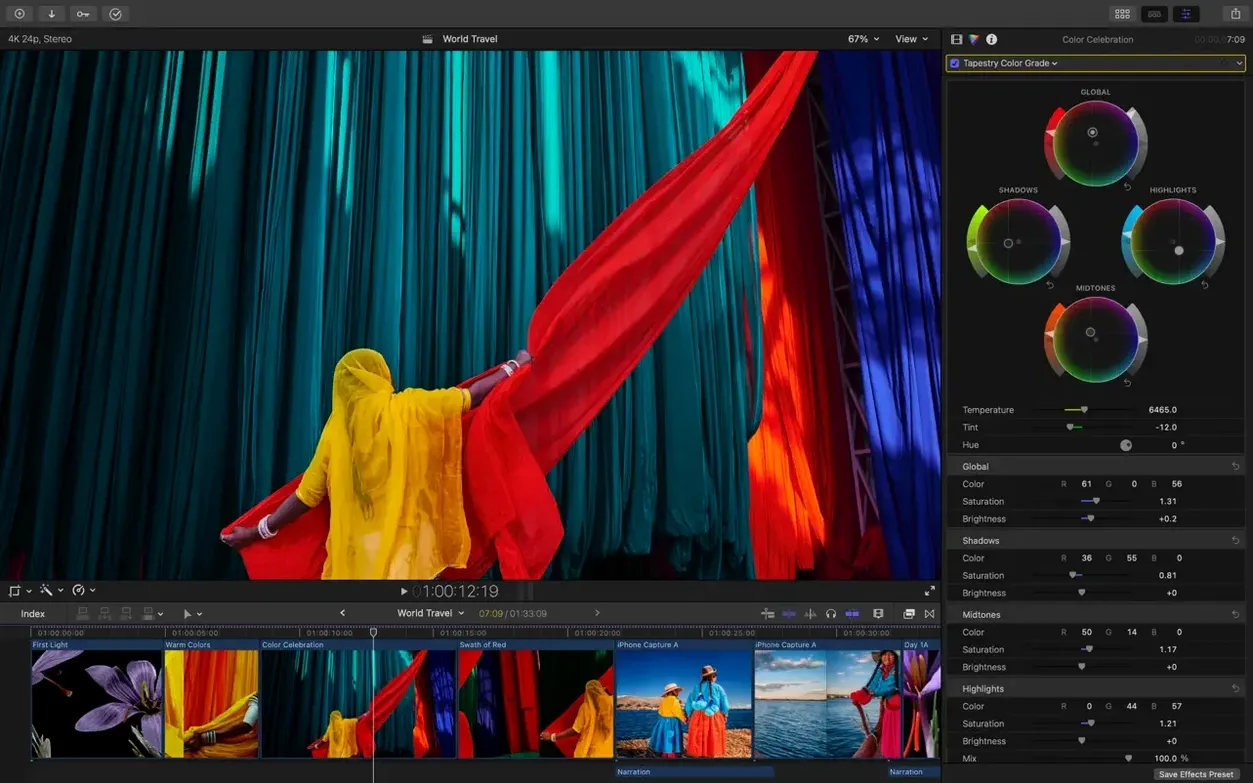
Pick a reference clip that looks right, then apply Match Color to the others. It reads the luminance and chroma values and brings everything into the same neighborhood—useful when you are cutting between two camera bodies that were not white-balanced together.
Snags people hit early, and what actually helps
A fresh install can feel smooth until the library that worked yesterday suddenly shows every clip as missing. This usually happens when media was imported without copying into the library and the external drive gets renamed or disconnected. Open the library, select the red missing clips in the browser, and use File > Relink Files. Point Final Cut Pro to the folder where the originals live now, and give it thirty seconds to rebuild the paths. If you tend to work across multiple drives, make a habit of importing with "Copy to library" checked for your active project, then move the archive to a slower drive when the job wraps.
Another frustration is jerky playback with 4K H.264 or HEVC files on an Intel Mac. The hardware decoder is doing its best, but the timeline still stutters. Right-click the clip in the browser and choose Transcode Media > Create Proxy Media (you can also set this up during import). Then switch the viewer to Proxy mode with the dropdown at the top right of the viewer window. The picture softens a little while you edit, but the timeline stays responsive, and you export using the original full-resolution files. On Apple silicon machines this is less of a problem, but long-form projects with color grades still benefit from proxies.
Audio that drifts out of sync over a long clip is a classic headache. This often happens with variable-frame-rate footage from phones or screen recordings. Before editing, select the clip in the browser, open the inspector, and check the frame rate. If it says anything other than a clean number—like 29.97 but your project is 30p—right-click and choose Retime > Automatic Speed to conform it to the timeline, then use Modify > Retime > Conform if needed. For final cut pro 10.4.6 download searches, people expect that version to handle this, but the conform tools have improved a lot since; version 12.3 is a different animal.
Kill Background Render on Day One
Create a library for each project—call it something short like "Miller_Wedding_2026"—and park it on fast internal storage during the edit. Libraries balloon quickly with render files, so open Final Cut Pro > Settings > Playback and uncheck "Background render" for the first few days. You will still get real-time playback of unrendered effects on a capable Mac, and you avoid filling the disk with renders for temp cuts you toss out by lunchtime.
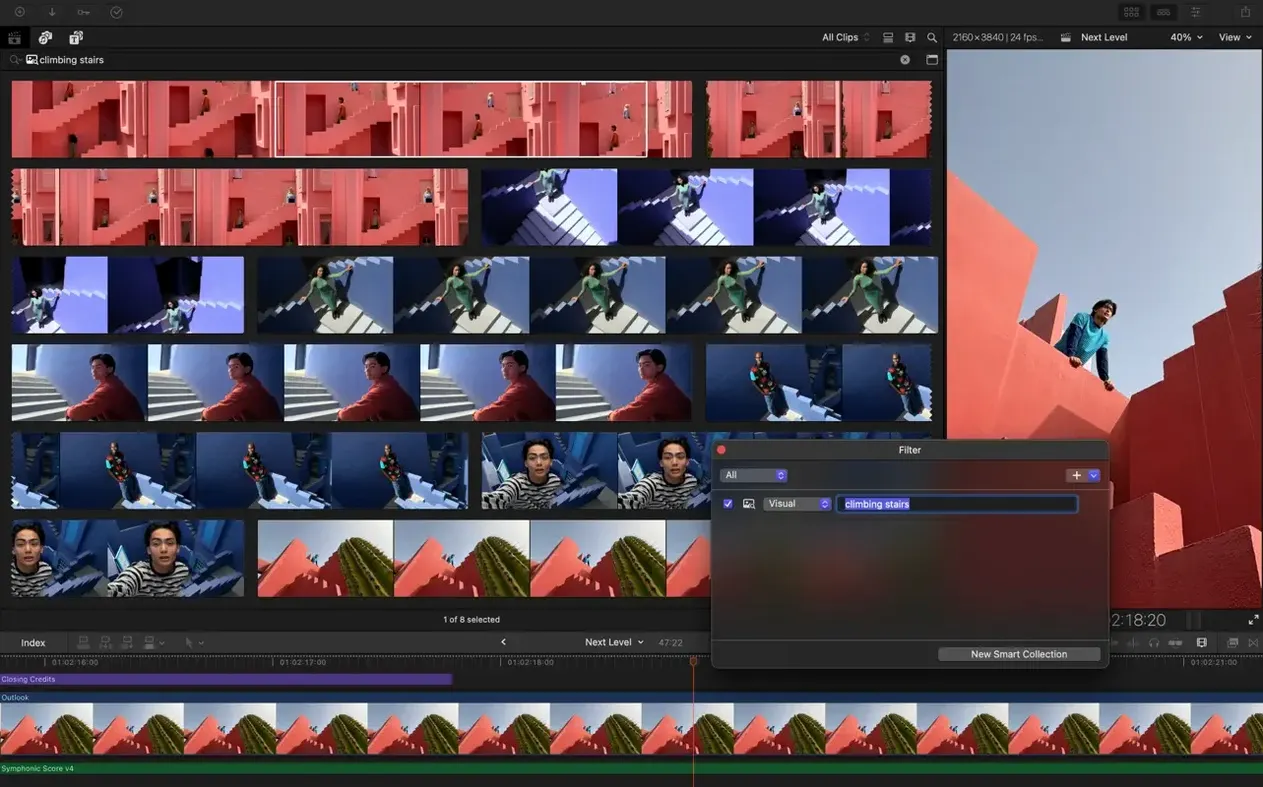
Keywords are the one organizational tool that pays back immediately. Instead of dragging clips into folders, skim a range in the browser, tap Cmd+K, and type something like "reaction" or "golden hour." You can assign multiple keywords to the same range, and smart collections update as you work. After a weekend of shooting, you will thank yourself when you can pull every close-up of the bride laughing with two clicks.
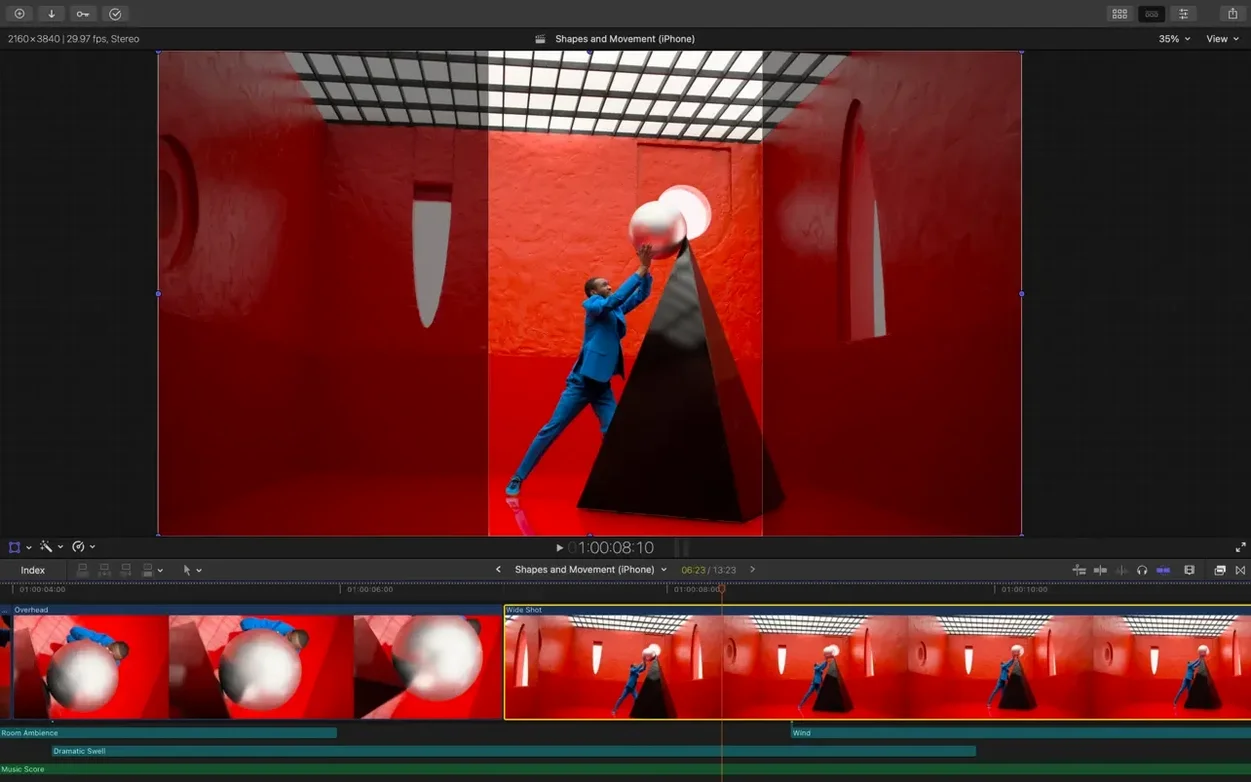
If you are coming from another NLE, the magnetic timeline can feel like riding a bike with no coasting—everything moves when you delete a gap. Give it a week. Use the P key for the position tool when you need to leave gaps in place temporarily, and learn the Shift + Delete combination to lift a clip without closing the gap. Final cut pro crack download searches often come from people who tried a quick test, got annoyed by the magnetic behavior, and walked away. The reality is that once your fingers know the rhythm, going back to tracks feels like stacking bricks by hand.
A morning editing session, told straight
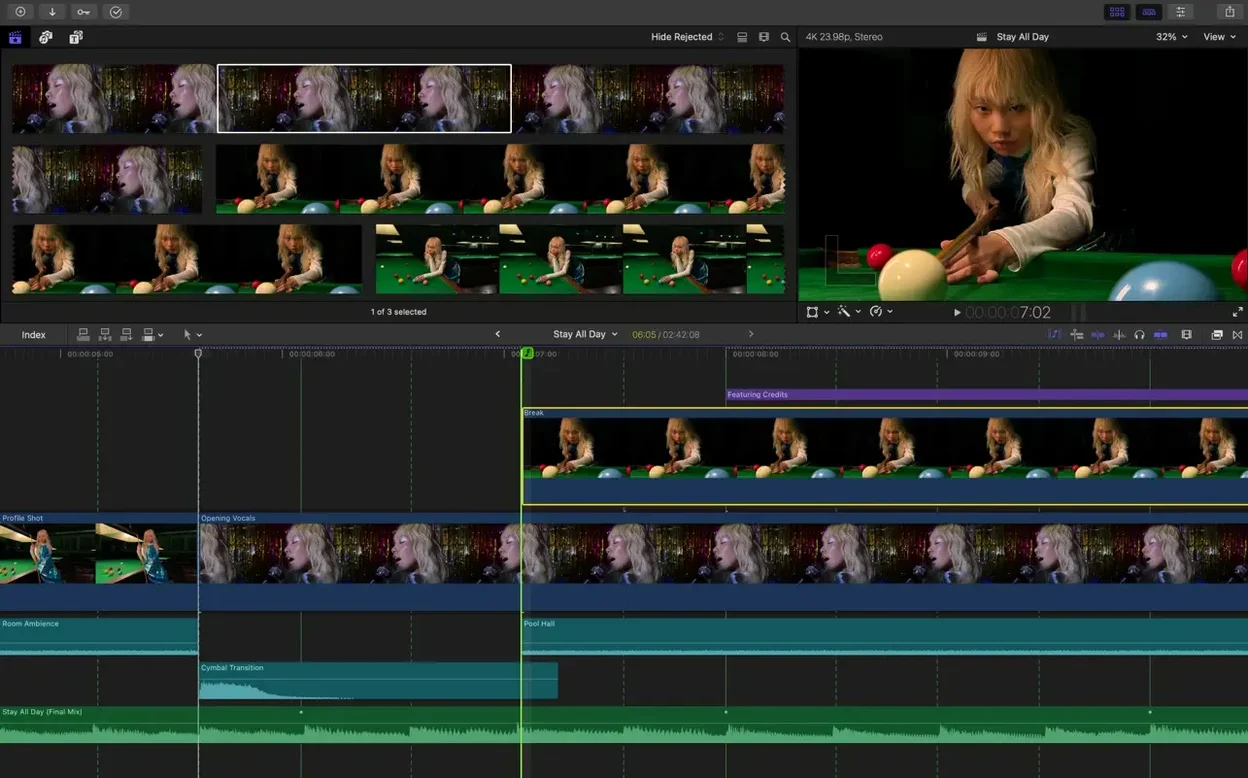
You open the library from yesterday, and the browser shows a tangle of clips from two cameras and a drone. The first task is syncing the multicam. Select all the clips in the browser—you can Cmd-click to pick the A-camera audio, B-camera audio, and drone footage—then right-click and choose New Multicam Clip. In the dialog, set synchronization to "Use audio for synchronization" and leave the angle assembly set to automatic. Final Cut Pro does the waveform matching, and within a minute you have a single multicam clip sitting in the browser.
Drop that multicam clip onto a new project timeline. The angle viewer appears below the main viewer, and you scrub through while tapping the number keys—1, 2, 3—to switch angles in real time. Your cuts land as markers on the clip while it plays, which feels more like directing a live switch than editing. When you need to tweak a cut, hold Shift and drag the edit point in the timeline to roll it earlier or later without throwing anything out of sync.
Halfway through, you notice the drone footage is slightly washed out compared to the ground cameras. Select a ground clip that looks right, then Cmd-click the drone clip, and choose Modify > Match Color. The algorithm reads the color values and applies a correction to the drone clip that sits in the inspector as an adjustable effect. You pull the slider back to about 70 percent to keep a little of the aerial haze for atmosphere. No round-tripping to another application.
Before lunch, you send a rough cut to a colleague for audio feedback. Export an XML file from Final Cut Pro, and they open it in Logic Pro with all the roles and clip names intact. While they work on the mix, you add hidden captions inside Final Cut Pro using the Edit > Captions > Generate Captions command. The transcript appears in the captions pane, and you correct a few names before locking them to the timeline. All of this happens without leaving the app, and the captions travel with the XML if you export again later.
Where Resolve Outguns Final Cut
DaVinci Resolve is the heavyweight for color grading and finishing. Its node-based color tools go deeper than anything inside Final Cut Pro, and the free version already supports HDR grading and Fusion compositing. For a project that starts and ends with color—a short film graded shot by shot—Resolve is the natural choice. In exchange, the editing page still feels heavier and less responsive on a MacBook Air than Final Cut Pro's timeline, and the round-trip workflow between pages adds a few steps that Final Cut Pro avoids by keeping color, effects, and audio inside a single window.
Adobe Premiere Pro shares a timeline layout that feels familiar to editors who grew up on track-based NLEs. It plays well with After Effects through dynamic link, so motion graphics teams can update comps without rendering. The trade-off is that Premiere Pro on macOS can lag during long sessions with 4K timelines, especially on machines with 8 GB of RAM, and the subscription model means you commit to a regular payment. Final Cut Pro uses system resources differently—background rendering and the magnetic timeline keep playback smoother on the same hardware, and the one-time purchase suits people who buy a Mac and plan to edit for years without thinking about renewals.
CapCut for Mac is the newcomer that surprises people. It is free, it handles vertical video natively, and its auto-captions and trending templates appeal to creators who need speed over precision. For a TikTok or a quick Instagram reel, CapCut beats Final Cut Pro on turnaround time. But the moment you need a multicam edit with 10 angles, external audio roles, or a color-managed pipeline for broadcast delivery, CapCut runs out of road. Final Cut Pro sits in the middle: lighter than Resolve for straight editing, more capable than CapCut for professional work, and tighter with the Mac hardware than Premiere Pro. If someone lands here after a final cut pro tnt search or a final cut pro 10.6.2 download query, the answer is simply that 12.3 on a recent Mac feels like a different program from those older builds.
Version 12.3 brings a handful of tools that feel overdue in the best way. Generate Captions builds subtitles with customizable looks, Auto Mask lets you isolate a recognized object for a quick color tweak, Match Color pulls mismatched cameras into alignment, and Edit Detection can take a flat rendered file and break it back into separate clips on the timeline.
- macOS 15.6 or later
- 8 GB RAM
- 5.8 GB free disk space
- Metal-capable graphics card (Intel Macs)
- Some features require an Apple silicon Mac
- Some features require an internet connection
Porch talk 0
Come in or pull up a chair to leave a comment.
Nobody has pulled up a chair yet. If you used it on a real Saturday, say what the hour was.