

SwitchResX runs on any Mac still kicking with OS X 10.10 or later, and it’s equally at home on Intel machines and Apple Silicon. If your Mac can drive a display, SwitchResX can probably take command of it.
A handful of jobs it handles particularly well
- Inventing custom resolutions. macOS offers a tidy list of standard sizes, but SwitchResX lets you create pixel dimensions the system never thought to include — handy for oddball projectors, older plasma panels, or simply matching a laptop to an external screen at a scaling you find comfortable.
- Pairing color with resolution. You can bundle a color profile together with a resolution into a single preset. Switch to it once, and both your workspace size and color accuracy snap into place.
- Driving home theater and studio gear. HDTVs, video projectors, and third-party monitors often report their capabilities in ways macOS doesn’t fully respect. SwitchResX gives you the knobs to dial in the exact refresh rate and resolution that keeps the picture smooth and tear‑free.
- Automating display setups. Because it speaks AppleScript, you can tie resolution changes to keyboard shortcuts, folder actions, or launch agents — practical when you regularly dock to a desk setup or plug into a church presentation system.
Retina done right
High‑DPI mode works without fighting the UI. You can set a Retina display to a true 2× pixel mapping that macOS hides by default, or pick a scaled resolution that gives you more room without blurry text. It pairs just as cleanly with external 4K and 5K screens, letting you choose whether you want space or sharpness and getting exactly that.
Where SwitchResX fits in your daily toolkit
SwitchResX doesn't try to replace anything macOS already does well. It slides in beside the Displays pane in System Settings and gets called when the built‑in controls hit their ceiling. The menu bar item lives quietly next to your clock, and the preference pane registers itself where you'd expect to find it — no background daemon crashing, no launch agent you didn't ask for.
It plays nicely with BetterDisplay if you use that for brightness and DDC control on external monitors; the two apps don't step on each other's toes because SwitchResX sticks to resolution and timing, while BetterDisplay handles the luminance side. If you run Moom or Rectangle for window management, the custom resolutions you build in SwitchResX give those tools more canvas sizes to snap windows into. And because SwitchResX writes standard macOS display overrides, anything that reads the system's list of supported modes — screen recording apps, color calibration tools, full‑screen games — picks up your custom resolutions without extra configuration.
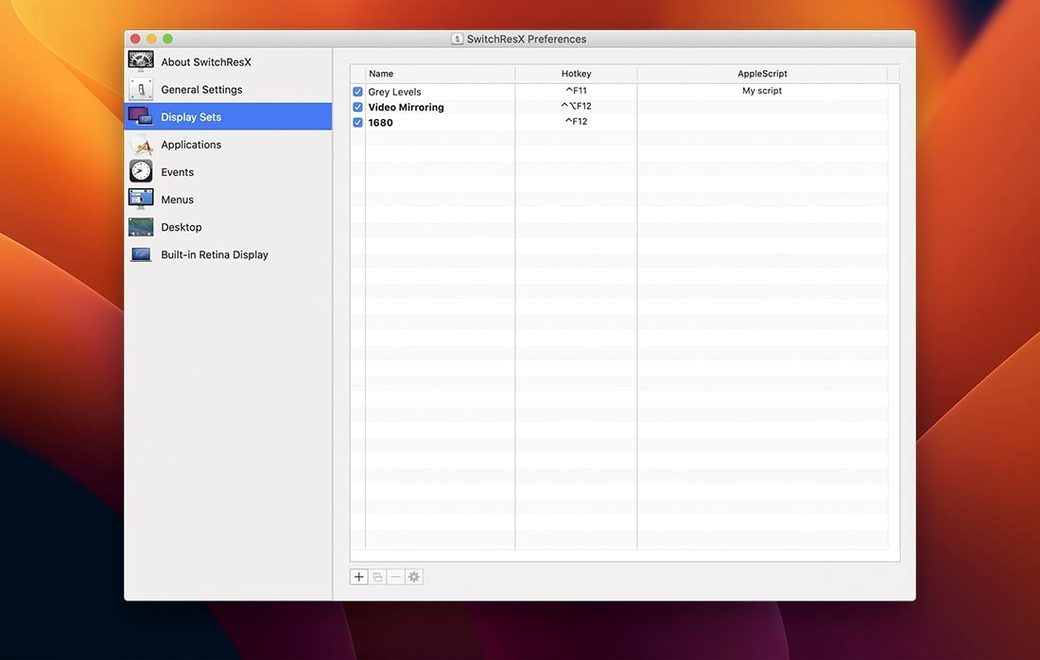
On the AppleScript side, you can trigger a Display Set from a Keyboard Maestro macro, a Hazel rule that notices when you plug in a specific USB‑C dock, or even a Shortcut that fires when you open Final Cut Pro. The scriptability is what turns SwitchResX from a settings panel into something that genuinely disappears into your workflow.
A real‑world walkthrough: dialing in a 1080p projector for Sunday slides
Imagine you bring your MacBook Air to a small venue each week. The ceiling‑mounted projector is an older Epson that technically supports 1920×1080 at 60 Hz, but every time you plug in, macOS defaults to 1280×720 with a flickery 30 Hz timing and washes out the text on song lyrics. Here's how SwitchResX turns that into a one‑click affair.
First, connect the projector and open the SwitchResX preference pane. The projector appears in the left‑hand list under its EDID‑reported name — often something cryptic like EPSON PJ. Select it, and click the Custom Resolutions tab. Press the plus button, choose Scaled resolution, and enter 1920 for width and 1080 for height. In the Scan rate dropdown, pick 60 Hz. SwitchResX calculates the pixel clock and horizontal/vertical timings automatically; for most projectors, the CVT‑RB (Coordinated Video Timings – Reduced Blanking) preset works first try.
Save the resolution, then hop over to the Display Sets tab. Click the plus button to create a new set, name it Projector Sunday, and drag your custom 1080p/60 mode into the set along with the projector's color profile — many older Epsons look less muddy with a slightly tweaked gamma curve, so if you've already calibrated and saved an ICC profile in the Displays pane, you can select it here. Tick the box for Mirror to this display if that's how you present, then close.
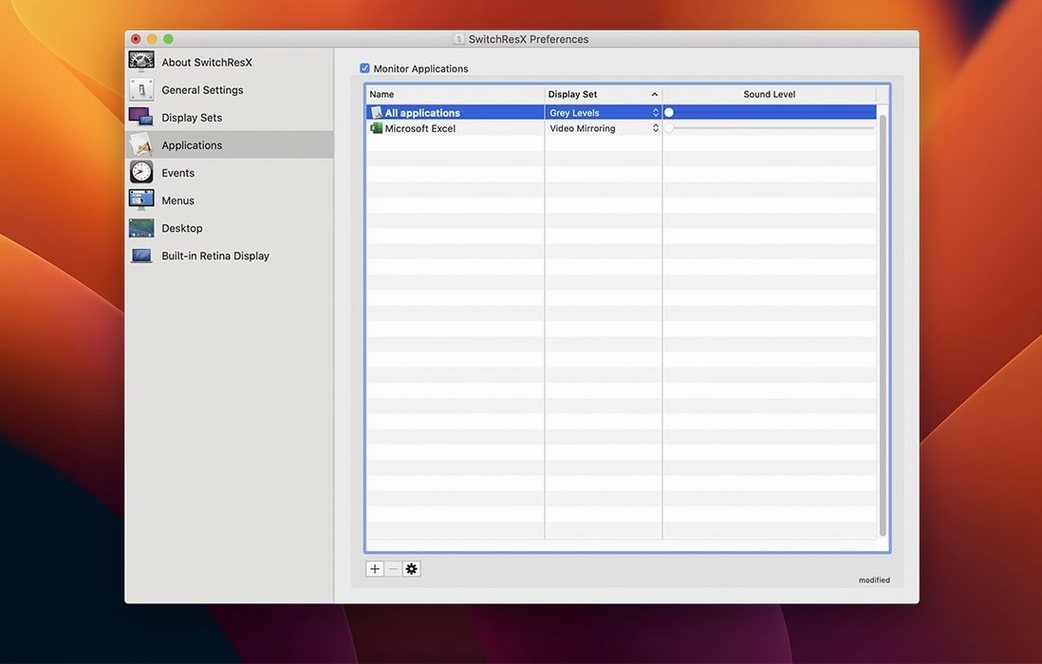
Now visit the Applications tab. Click the plus, choose your presentation software — ProPresenter, PowerPoint, or Keynote — and assign the Projector Sunday Display Set to it. From this point forward, launching that app automatically switches the projector to the crisp 1080p mode and applies the color correction. When you quit the app, your desktop returns to its default arrangement. You can also assign a keyboard shortcut to the Display Set itself: open the Global keyboard shortcuts section in SwitchResX preferences, find your set, and record something you won't hit by accident, like Control‑Option‑Command‑P.
The whole process — from plugging in a misbehaving display to having it auto‑configure — takes under ten minutes the first time, and zero seconds every week after.
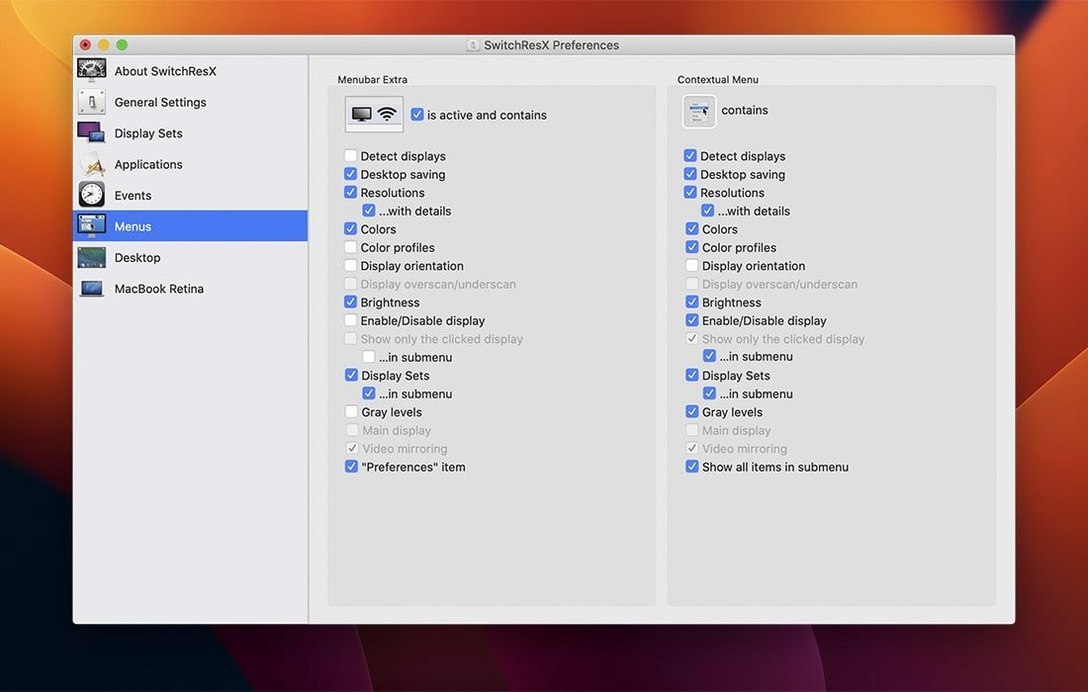
Right‑click the menu icon for Display Sets
The menu bar icon does more than list available resolutions. Right‑click it, and you see your Display Sets and recently used custom modes without opening the preference pane. Command‑drag the menu item to reposition it in your menu bar exactly where muscle memory expects it.
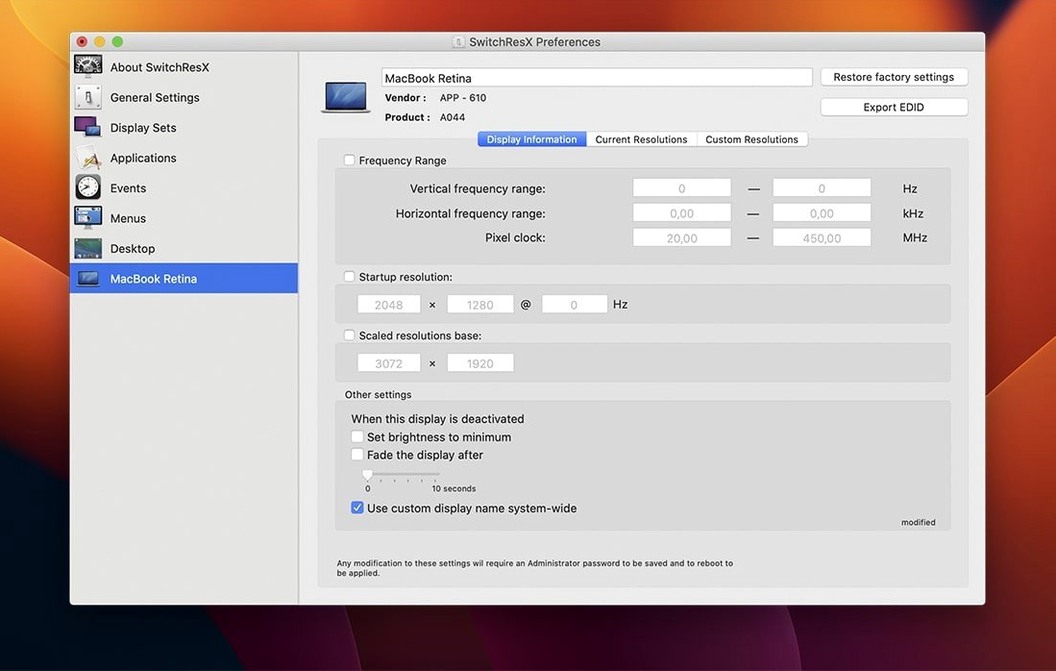
In the Monitor Information tab for any connected display, SwitchResX shows the EDID data the display reports — manufacturer, model, serial, supported timings, and color characteristics. This is invaluable when you're troubleshooting why two seemingly identical monitors behave differently, or when you need to email a venue's tech director the exact specs their projector is advertising over HDMI.
If you create a custom resolution that doesn't work — black screen, flickering, monitor power‑cycling — don't panic. SwitchResX has a safety timeout. Hold the Escape key during startup, and macOS reverts to a safe mode where custom resolutions are temporarily disabled so you can delete the problematic one. The preference pane also includes a Restore factory defaults button at the bottom of the Custom Resolutions list that resets just the selected display, not your whole configuration.
For multi‑monitor users, the Mirroring controls let you mirror to a specific secondary display without touching the system Displays pane, and you can assign rotation to individual monitors — 90°, 180°, or 270° — which a handful of portrait‑mode coders and digital signage setups still rely on.
Launch the daemon so app triggers fire
After installing SwitchResX, open its main preference pane and look for the Daemon section. Make sure the daemon is running and set to launch at login; without it, application‑triggered Display Sets won't fire when you open apps. The daemon is lightweight — on an Apple Silicon Mac it idles at near‑zero CPU — so there's no penalty for leaving it on.
Next, under the General tab, enable Show Display Sets in the menu bar. This adds a submenu below the standard resolution list, giving you two‑click access to every saved configuration. While you're there, uncheck Confirm resolution changes if you trust your custom timings — the confirmation dialog is a safety net for first‑time setup, but it gets old once you know your modes are stable.
If you use a MacBook in clamshell mode with an external display, visit the display's settings and enable Ignore this display when in clamshell mode. This prevents macOS from accidentally waking the internal screen when the lid is closed, which can happen with certain docks and throw off your window arrangements.
Finally, in the Keyboard preferences pane, map your most‑used Display Set to a shortcut. Even if you plan to rely on application‑based switching, having a manual fallback shortcut means you're never stuck squinting at the wrong resolution during a presentation or a screen share.
Version 4.14.2 tidies up a few loose ends. The app no longer gets stuck in a loop updating settings when no display is connected, and it handles monitors that macOS leaves unnamed. A bug that tripped up deleting a Display Set that followed another one is fixed, and on Apple Silicon Macs you can now let the Dock politely quit when you disable a display.
- macOS 10.10 or newer
- Intel or Apple Silicon Mac
Porch talk 0
Come in or pull up a chair to leave a comment.
Nobody has pulled up a chair yet. If you used it on a real Saturday, say what the hour was.
More for the same hour
Everything in Mac Apps
 Sweet Home
7.5.7 Mac Apps
Updated 356 MB
Sweet Home
7.5.7 Mac Apps
Updated 356 MB

 TablePlus
6.8.0 Mac Apps
91 MB
TablePlus
6.8.0 Mac Apps
91 MB
 TechSmith Snagit
2026.4.0 Mac Apps
Updated 195 MB
TechSmith Snagit
2026.4.0 Mac Apps
Updated 195 MB

 SuperDuper!
4.0.7 Mac Apps
10 MB
SuperDuper!
4.0.7 Mac Apps
10 MB

 Techtool Pro
20.1.7 Mac Apps
318 MB
Techtool Pro
20.1.7 Mac Apps
318 MB

 Super Vectorizer Pro
2.3.3 Mac Apps
Updated 8 MB
Super Vectorizer Pro
2.3.3 Mac Apps
Updated 8 MB

 Subtitle Studio
1.5.11 Mac Apps
31 MB
Subtitle Studio
1.5.11 Mac Apps
31 MB

 Tenorshare UltData
9.5.0 Mac Apps
29 MB
Tenorshare UltData
9.5.0 Mac Apps
29 MB