

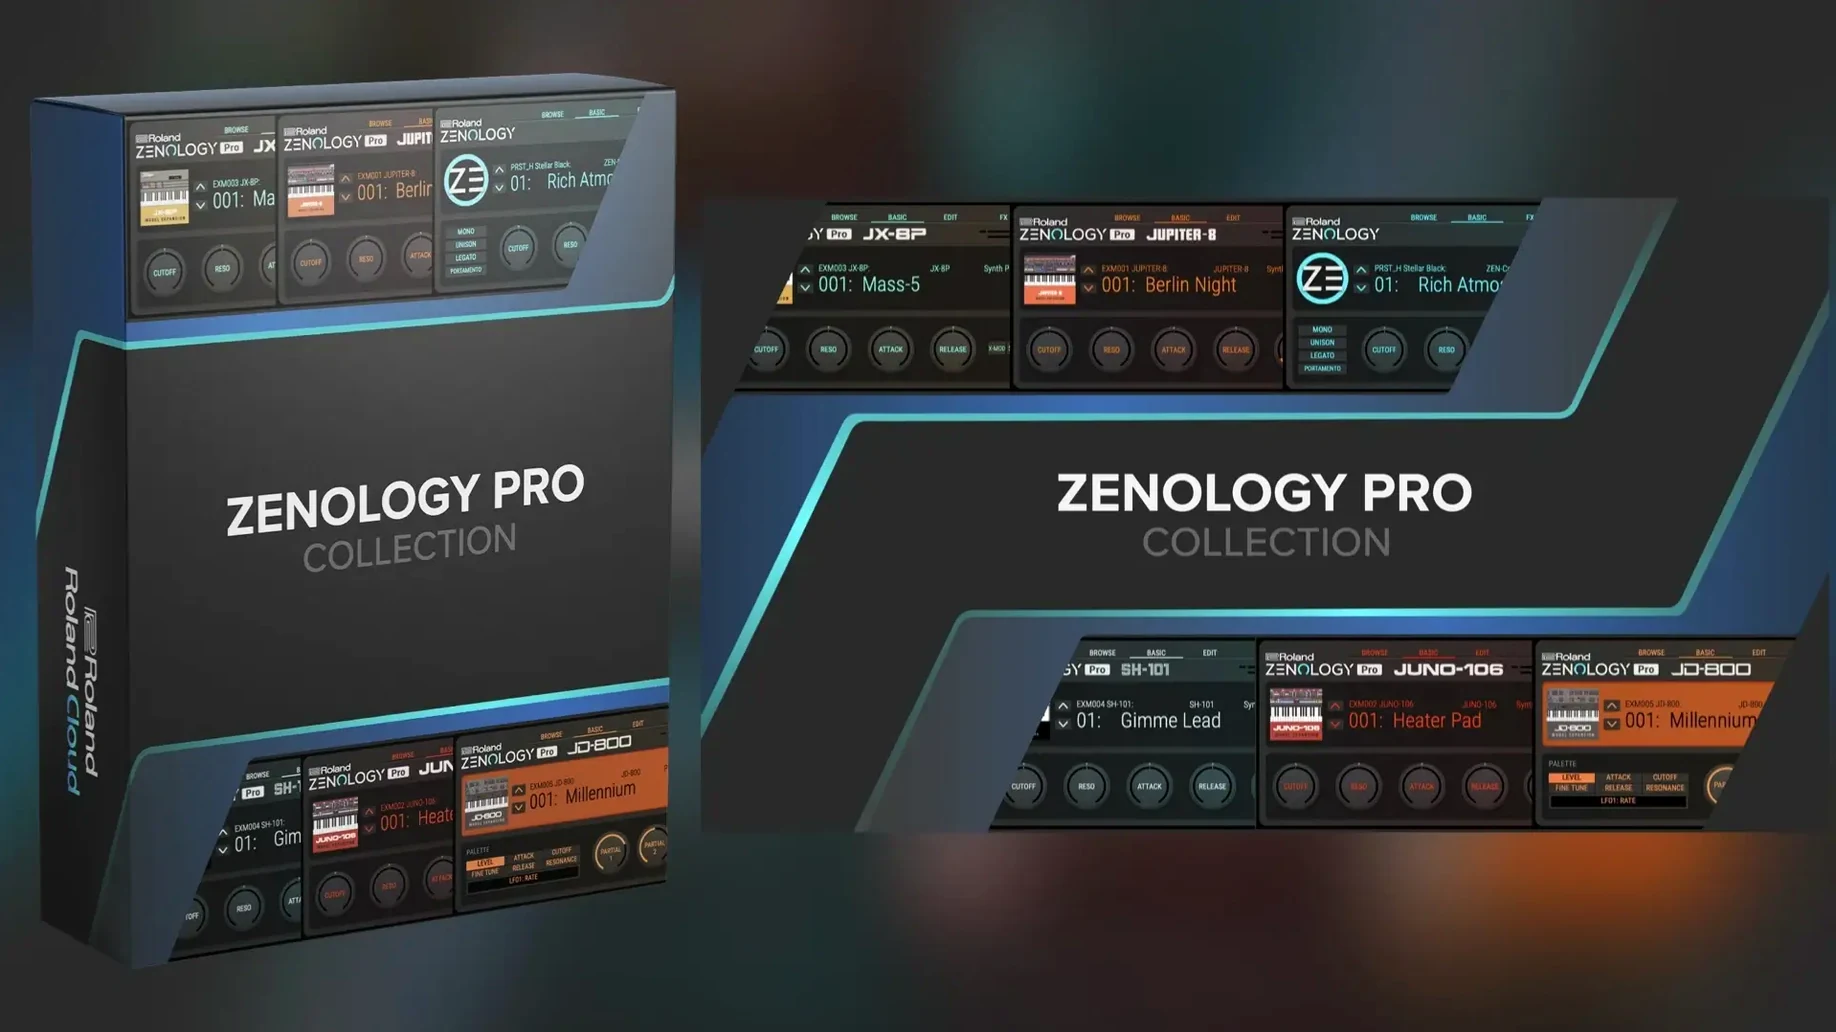
Inside a single tone, you get up to four parts. Each part is a complete subtractive voice with its own oscillator, filter, amplifier, dual LFOs, and EQ. That is the core architecture driving Roland's ZENOLOGY Pro, and it means a single patch can carry a split, a thick layered pad, or a rhythmically animated texture before you even touch a bus effect.
Favorite patches from 1,840 PCM waveforms
ZENOLOGY Pro most often lands on a software instrument track, pulling up sounds from the tone browser. The browser lets you mark favorites and build custom banks, which helps when you are pulling from 1,840 PCM waveforms spread across four oscillator types—virtual analog, Supersaw, noise, and PCM SYNC. From there, it is common to route a dry, in-your-face lead straight to the stereo bus, while a softer key patch might hit a reverb send. Because the synth shares the ZEN-Core system with Roland's JUPITER-X and FANTOM hardware, you can edit a sound on your Mac and send it to a stage keyboard without translating anything.
Stacking bass and hi-hat in one four-part tone
On a busy pop chorus, a single ZENOLOGY Pro instance can handle a warm PWM pad that sits behind the vocal without crowding the center. For electronic tracks, a four-part tone can stack a punchy bass, a noise-based hi-hat tick, and a sync lead that cuts through a dense drop. The PCM SYNC oscillator type gives you that classic swept, biting tone that sits well on a drop bus with a touch of sidechain compression. If you edit sounds on a FANTOM at rehearsal, you can bring those patches into the Mac plugin and place them precisely in a session, then bounce the result in place. It is a practical choice for producers who want a hardware-informed sound without leaving the box, and for keyboard players who move between a DAW and a Roland workstation.
Two-minute settings panel cleanup
The factory defaults get you playing fast, but a handful of preferences make the plugin feel like it belongs in your setup rather than a demo room. Open the settings panel from the gear icon and spend two minutes here before you build your first custom bank.
First, set the interface size to something that fits your screen. ZENOLOGY Pro ships at a middle resolution that works on a 15-inch laptop, but on a 27-inch display you will want to bump it up two notches so the tone browser shows more columns and the modulation routings become easier to click. On a 13-inch MacBook, scaling down one step keeps the whole synth visible without scrolling past the keyboard section.
Next, confirm the audio buffer behavior. The plugin respects your DAW's buffer setting, but the advanced tab has a Quality toggle that defaults to a balanced CPU mode. If your session already runs a dozen instances, leave it there. When you are printing a stem or working on a sound design session with only a couple of tracks, switch to the highest quality mode. The oscillators gain a touch more top-end clarity, and the JUPITER-modeled filters lose a slight aliasing edge on sweeps above 4 kHz.
While you are in the settings, turn on Tone Remain if you play live or audition patches while a MIDI clip loops. Without it, switching tones cuts the previous sound abruptly. With it enabled, held notes and reverb tails spill over naturally into the next patch, which saves you from that awkward silence when you are browsing for a lead during playback.
Finally, map the mod wheel and aftertouch to something useful from the start. The default assignments route both to filter cutoff and vibrato, but the LFO depth curve is conservative. Open the mod matrix for any part and increase the LFO amount on aftertouch by about 20 percent. You get a more expressive response that feels closer to what a JUPITER-X keybed would deliver.
A sound designer's Saturday afternoon
Imagine a film composer working on a sci-fi score. She has a cue that needs a morphing texture—something that starts as a glassy pluck and slowly dissolves into a warm, detuned wash over sixteen bars. She starts with a single ZENOLOGY Pro instance, initializes a tone, and sets up two parts in a split.
Part one gets a PCM waveform from the mallet category, routed through a JUPITER-8 low-pass filter with the cutoff opened halfway and a slow negative envelope. Part two loads a Supersaw oscillator with four voices of detune, its filter closed tighter and its amplifier envelope set to a long attack. She assigns the mod wheel to crossfade between the two parts at the tone level, so pushing the wheel forward brings the Supersaw pad up while the mallet fades back. A touch of the built-in shimmer reverb—one of those 90-plus Roland effects—adds a high-frequency halo that blooms as the pad takes over.
That took eight minutes. She duplicates the instance, changes the PCM waveform to something metallic, swaps the filter to the JUPITER-8 band-pass model, and now has a second layer that answers the first. By the time she prints the cue, she has three ZENOLOGY Pro tracks running, none of them sounding like a preset, and all of them recallable on her next project because she saved the tones to a custom bank named after the film.
Pairing with Logic’s arpeggiator MIDI FX
ZENOLOGY Pro plays well with the broader ecosystem around your DAW, and a few combinations show up again and again among Mac-based producers who treat the synth as a daily driver.
With Logic Pro's MIDI FX, drop an arpeggiator or chord trigger before the plugin and feed it a simple triad. ZENOLOGY Pro responds to the incoming note data with the same polyphony and voice allocation it would get from a hardware sequencer. The four-part architecture means you can set part one to a monophonic bass, parts two and three to a stereo pad, and part four to a noise-based percussion hit, all triggered from the same MIDI FX chain. Logic's Smart Controls map cleanly to the first eight macro parameters ZENOLOGY Pro exposes, so you can build a set of performance sliders without opening the plugin window.
On an Ableton Live setup, group ZENOLOGY Pro inside an Instrument Rack and map the rack's macros to the tone-level mixer, filter cutoff, and the two LFO rates. The plugin's parameter list is long but organized, so you can pull up exactly the controls you want without digging through unnamed CC numbers. Live's audio-to-MIDI feature also pairs well here: hum a melody into your Mac's microphone, convert it to MIDI, and route it to a ZENOLOGY Pro lead patch. The pitch tracking is solid enough that you can sketch ideas faster than drawing notes with a mouse.
Outside the DAW, ZENOLOGY Pro benefits from macOS Audio MIDI Setup when you have Roland hardware connected. Once the FANTOM or JUPITER-X appears as a MIDI device, the plugin sees it and allows bidirectional tone transfer. You can design a sound on the hardware during a soundcheck, pull it into the Mac version back at the studio, and tweak it with the mouse—no file export, no USB stick. The plugin also respects macOS color profile settings on Retina displays, so the dark interface with its subtle orange accents stays readable under low studio lighting without blowing out on an HDR screen.
For users who grab zenology vst crack or zenology vst crack mac downloads, the plugin loads into any VST3 or AU host without additional authorization steps. The sound packs and wave expansions install to the same library folder regardless of the DAW, so switching between Logic, Live, and Bitwig keeps your custom banks intact.
Blank browser after adding wave expansions
A few recurring headaches surface in forums, and most have straightforward fixes once you know where to look.
Blank tone browser after installing wave expansions. The plugin scans a specific folder on first launch, and if you added expansions after that, the browser does not always refresh automatically. Force a rescan from the tone browser menu—the circular arrow icon in the top-right corner of the browser panel. It takes about twenty seconds with a full library and then everything appears under the correct categories.
CPU spikes on Intel Macs with multiple instances. On older Intel machines, four or five ZENOLOGY Pro instances playing dense four-part tones can push the processor past comfortable levels. The fastest fix: reduce the voice count per part. A Supersaw oscillator defaulting to seven voices per part across four parts eats 28 voices on one key press. Drop it to four voices, and the CPU load nearly halves without an obvious change in thickness on a busy mix. Also, the internal effects are per-tone, not per-part, so stacking a thick reverb on every instance adds up. Use a send from the DAW instead and keep the internal effects for modulation-style processing like phasers and ring modulators.
Patch compatibility when moving between hardware and the plugin. ZENOLOGY Pro shares the ZEN-Core engine with FANTOM and JUPITER-X, but the hardware instruments include additional analog filter emulations and some model-specific effects that the plugin does not reproduce. If a tone sounds different after transferring, check whether it uses a filter type labeled "VCF" with a model number. The plugin substitutes the closest JUPITER-modeled filter, which is usually close enough for a mix but noticeable in isolation. The workaround: build your core oscillator and envelope settings on the hardware, transfer them, then fine-tune the filter choice on the Mac where you can hear it in context with the rest of your session.
AudioUnit validation failures in Logic Pro. Occasionally, macOS updates can cause the AU component to fail validation. The fix is not to reinstall the whole plugin. Open the Logic Pro Plugin Manager, select the failed ZENOLOGY Pro component, and click "Reset and Rescan Selection." Logic gives it more time on the second pass, and it usually validates cleanly. If you are on a Mac with Apple Silicon running Logic in native mode, make sure you are using the ARM version of the plugin rather than the Intel build through Rosetta. The ARM build starts faster and uses less memory on M-series chips.
These are the kinds of things you figure out after a late-night session when something should work and does not. Once sorted, the plugin settles into the background and you stop thinking about it as software and start treating it like the instrument it aims to be. If you are searching for zenology mac or zenology vst free download mac to see whether the synth fits your workflow, the version covered here runs on macOS 11 and later on both Intel and Apple Silicon Macs, so compatibility is rarely the sticking point.
- macOS 11 or later
- Apple Silicon or Intel 64-bit Mac
Questions I actually get
Can ZENOLOGY Pro exchange sounds with Roland hardware?
Yes, it shares the ZEN-Core synthesis system with instruments like the JUPITER-X and FANTOM, so you can edit and transfer patches between the plugin and compatible hardware.
How many parts can a single tone have in ZENOLOGY Pro?
Each tone supports up to four parts, and each part includes its own oscillator, filter, amplifier, two LFOs, and EQ.
Porch talk 0
Come in or pull up a chair to leave a comment.
Nobody has pulled up a chair yet. If you used it on a real Saturday, say what the hour was.
More for the same hour
Everything in VST Plugins Roland Cloud Legendary Series
2025.06.29 VST Plugins
1.3 GB
Roland Cloud Legendary Series
2025.06.29 VST Plugins
1.3 GB
 RipX DAW Pro
8.0.3 VST Plugins
1.6 GB
RipX DAW Pro
8.0.3 VST Plugins
1.6 GB
 Safari Pedals Everything Bundle
2026.05 VST Plugins
628 MB
Safari Pedals Everything Bundle
2026.05 VST Plugins
628 MB
 Scaler 3
3.3.2 VST Plugins
1.4 GB
Scaler 3
3.3.2 VST Plugins
1.4 GB
 Revoice Pro
5.1.30 VST Plugins
39 MB
Revoice Pro
5.1.30 VST Plugins
39 MB
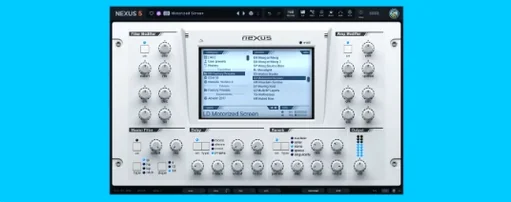 reFX Nexus
5.5.21 VST Plugins
Updated 72 MB
reFX Nexus
5.5.21 VST Plugins
Updated 72 MB
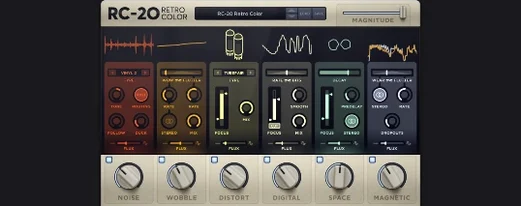 RC-20 Retro Color
1.5.1 VST Plugins
170 MB
RC-20 Retro Color
1.5.1 VST Plugins
170 MB
 Serato Hex FX
1.2.0 VST Plugins
105 MB
Serato Hex FX
1.2.0 VST Plugins
105 MB