

RipX DAW Pro is where a troubled track lands when an EQ curve can't fix what's buried inside the audio. It sits early in the workflow, right after you drag in a stereo file, bass stem, or vocal take that needs more than a trim. You pull the audio apart into its visible notes and overtones before the signal ever hits a bus or aux send.
- Load the problem audio onto the Rip. The software extracts every detectable pitch, harmonic, and bit of unpitched noise and spreads it across a piano-roll-style workspace.
- Separate with the stem tools. Before you edit a single note, you can isolate vocals, drums, bass, and other instruments into color-coded layers. This is a non-destructive split, so the original stays whole underneath.
- Clean up in the Restoration panel. Bleed from headphones, string squeaks, or a chair creak that landed on a vocal mic can be painted out without filtering the body of the sound.
- Edit at the harmonic level with the Audioshop and Harmonic Editor. If a guitar note's upper partials are clashing with a cymbal, you can turn down just that harmonic slice while leaving the fundamental alone.
- Script a custom task with RipScripts when the built-in tools don't cover the job. Write a small routine to batch-align note starts or rebalance a specific overtone across a whole performance, then hand the polished result downstream to your regular mixing chain.
If you spend your sessions rescuing stems from muddy rooms or pulled-from-video mixes, this is the cleanup stage that earns a permanent slot before your console and buses.
How RipX DAW Pro Sits Among Similar Mac Audio Tools
When someone searches for an acid pro daw workflow on a Mac, they usually want loop-based arranging with pitch and time stretching that doesn't fall apart. RipX DAW Pro isn't that. It's not a loop arranger. The Acid-style workflow lives in other software. What RipX does instead is let you step inside a loop or a full mix and edit the individual notes and noises that make it up—something no traditional DAW can do.
Put it next to iZotope RX and the difference becomes clear fast. RX is a surgical repair suite built around spectral graphs and module chains. You see a heatmap of frequencies over time and you paint problems away. RipX shows you the notes themselves, separated into stems and laid out on a piano roll. RX excels at broadband noise reduction and batch processing dialogue. RipX excels when you need to move a single wrong bass note, rebalance the overtones of a piano chord, or pull a vocal out of a finished stereo track and clean the bleed between syllables. They overlap in the restoration lane but approach the audio from opposite directions.
Compared to SpectraLayers, the conversation shifts toward the editing feel. SpectraLayers gives you layers and spectral editing, and it runs as a standalone app and as an ARA plugin inside other DAWs. RipX DAW Pro stays standalone—no VST or AU bridge to your main recording software. That standalone-only design means you commit to doing the deep extraction and cleanup work here, then export stems or the full mix and carry them into Logic, Live, or whatever you track in. SpectraLayers fits into an existing DAW session; RipX asks you to treat it as a dedicated prep stage. People who try to force it into behaving like a plugin often get frustrated because it wasn't built for that. Accept the standalone flow and it stops feeling like a limitation.
Clean Stems Start with Sparse Arrangements
The first misstep is loading a dense, fully-mixed track and expecting clean stems in two clicks. The separation algorithms are strong, but a wall of distorted guitars, layered synths, and a busy drum bus will still leave artifacts that need hand cleanup. Start with simpler material—a vocal and acoustic guitar, or a basic electronic arrangement—and learn how the layers behave before tackling a brickwalled master.
Another common stumble is ignoring the Restoration panel entirely and jumping straight to the Harmonic Editor. You hear a weird ringing in a vocal stem and start adjusting individual overtones, when the Restoration panel's tone reduction slider would have handled it in seconds. Use the broad cleanup tools first, then zoom in on harmonics for what remains.
New users also tend to paint out every bit of unpitched noise they see, thinking cleaner equals better. A little room tone and finger noise keeps a performance sounding human. Strip it all away and the result goes sterile. Listen while you clean, and leave the noise that belongs.
Finally, people sleep on the RipScripts editor because it looks like a programmer's corner. You don't need to write a hundred lines of code to get value from it. A four-line script that selects every snare hit and nudges its pitch down by a few cents can save an hour of clicking. The scripting panel logs errors clearly, so small experiments pay off quickly.
Clone a Kick Hit's Feel Across the Track
Right-click a note in the Harmonic Editor and you'll find a Clone Characteristics command. Select a well-played kick drum hit, copy its amplitude envelope and harmonic balance, then paste those qualities onto a weaker hit elsewhere in the performance. It's faster than matching by ear and keeps the groove consistent without sample replacement.
The Draw Pitch tool works on more than vocals. Grab it when a fretless bass slides a little flat at the end of a phrase, or when a synth lead bend needs tightening. Drag a smooth curve across the note and the software interpolates the pitch shift without the warbling you'd get from a real-time pitch corrector slapped on the whole track.
Holding Option while dragging a note boundary in the piano roll lets you split and join notes without switching tools. It's a small thing, but after the third vocal phrase where the separation cut a sustained note into three pieces, you'll use it constantly.
The stem separation panel has a volume balance preview mode—three sliders that let you audition drums, bass, and other instruments in relative isolation before you commit to a full extraction. It's easy to miss because it sits in a collapsed section of the panel, but it spares you from separating a full track only to realize the bass layer is too ghostly to use.
What the 8.0 Release Brought to Everyday Use
Version 8.0 tightened the cleanup workflow in ways that show up on the first pass. The Restoration panel got a non-destructive preview that lets you scrub through a problem area while toggling cleanup layers on and off, so you hear exactly what the tone reduction is removing before you apply it. Earlier versions required more trial and error with undo.
The stem separation engine was reworked in 8.0 and carries through to 8.0.3, with noticeable improvements on busy material. Drums separate from bass with fewer ghost notes bleeding across, and vocal extraction handles reverb tails more naturally. You still need to clean artifacts, but the starting point is cleaner than what 7.x delivered.
RipScripts gained access to more of the audio model in the 8.0 cycle, meaning a script can now read and adjust individual harmonic levels across multiple layers at once. For anyone who's spent an afternoon manually rebalancing overtones on a doubled guitar part, that's the kind of change that turns a two-hour task into a ten-minute one.
On the interface side, the note display got smoother zoom behavior and better contrast for harmonic detail at high magnification, which matters when you're editing sibilance in a vocal or sorting out cymbal bleed from tom mics. It's not a flashy update, but it reduces eye strain during long cleanup sessions.
- macOS 10.15 or newer
- Apple Silicon and Intel Macs
- Interface: English
Questions I actually get
How does note-level editing actually work?
RipX DAW Pro extracts audio into individual notes and their harmonics, displayed on a grid. You can move, tune, or adjust the volume of each note and its overtones independently.
Can I clean up audio without cutting into the original recording?
Yes. The built-in Restoration panel offers non-destructive controls to reduce background noise, mouth clicks, and other unwanted sounds while keeping the source file intact.
What do RipScripts add to the editing toolkit?
RipScripts let you write custom tools for repetitive tasks. You can script batch adjustments to note timing or harmonic balance that go beyond the standard on-screen tools.
Porch talk 0
Come in or pull up a chair to leave a comment.
Nobody has pulled up a chair yet. If you used it on a real Saturday, say what the hour was.
More for the same hour
Everything in VST Plugins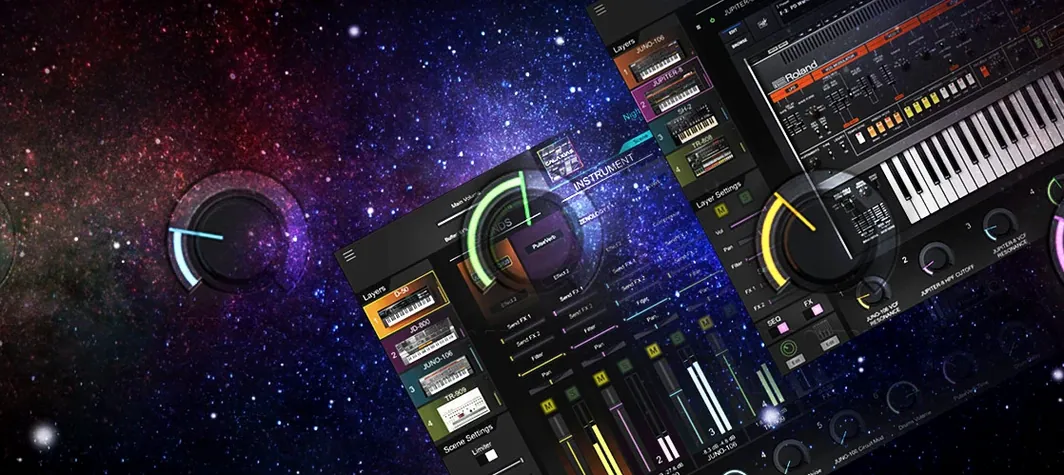 Roland Cloud Legendary Series
2025.06.29 VST Plugins
1.3 GB
Roland Cloud Legendary Series
2025.06.29 VST Plugins
1.3 GB
 Roland ZENOLOGY Pro
2.0.7 VST Plugins
1.8 GB
Roland ZENOLOGY Pro
2.0.7 VST Plugins
1.8 GB
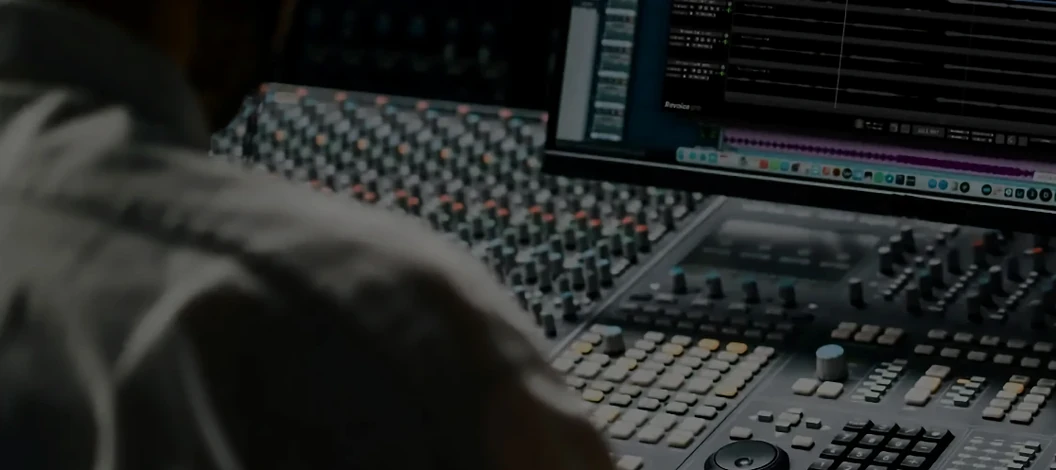 Revoice Pro
5.1.30 VST Plugins
39 MB
Revoice Pro
5.1.30 VST Plugins
39 MB
 reFX Nexus
5.5.21 VST Plugins
Updated 72 MB
reFX Nexus
5.5.21 VST Plugins
Updated 72 MB
 Safari Pedals Everything Bundle
2026.05 VST Plugins
628 MB
Safari Pedals Everything Bundle
2026.05 VST Plugins
628 MB
 RC-20 Retro Color
1.5.1 VST Plugins
170 MB
RC-20 Retro Color
1.5.1 VST Plugins
170 MB
 Scaler 3
3.3.2 VST Plugins
1.4 GB
Scaler 3
3.3.2 VST Plugins
1.4 GB
 Pulsar Audio IPA
1.0.9 VST Plugins
75 MB
Pulsar Audio IPA
1.0.9 VST Plugins
75 MB