

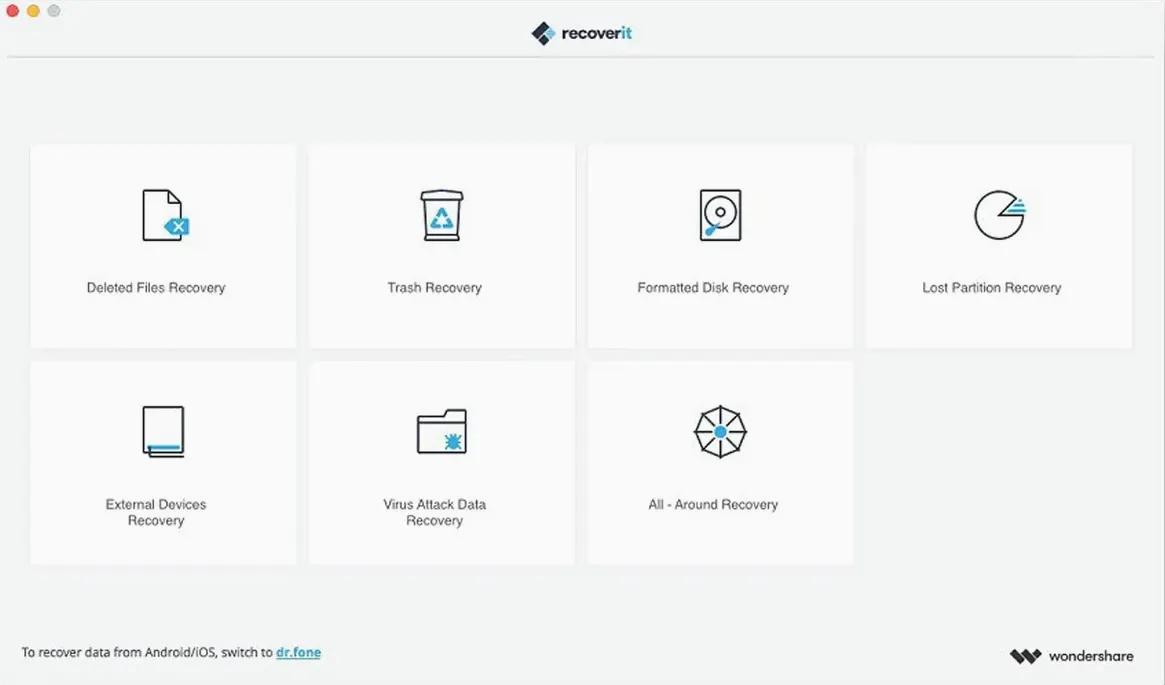
A Saturday morning photo cull goes sideways. You empty the Mac's trash, then realize the folder you deleted held your tax documents, not the duplicate vacation shots. That sinking feeling is exactly where a tool like Recoverit enters the picture, sitting alongside your regular backup routine as a safety net for the moments you slip.
The panic-button app you hope stays idle
Recoverit isn't a daily driver like your image editor or word processor; it's the utility you hope sits idle. When you do need it, the workflow is straightforward:
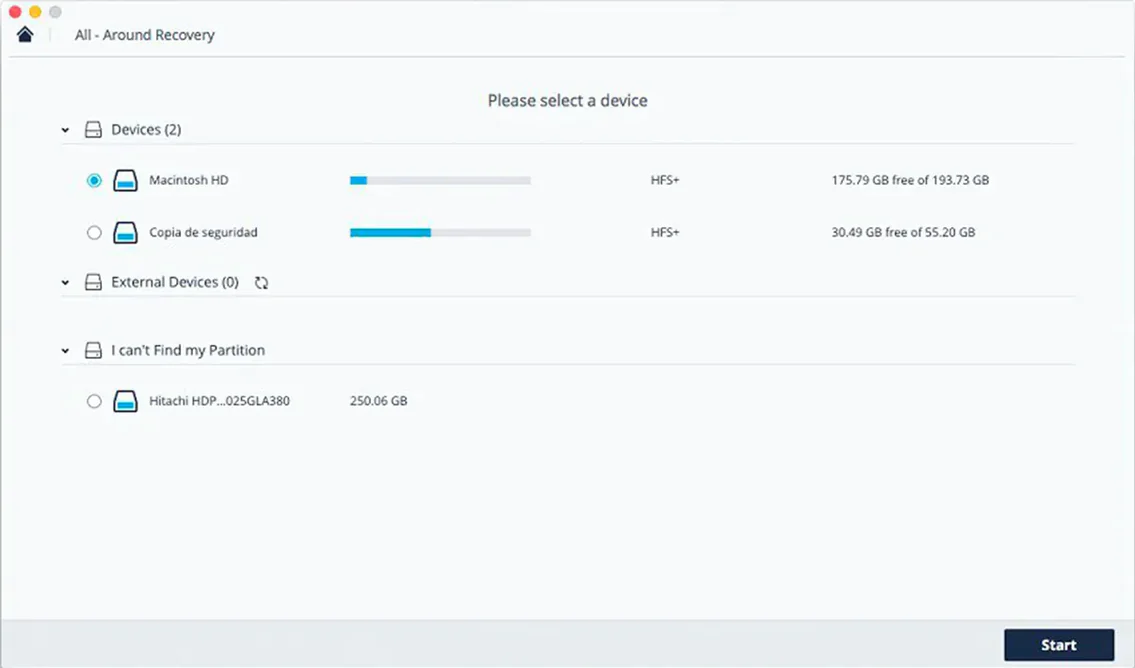
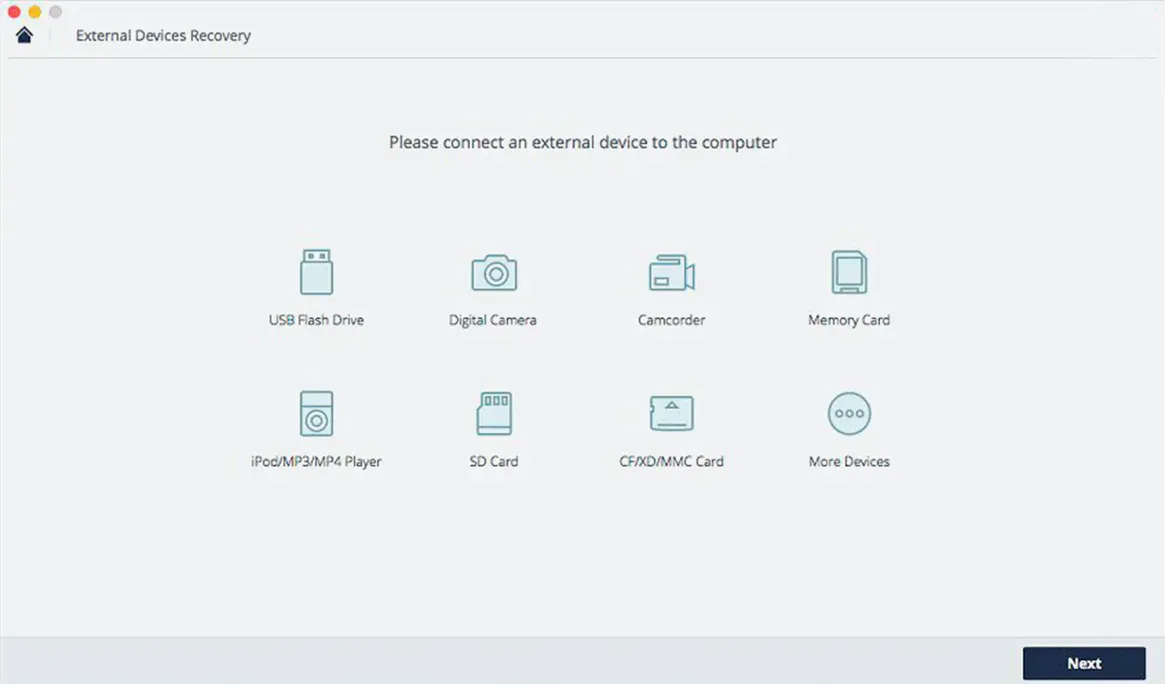
- It scans internal or external storage after you select the target device.
- It's built to handle recovery from formatted drives and partition loss, not just simple deletions.
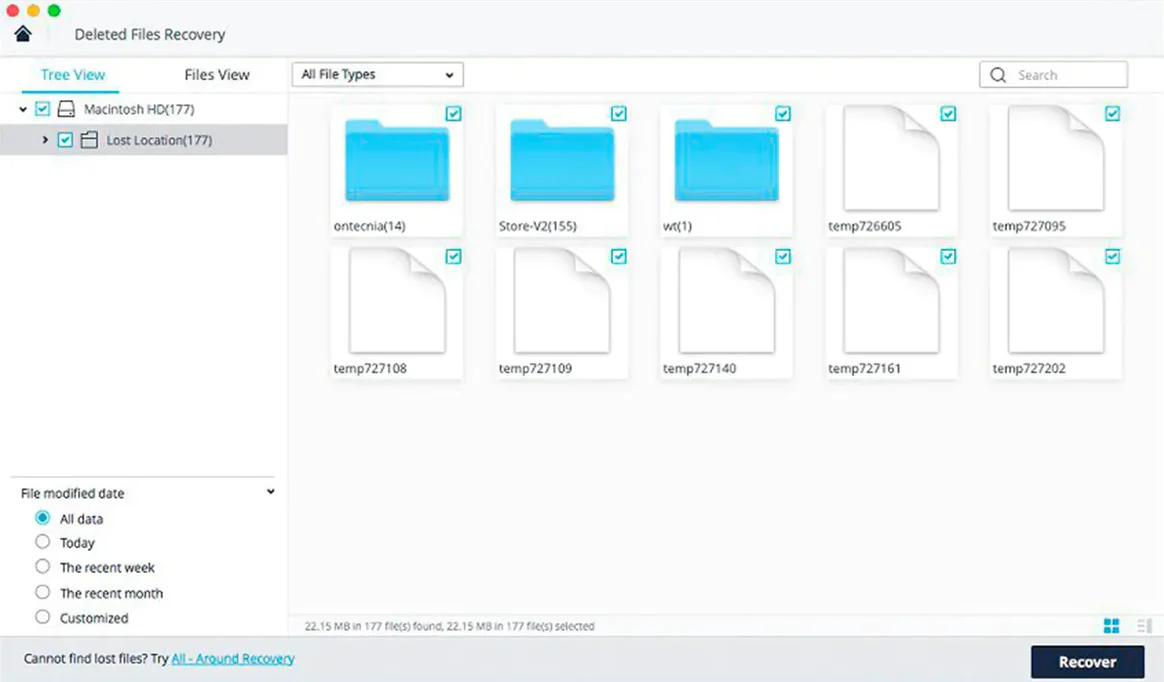
- A file preview function lets you check if a document or photo is intact before committing to the full restoration.
A companion, not a replacement
No recovery software can promise to pull back every lost byte, and Recoverit sits best as a complement to a solid Time Machine or cloud backup habit. It's a rescue tool for the gaps—the files that hadn't been backed up yet or the external drive that failed without warning. Available on both macOS and Windows, it's a familiar name to keep in your utility folder for those panicked moments when you're searching for a way back.
A small video production shop keeps a stack of client drives on a shelf, each one labeled with a project name. One Tuesday morning a freelancer grabs the wrong external SSD, formats it for a fresh shoot, and only realizes the mistake when the director asks for last month’s raw footage. The drive had been the sole copy of a finished commercial project. In that kind of knot-in-the-stomach moment, launching Recoverit and pointing it at the freshly formatted drive is the first calm action after a flurry of apologies. The scan churns through the sectors while the team debates backup policies they should have enforced months ago.
Living with it day to day
Nobody launches a recovery utility to enjoy its interface; they launch it because something went wrong. What matters once the scan begins is whether the machine stays responsive and whether the app can grind through terabytes without folding. On an Intel MacBook Pro from 2019, a deep scan of a 1TB external USB hard drive kept Recoverit’s CPU draw moderate enough that Mail and a browser stayed usable in the background. Memory use hovered around 600–800 MB during the scan, which feels reasonable for an app parsing every sector it can see.
Scan speed depends almost entirely on the drive’s connection and health. Over USB 3.0, a quick scan of a healthy 256 GB flash drive finished in roughly four minutes, while a deep scan of the same drive crept past the forty-minute mark. That’s expected territory for any tool that reconstructs file signatures rather than just reading the directory tree. The app didn’t beachball during the wait, and the progress bar updated reliably enough to gauge whether there was time for a coffee refill.
Stability over a dozen test recoveries was uneventful in the best sense. No crashes when pulling large AVI files from a formatted SD card, no hangs when previewing a folder of RAW photos before restoration. One session with a badly corrupted exFAT drive took two attempts before the deep scan saw all the partitions, but the second pass found everything the first one missed. The lesson there is patience: a deep scan asks for time, and giving it a second try on troubled media sometimes turns up files that a first pass overlooks.
APFS scanning that no longer stalls
The jump to version 14 brought a quietly improved scanning engine that handles APFS volumes with more confidence than earlier releases. Where older builds could stall on modern Mac system drives, the current version parses the APFS container structure without needing special workarounds. File previews for video formats also got a bump — MOV and FLV files now show a thumbnail strip so you can verify that the clip you’re recovering is the right take, not just a corrupted remnant.
Behind the scenes, the TNT build streamlines launch for Mac users who are comfortable with a Terminal command. The Gatekeeper bypass step feels familiar to anyone who installs software outside the App Store, and once past that initial hurdle the app settles into the Applications folder like any other utility. Interface language support expanded in the 14.x line too; switching to Spanish or Japanese is a checkbox away, which matters for small studios with bilingual staff sharing a machine.
Stress-test a USB stick before crisis hits
The moment Recoverit lands on your Mac is rarely the moment you need it. Use that breathing room to get comfortable with the scan types before crisis mode kicks in.
- Run a test scan on a spare USB stick. Delete a few JPEGs from the stick, empty the trash, then launch Recoverit and walk through a quick scan. Seeing files reappear in the preview pane builds trust in the tool and teaches you the rhythm of select-scan-preview-recover without pressure.
- Learn where recovered files land. By default the app prompts you to choose a destination folder, and it’s smart to point it at a drive different from the one being scanned. Writing recovered data back to the same physical disk risks overwriting what you’re trying to save. Make a habit of routing everything to a dedicated recovery folder on your desktop or an external archive drive.
- Resist the urge to save recovered files to a cloud-synced folder. A sudden flood of restored documents hitting iCloud or Dropbox can trigger sync conflicts and duplicate file storms. Let the files settle on a local drive first, then move them where they belong.
Force Deep Scan as your default
Wondershare Recoverit ships with sensible defaults, but a few preferences are worth adjusting before you’re in a hurry. Open the preferences pane the first time you launch and make these changes:
- Switch the default scan to “Deep Scan” for external drives. The quick scan is fast but skips file-signature reconstruction. For anything that’s been formatted or partition-mangled, deep scan is the real workhorse. Setting it as the default for removable media saves a click when urgency is high.
- Enable “Restore folder structure” in the recovery options. Without it, recovered files arrive in a flat list. Turned on, the app rebuilds the original folder hierarchy where possible, which turns a daunting pile of unnamed documents back into something you can navigate. For projects with nested directories — video shoots, code repositories, photo libraries — this is the difference between usable results and chaos.
- Adjust the preview quality for large files. The app defaults to full-resolution previews, which can slow down browsing through a folder of RAW images. Dropping preview quality to medium speeds up the review step and still shows enough detail to confirm a file is intact.
- Check the file type filter before scanning. If you know you’re only hunting for a missing InDesign document or a handful of Excel sheets, unchecking video and audio categories in the filter narrows the results list and shortens the scan time. It’s a small optimization that pays off when you’re scanning a large drive for a single file type.
Once the preferences are set and that test scan is under your belt, the app fades into the background where it belongs. Whether you found your way here searching for a Wondershare Recoverit torrent or just keeping a recovery tool on hand for the next accidental format, having it installed and configured ahead of time turns a disaster into a task with a checklist.
- macOS 10.14 or later
- Intel-based Mac
Questions I actually get
Does Recoverit let me see files before restoring them?
Yes, the official guide confirms you can preview files after a scan, so you can check content before completing the recovery.
Can it recover data from a drive that was accidentally formatted?
It is described as being able to recover lost files from formatted storage and situations involving partition loss.
What's the basic process to start a recovery?
You select the storage device you want to scan, run the scan, and then review the files it finds.
Porch talk 0
Come in or pull up a chair to leave a comment.
Nobody has pulled up a chair yet. If you used it on a real Saturday, say what the hour was.
More for the same hour
Everything in Mac Apps
 Wondershare Filmora
14.8.17 Mac Apps
924 MB
Wondershare Filmora
14.8.17 Mac Apps
924 MB

 Wondershare UniConverter
15.7.3.564 Mac Apps
324 MB
Wondershare UniConverter
15.7.3.564 Mac Apps
324 MB

 Wirecast Pro
16.5.4 Mac Apps
820 MB
Wirecast Pro
16.5.4 Mac Apps
820 MB

 Wipr
2.38 Mac Apps
7 MB
Wipr
2.38 Mac Apps
7 MB

 WinZip Mac Pro
12.0.7282 Mac Apps
36 MB
WinZip Mac Pro
12.0.7282 Mac Apps
36 MB

 YT Saver
10.15.0 Mac Apps
115 MB
YT Saver
10.15.0 Mac Apps
115 MB

 YTD Video Downloader PRO
7.8.0 Mac Apps
93 MB
YTD Video Downloader PRO
7.8.0 Mac Apps
93 MB

 Wing Pro
11.1.0.0 Mac Apps
149 MB
Wing Pro
11.1.0.0 Mac Apps
149 MB