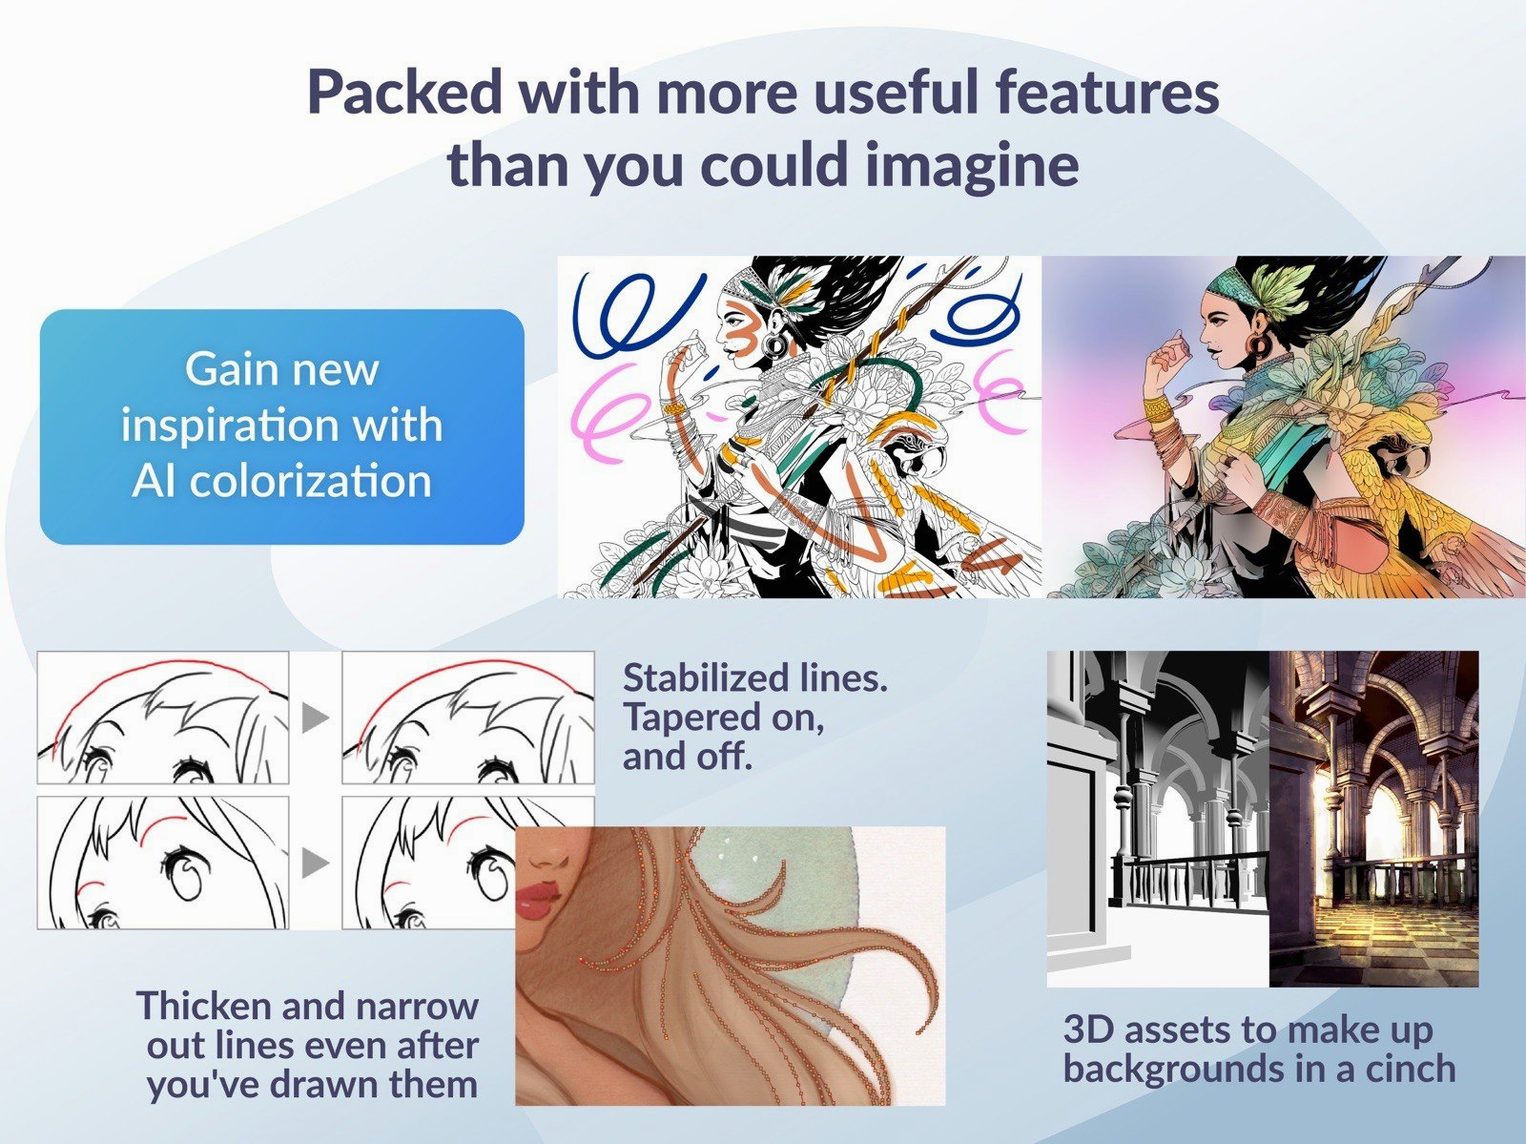
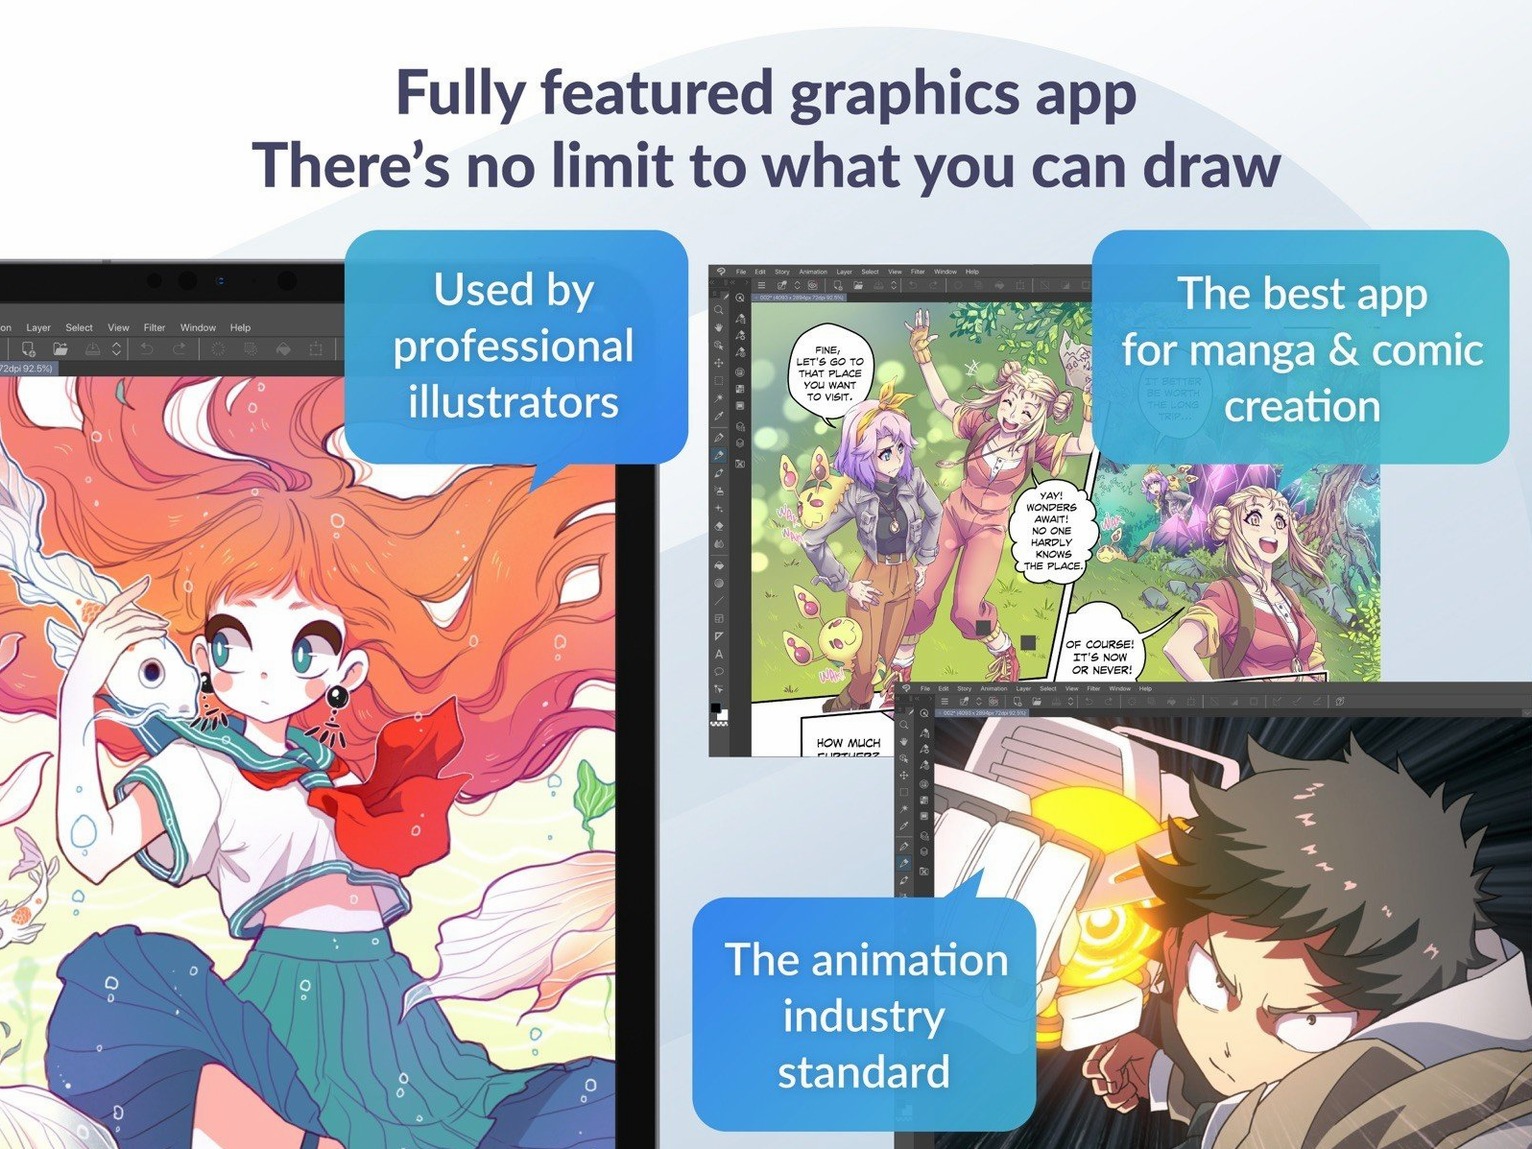
Before you sketch your first panel, it helps to know where the software fits. Clip Studio Paint runs on macOS 14 and later, covering both Intel machines and Apple Silicon Macs. A tablet with pen pressure makes a real difference here, though you can start with a mouse if you're just exploring. The app leans heavily into comics and manga creation, with dedicated tools for panel layouts, speech bubbles, and page management that general-purpose drawing programs don't always offer.
Which version makes sense for what I do?
First launch asks you to choose between EX and PRO. PRO handles illustration, webcomics, and frame-by-frame animation without breaking stride. EX adds professional story creation tools aimed at print work, multi-page management, and full book exports. If you're drawing single illustrations or short animated loops, PRO covers it. When you need to wrangle a full graphic novel, EX earns its spot.
Can I animate with it?
Yes, and it's more than an afterthought. The timeline supports frame-by-frame animation, onion skinning, and light table controls. You can export your work as sequential images, GIFs, or movie files directly from the canvas. It won't replace a dedicated animation studio, but for short loops, sprite work, and animatics, it holds up well.
What does the latest update fix?
Version 4.1.4 tidied up several rough edges on macOS. Quick Look now previews .clip files properly in macOS 15, PSD exports display correct thumbnails in Finder, and a force-close bug tied to the Color mixing panel was squashed. Simplified Chinese also joined the display language options alongside English, German, Spanish, Korean, French, and Japanese.
Hidden Color Pickers Outside the Canvas
Once you've drawn a few pages, the little things start to matter. Clip Studio Paint buries some genuinely useful shortcuts beneath its sprawling interface, and I still stumble across one I wish I'd known a year ago.
- Quick Eyedropper during a stroke. Hold
Optionwhile painting and the cursor switches to the eyedropper. Release it, and you're back to your brush with the new color loaded. No round-trip to the tool palette. - Change brush size without the sliders.
[and]step brush size up and down. AddShiftand you're adjusting opacity instead. These work mid-stroke, which keeps your rhythm. - Drag-and-drop color swatches from anywhere. Grab a color from the canvas, the color wheel, or even a reference image open beside the app, and drop it straight onto the sub color square. It holds until you swap it again.
- Layer search by name. When a comic page hits forty layers, scrolling is slow. The layer palette has a text filter at the top. Type "ink" or "flat" and it collapses everything else.
- Quick Mask toggle. Tap
Qto enter Quick Mask mode, paint your selection area in red overlay, then tapQagain to convert it to a marching-ants selection. Faster than lassoing complex shapes by hand.
A colorist who works with imported line art
Imagine someone doing flat colors for a monthly webcomic. The line artist sends layered PSDs, and the colorist needs to drop flats under the inks without touching the linework layer. Clip Studio Paint imports those PSDs with layers intact, so the ink layer sits on top, set to Multiply, and stays put.
The colorist sets the ink layer as a reference layer, then grabs the Paint Bucket tool with "Refer to reference layer" turned on. Now filling an area respects lines on a different layer entirely — no need to flatten or merge. A single page with six panels takes about twenty minutes to flat, and the bucket's close-gap setting catches most of the stray pencil marks the inker left behind. When a panel needs a gradient for a sunset backdrop, the gradient tool snaps to the panel border marquee without bleeding into the gutter. At export, the PSD goes back out with the same layer structure it arrived in, which the letterer downstream appreciates.
Sketch Here, Finish Elsewhere Without Flattening
Clip Studio Paint isn't an island. The PSD round-trip support means you can sketch in CSP, move to another app for a specific effect, and pull the file back without losing layer names or blend modes. A common setup on the Mac side: rough pencils in CSP, export a flat PSD, open it in a pixel editor for texture work or color grading, then bring the finished piece back into CSP for speech bubbles and panel borders — those tools are hard to beat elsewhere.
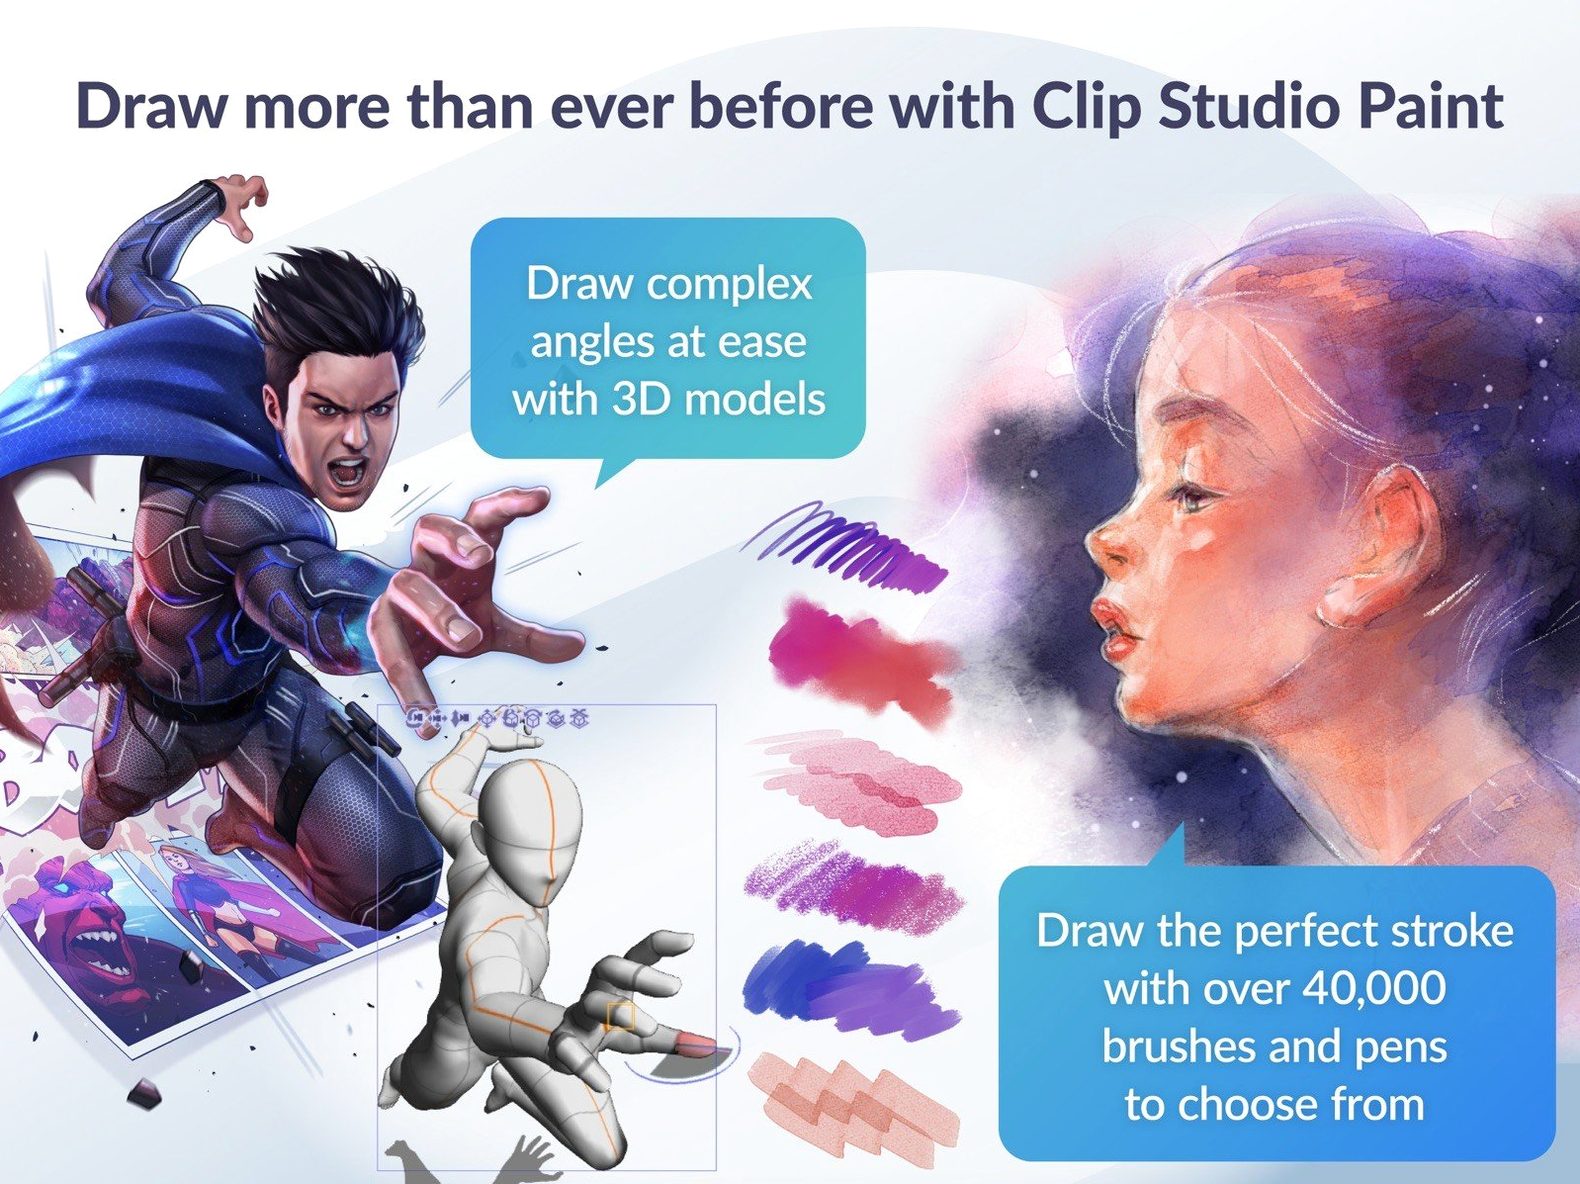
The 3D figure system works as a standalone posing tool too. Pose a mannequin, screenshot or export the pose reference, and use it in any drawing app you like. On macOS, the Quick Look fix in version 4.1.4 finally makes browsing a folder of .clip files practical in Finder — hit the spacebar and you see the artwork instead of a generic icon. If you're hunting for a specific page among a dozen similar thumbnails, that alone saves a session.
For animation, exporting an image sequence from the timeline gives you numbered PNGs that drop straight into compositing software or video editors. It's not glamorous, but it's the kind of interop that keeps a project moving when you need to hand off work.
One Illustration from Blank Canvas to Export
Let's walk through how a single-illustration session might go on a MacBook Pro, from cold start to exported file.
1. Gather references. You open a blank canvas at print resolution, then drag three photo references from Finder directly onto the canvas. Each lands as its own image layer. You drop their opacity to 30 percent and arrange them beside your drawing area. No importing through menus.
2. Rough sketch. On a new vector layer, you block in the composition with the default pencil tool. Vector strokes here mean you can grab the Control Point tool later to tweak a line's curve without redrawing it. The canvas rotates freely with two-finger gesture on the trackpad, so hatching at an angle feels natural.
3. Ink over the sketch. You add a new raster layer above the sketch, pick a G-pen from the tool palette, and start inking. The sketch layer drops to 20 percent opacity and locks so you don't accidentally draw on it. Tablet pressure handles line weight variation. Halfway through, you realize the left eye sits too high — you lasso it, hit Cmd+T, and nudge it down with Free Transform.
4. Flat colors and shading. A folder holds all the color layers beneath the ink layer. The Paint Bucket references the ink layer so fills stop at the line art. A clipped layer above each flat color area handles shadows with a soft airbrush set to Multiply. The whole color folder stays organized enough that you could hand the file to someone else and they'd understand the stack.
5. Final tweaks and export. You add a tone layer for a halftone texture in the background, dial its frequency down, then merge a copy of everything for export. The file saves as a .clip master, then exports as a layered PSD for the client and a high-res PNG for posting. The Quick Look preview in Finder confirms the PNG came out right before you close the lid.
Version 4.1.4 brings a few welcome fixes alongside a new language option:
- Simplified Chinese joins the display languages.
- Quick Look previews of .clip files now work correctly in macOS 15.
- PSD exports show proper thumbnails in Finder on macOS 15 and later.
- A force-close issue with Color mixing set to Running color was fixed.
- macOS 14 or later
- Intel or Apple Silicon Mac
- 2 GB memory (8 GB or more recommended)
- OpenGL 3.3 compatible GPU
- Pen tablet with pressure sensitivity supported
- Internet connection for license verification and some features
Questions I actually get
Does it work with 3D models and reference figures?
Yes, it supports 3D objects and posable figures. The 4.1.4 update adjusted how dragging 3D materials works when a 3D layer sits outside a frame folder.
What hardware do I actually need?
Beyond macOS 14, you'll want 2 GB of memory at minimum, though 8 GB or more is recommended. An OpenGL 3.3 compatible GPU handles the canvas, and a pressure-sensitive tablet and stylus unlock the full brush engine.
Porch talk 0
Come in or pull up a chair to leave a comment.
Nobody has pulled up a chair yet. If you used it on a real Saturday, say what the hour was.