Getting a RAW file to feel like the scene you remember takes more than a quick slider pass—it needs a converter that respects the sensor data from the first click. Capture One puts that control front and center.
RAW converter — A dedicated engine tuned to more than 500 camera models, pulling detail from highlights and shadows that other converters flatten.
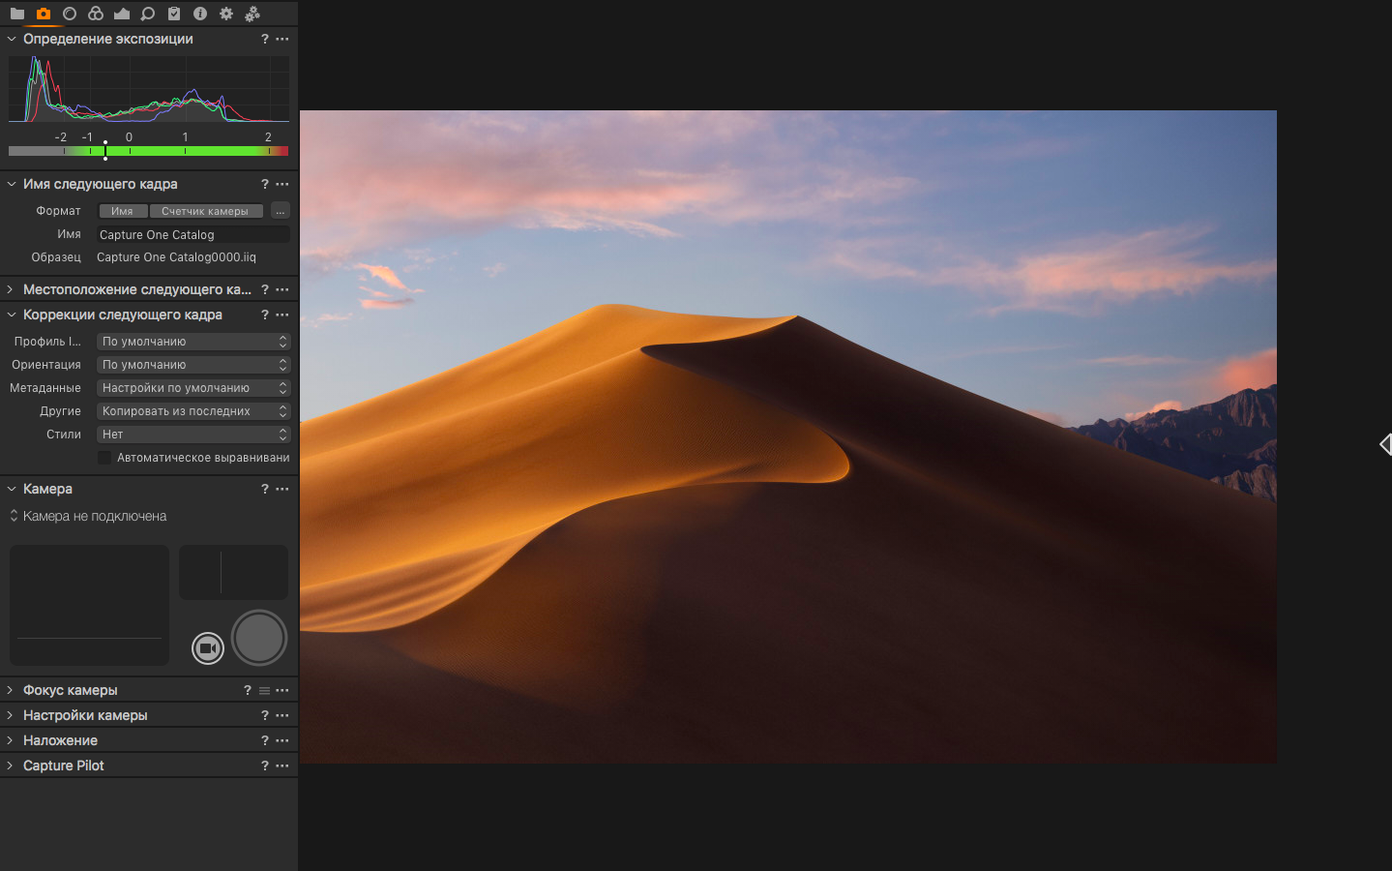
Tethering — Shoot directly into the app with live view and wireless improvements that landed in version 16.8, so you can check focus and color on a full display seconds after the shutter fires.
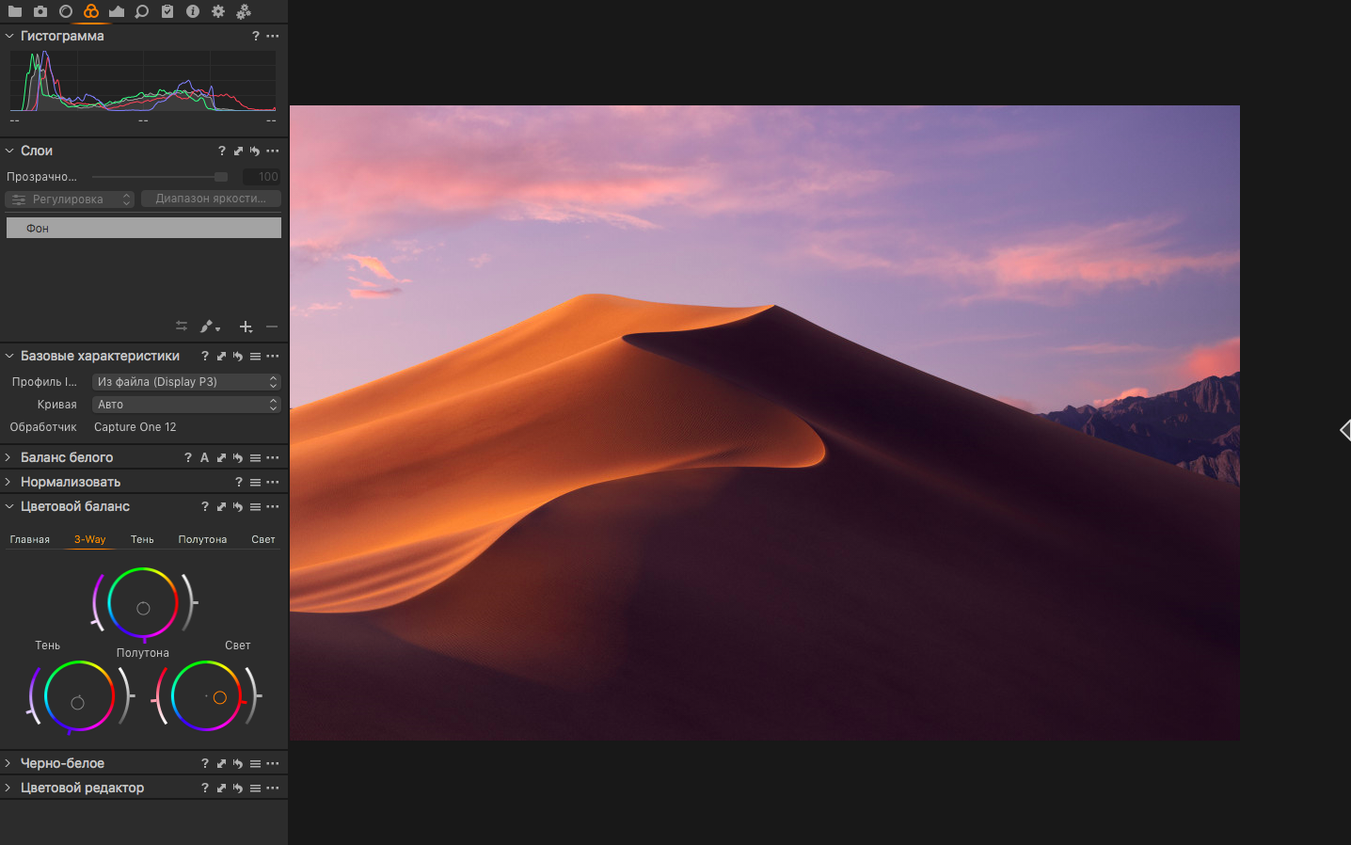
Color control — White balance goes beyond a single slider: color temperature and tint let you warm a skin tone without muddying the background neutrals.
Variants — Create multiple correction versions of one image without duplicating the original file. Great for comparing a punchy edit against a softer treatment.
Export — Full-size TIFF in RGB or CMYK, plus JPG. Batch conversion handles the repetitive work while single-image mode keeps quick exports fast.
Version 16.8 brought enhanced denoise for cleaner high-ISO frames, assisted review for faster culling, and new contact sheet layouts. If you spend more time behind the camera than at the desk but still want the file to sing, this one earns its spot in the dock.
First days with Capture One: where to point your attention
You will not learn this app in an afternoon, and that is fine. The first few days are about building muscle memory for the few tools that actually change how a file looks. Everything else can wait.
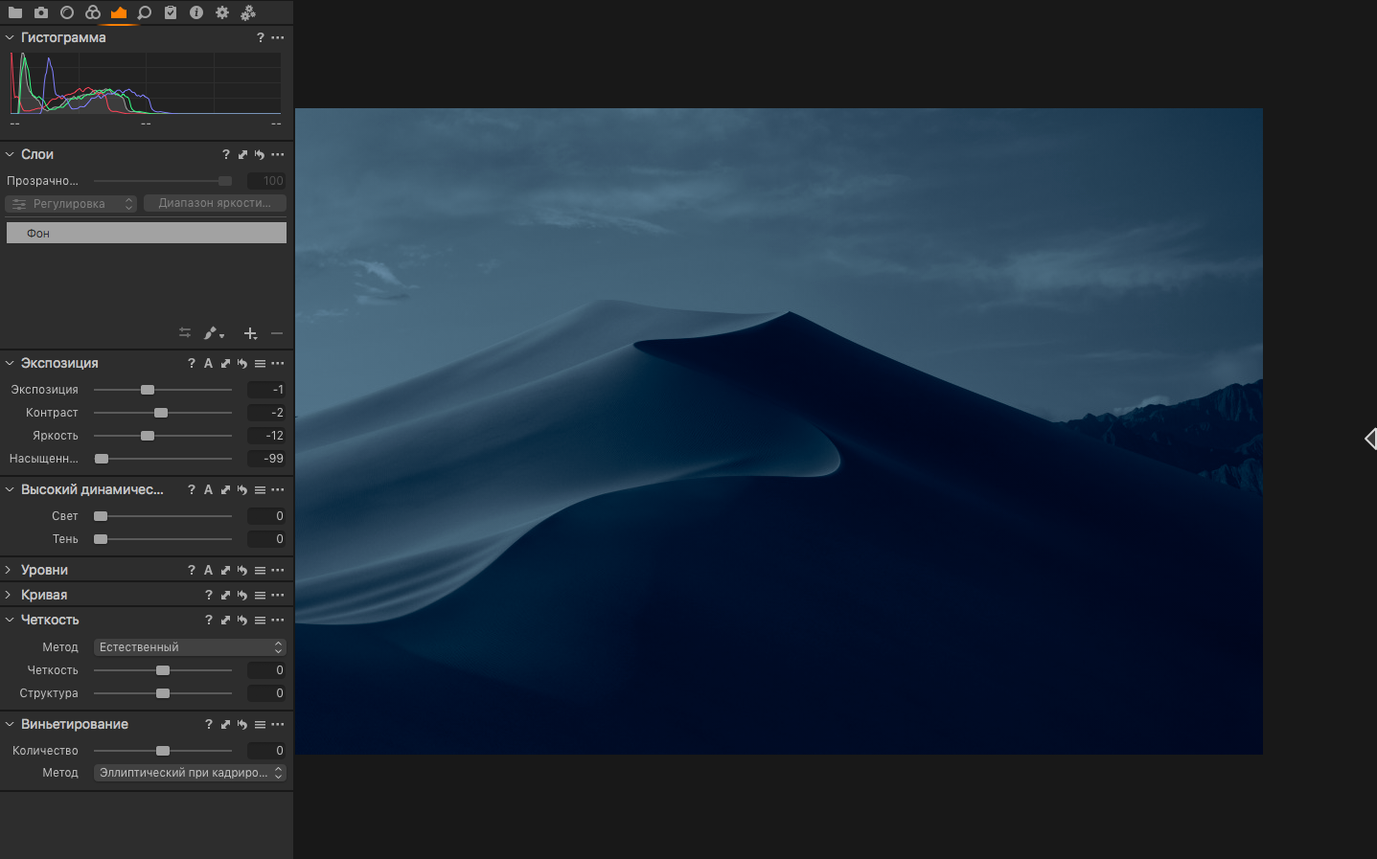
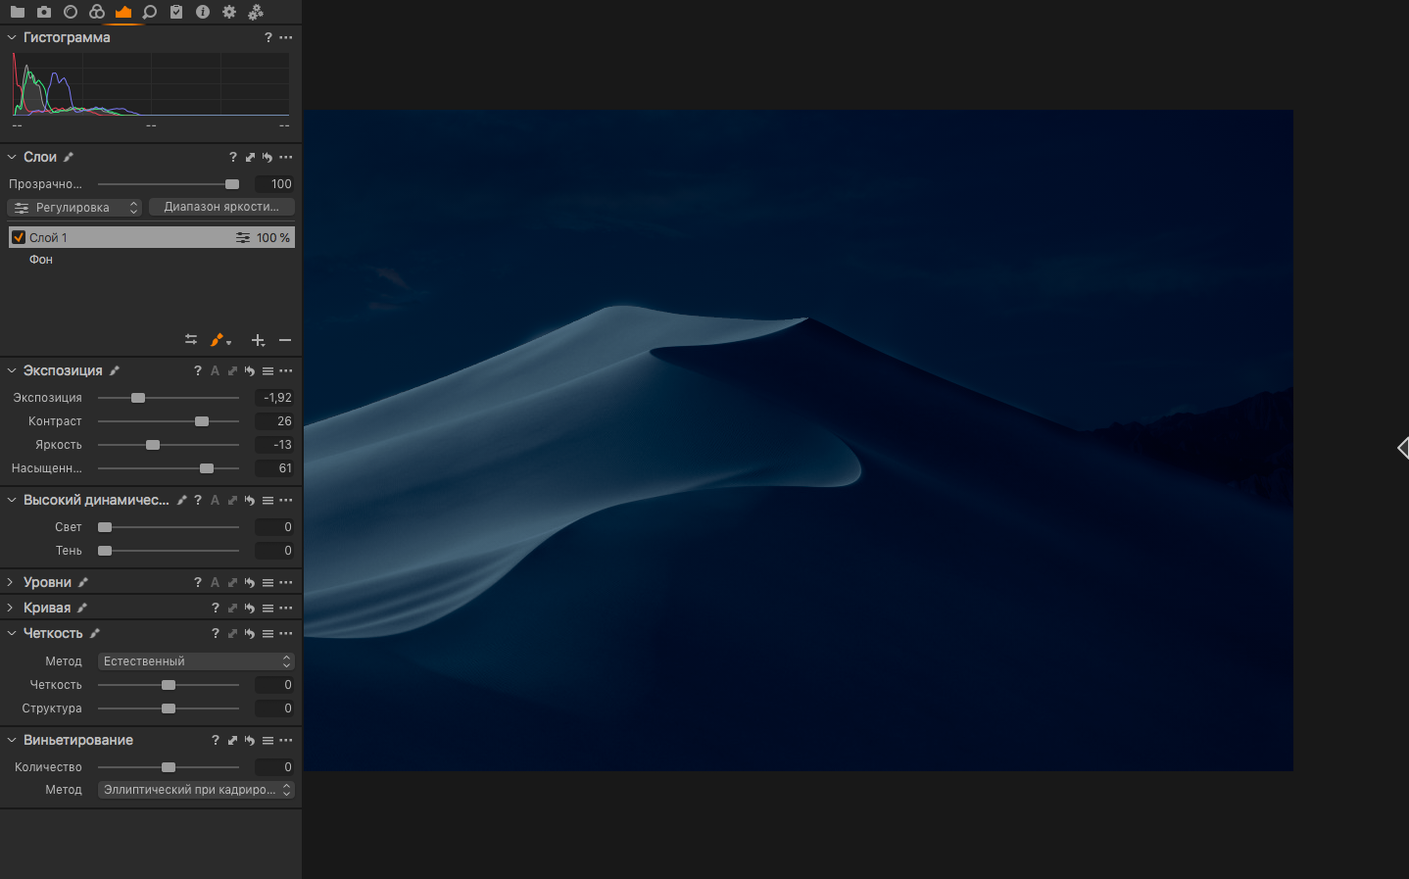
Start with the Exposure and High Dynamic Range tabs. Those two panels handle more than half of what most RAW files need. Pull the Highlights slider left before touching the exposure dial—Capture One's highlight recovery is gentler than dragging exposure down and losing midtone snap. Then use the Shadows slider to open up darker areas without the flat, lifted-black look that traps so many novice edits.
Next, spend twenty minutes with the Levels tool, specifically the RGB channel. Switch away from the combined Luma curve and adjust each channel individually. A small lift to the blue channel shadows cools a backlit portrait without touching white balance. That single habit, practiced early, separates a clean edit from one that fights the sensor's native color response.
Leave the Color Balance and Advanced Color Editor alone for the first week. They are powerful, but they reward a calibrated eye that already knows what a neutral midtone should look like. Get exposure and contrast right first; color decisions land faster when the tonal foundation is solid.
Session vs. Catalog: pick one and commit
Capture One gives you two ways to organize work, and new users often toggle between them until both feel half-learned. A Session is a self-contained folder with all captures, adjustments, and exports living in one place—ideal for tethered shoots or single-day projects. A Catalog behaves more like a traditional library, pulling in images from anywhere on your drives.
For the first few imports, try Sessions. The folder structure will show up right in the Finder, and you will never wonder where a setting file got buried. Once you are comfortable with how adjustment data travels alongside the RAW files, you can decide whether a catalog suits longer-term browsing.
Tethered studio work with instant live view
Studio portrait photographers get the most immediate payoff. The tethering engine connects quickly, live view updates with low lag, and the color tools make skin tone corrections feel more precise than in converters that lean on global temperature and tint alone. If you shoot under mixed strobe and window light, the ability to pin a white balance off a gray card with the eyedropper and then fine-tune with the four-way Color Balance wheel saves a dozen round-trips to another app.
Landscape and architecture shooters who pixel-peep corner sharpness also settle in fast. Capture One's default sharpening applies less halo than some competitors, and the Clarity tool has a structure-aware algorithm that boosts midtone contrast without ringing around high-contrast edges. When you are printing large, that difference matters more than any spec sheet bullet point.
Wedding and event photographers who deliver hundreds of proofs benefit from the Assisted Review feature added in 16.8. It groups similar frames and flags likely keepers, cutting the first culling pass down to a fraction of the time. You still make the final call, but the app does the sorting busywork.
Casual shooters who edit ten photos a month may find the interface dense. The app rewards repetition. If your editing sessions are short and infrequent, the learning curve can feel steeper than necessary—though the RAW conversion quality is still there if you want to grow into it.
Round-trip to Photoshop without format translation
Capture One does not demand that you abandon everything else. It reads and writes industry-standard formats, which means it slots between other tools without forcing a format translation step.
For retouchers who finish work in Photoshop, round-tripping works cleanly: right-click an image, choose Edit With, and the app generates a 16-bit TIFF with your current adjustments baked in. When you save in Photoshop, the TIFF lands back in the Capture One catalog or session. Adjustment layers stay intact on the TIFF, while the original RAW file and its non-destructive settings remain untouched. This is the workflow many high-volume portrait studios rely on.
For black-and-white specialists who prefer Silver Efex or similar plug-ins, the same Edit With path applies. The TIFF carries full tonal range, so the plug-in has real data to work with, not an already-clipped 8-bit JPG.
On the macOS side, Capture One respects system-level color management. If your display is calibrated with a hardware puck and a custom ICC profile, the app reads it automatically. You can also soft-proof against a printer profile using the Proofing option under the View menu, which simulates how the export will look on paper before you commit ink.
Apple Photos and iCloud libraries are not part of the equation—Capture One works with folders and files on disk, not a managed photo library. That keeps things predictable if you prefer organizing shoots by date and project name in the Finder.
Small shortcuts and conveniences worth knowing
Some of the best features in Capture One are not labeled on a button. They are keyboard shortcuts and workflow habits that experienced users pick up over months. Here are a few that speed things up noticeably.
- Hold Option while dragging a slider — This shows a temporary preview of the adjustment at full strength, often with a mask-like overlay for sharpening and noise reduction. It is the fastest way to check whether clarity is introducing halos or whether the denoise setting is smearing fine detail.
- Copy adjustments from the previous image — Press
Shift-Command-Cto copy all settings from the last photo you edited, thenShift-Command-Vto paste them onto the next. For a series shot under the same light, this cuts editing time in half. - Reset individual tools with a double-click — Double-click the name of any slider or tool heading to reset just that adjustment to its default. No need to hunt for a reset button in a menu.
- Luma curves over RGB curves for contrast work — The Luma curve adjusts tonal contrast without shifting saturation. RGB curves change color as they change brightness, which can be useful but is often not what you want for a basic contrast tweak. The Luma option sits in the same Curve tool, just a different tab.
- Process Recipes for batch consistency — Under the Output tab, you set up named recipes—one for full-res TIFF, one for web JPG, one for client proofs—and switch between them with a single click. Batch exports then follow whichever recipe is active, so you never accidentally send a 200 MB TIFF to a client who wanted 2048-pixel proofs.
- Focus Mask overlay — Under the View menu, turn on Focus Mask. It paints a green overlay on areas of high contrast that the lens resolved sharply. Quicker than zooming to 100% on every frame when culling a burst.
These are not hidden tricks; they are just easy to skip when you are learning the broad strokes. Once they become habit, the editing pace picks up without any sense of rushing.
Whether you are shooting tethered in a studio or working through a card full of landscapes at the kitchen table, Capture One rewards the time you put into learning its rhythm. The RAW engine does heavy work on its own, but the real efficiency comes from knowing which three tools to reach for first and which keyboard shortcut saves you thirty seconds on every image. If you edit in volume or care about color at the pixel level, it is worth settling in for the long haul.
Version 16.8 sharpens the workflow in a few useful ways:
- Enhanced denoise — cleaner high-ISO frames with less fuss.
- Assisted review — faster culling when you're staring down a full card.
- New contact sheets — fresh layouts for comparing selects at a glance.
- macOS 12 or later
- Apple Silicon and Intel Macs supported
Porch talk 0
Come in or pull up a chair to leave a comment.
Nobody has pulled up a chair yet. If you used it on a real Saturday, say what the hour was.