

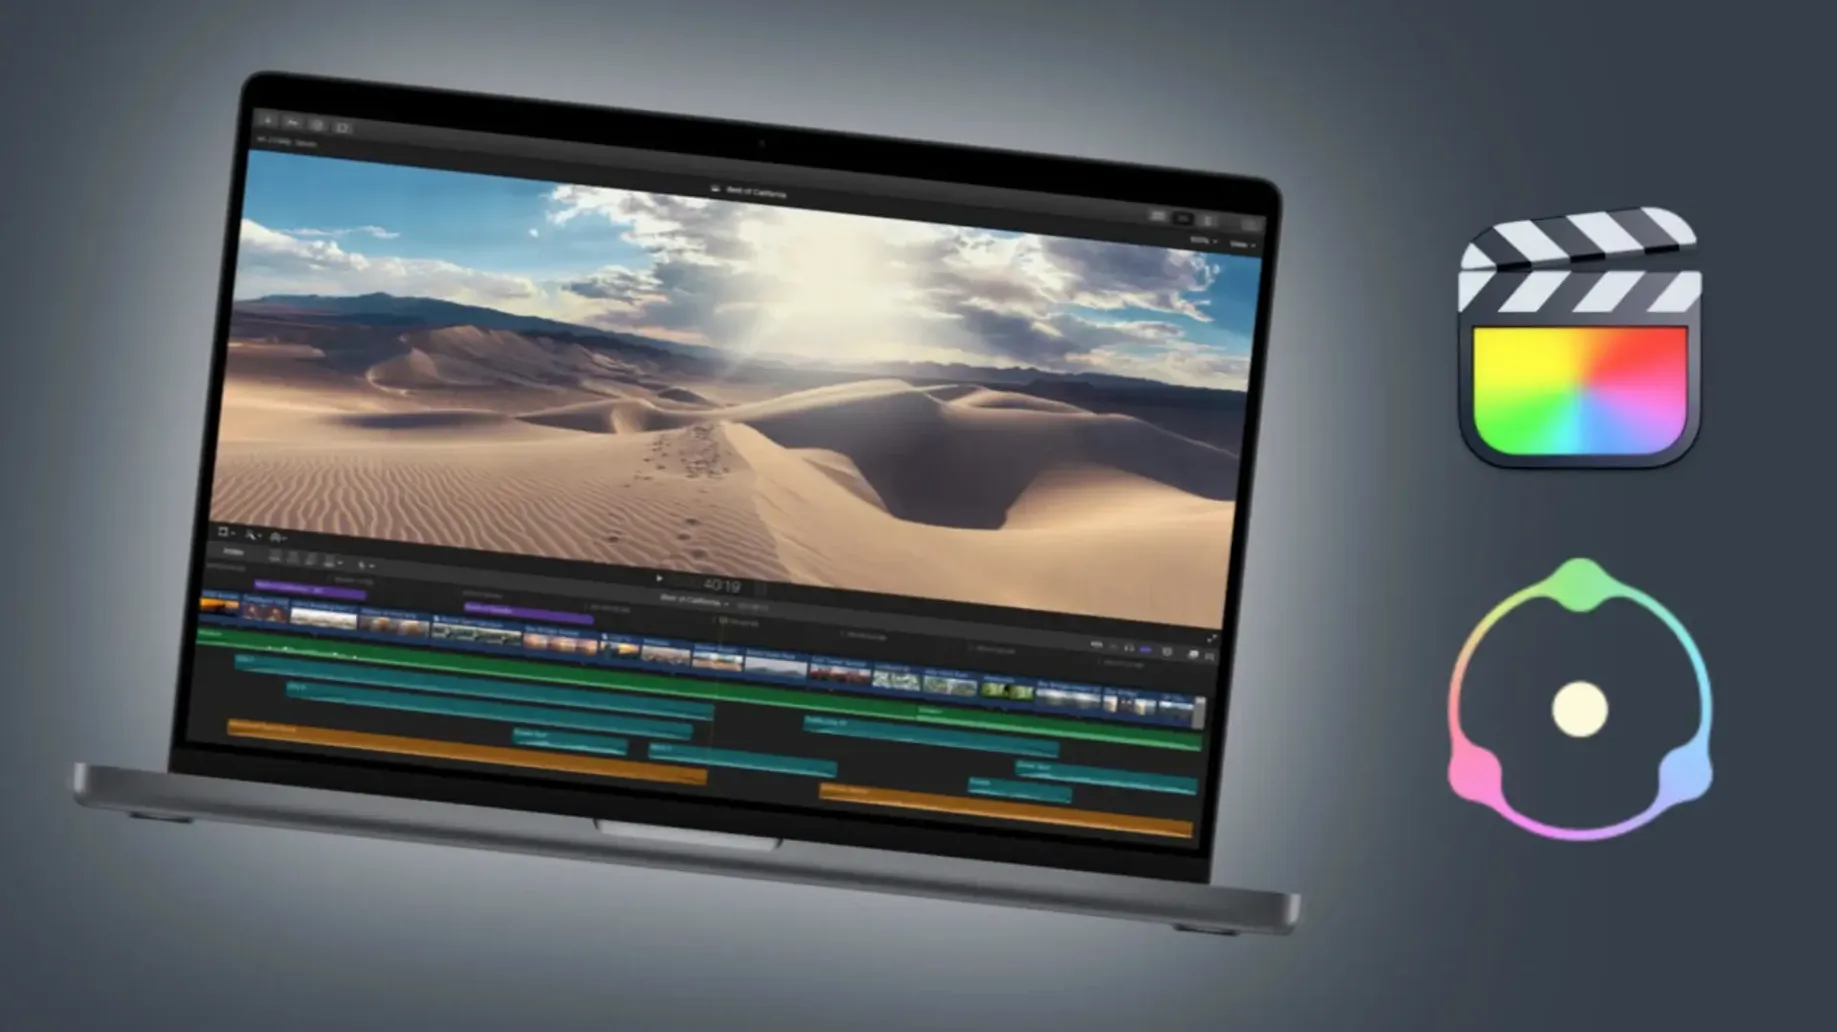
Digital footage can feel sterile right out of the camera, missing the texture and color personality that makes film so evocative. Here’s what Dehancer Pro brings to the table for Mac editors.
What it is — A film emulation plugin that recreates the full analog image pipeline, from the color response of more than 60 print and negative stocks right down to the physical imperfections.
Plugin format — Available as a native plugin for Final Cut Pro, Adobe After Effects, and Adobe Premiere Pro. It slots directly into the effects browser where you expect it.
macOS compatibility — Runs on macOS 11 and later. The current build, version 7.3.4, works on both Intel and Apple Silicon machines without a separate download.
The sound of it — Beyond the film profiles, you get a full set of analog character tools: realistic grain, bloom around highlights, halation glow, film damage artifacts, overscan, and a LUT generator for baking looks. Camera profiles help map your sensor’s starting point to the stock you’re emulating.
Mistakes That Send Beginners Back to the Default Look
I see the same handful of missteps when someone fires up Dehancer for the first time. One of the big ones is slapping a full emulation stack onto log footage without a conversion LUT or color space transform upstream. The plugin expects a scene-referred or display-referred starting point — feed it flat log and the grain structure falls apart while the halation blooms across the entire frame instead of dancing around the highlights.
Another trap is the grain slider. Beginners tend to push it until they see texture on their 5K monitor, then wonder why the export looks like a sandstorm on a phone screen. The rule of thumb worth internalizing: dial it until you barely notice it, then back off just a hair. Grain reads differently at every delivery resolution, and Dehancer's grain engine is detailed enough that a light touch goes a long way.
Forgetting to check the pipeline order inside the plugin trips people up too. Film damage before color adjustments creates a very different result than damage at the end of the chain. The bloom and halation tools are also sensitive to the order — bloom applied too early can muddy shadows you intended to keep clean. Take the thirty seconds to drag the modules around and watch what shifts.
Toggle GPU Acceleration to Match Your Chipset
Open the plugin preferences and you'll find a couple of toggles that change the whole experience. The first one to look for is the GPU acceleration setting. On Apple Silicon Macs, it's often enabled by default — but on older Intel machines, you might need to switch it on manually. The playback difference in Resolve's color page is night and day.
Next, head to the working color space dropdown. Matching this to your timeline's color management prevents the plugin from guessing your starting point. Final Cut Pro users on a Wide Gamut HDR timeline will get noticeably different shadow rendering than someone working in Rec. 709. The camera profile section pairs with this — pick your specific sensor profile instead of leaving it on the generic default. A Sony FX6 and a Blackmagic Pocket camera interpret the same film stock through different math.
For anyone experimenting with print film options, switch the view mode to show only the print LUT first, then layer the negative stock afterward. Building the look in stages makes it easier to understand what each component is actually doing to the image. The LUT generator tucked into the export section is also worth a visit early — it lets you bake a finished grade into a .cube file for quick application across projects.
Where Dehancer Sits in a Real App Ecosystem
The plugin plays well with macOS frameworks in ways that streamline a multi-app workflow. The LUT files you generate inside Dehancer drop right into Final Cut Pro's built-in Custom LUT effect, into DaVinci Resolve's LUT gallery, or into the adjustment layer of a Photoshop document — no format conversion needed. Quick Look even previews .cube files in the Finder, so hunting for the right grade in a folder of exports is surprisingly painless.
For editors working across After Effects and Premiere Pro, Dehancer's dynamic link behavior is worth understanding. Apply it on an adjustment layer in Premiere, and the effect travels cleanly through to After Effects compositions when you use "Replace with After Effects Composition." The plugin doesn't bake itself into a render until you explicitly export, which means you can tweak grain density or swap film stocks in the linked comp without re-rendering the timeline cut.
On the system side, the plugin benefits from macOS color sync. If your display is hardware-calibrated through the system-level color profile, Dehancer's preview stays consistent between the Resolve viewer and a QuickTime export opened in the Finder. Screen recording tools like the built-in macOS screenshot utility also capture the graded output accurately — handy for sharing frame grabs with a director without a separate still export step.
Some users searching for dehancer pro mac free or a dehancer torrent are exploring their options before committing to a full install. The full version of the plugin includes every stock, every grain type, and the complete toolset in one package. No features sit behind an upgrade wall.
Matching Modern Interviews to Super 8 Scans
Picture a documentary editor cutting an archival-heavy piece on a MacBook Pro. The project mixes fresh interviews shot on a modern mirrorless camera with scanned Super 8 footage from the 1970s. The new material looks clean to the point of distraction next to the historical reels. She drops Dehancer onto an adjustment layer above the interview timeline, picks a Kodak 50D negative stock paired with a 2383 print film emulation, adds a subtle gate weave in the overscan section, and feathers the film damage module to introduce occasional faint dust — not enough to fake age, just enough to soften the digital edge. The halation control brings a gentle warm glow to the practical lamp in the background.
The real trick comes when she generates a LUT from that grade and applies it lightly at 40% opacity over the archival footage. The result isn't a perfect match — it's not supposed to be — but the two sources now breathe in the same world. The grain structure ties them together, and the color palette leans toward the same print stock. She exports a reference still to Dropbox through the macOS share sheet, and the director approves it from an iPad. The whole chain, from plugin to client review, moves without leaving the Mac ecosystem.
Whether you're chasing a dehancer pro mac torrent to test the full toolset or you're already dialing in a print film recipe for a feature, the plugin's real strength shows when you stop treating it as a preset machine and start building looks with the same decisions a film colorist would make. That documentary editor didn't click "apply" and walk away — she rode the modules in order, checked the pipeline, and let the tools interact. The difference shows in the final timeline.
Version 7.3.4 keeps things steady with bug fixes and performance tweaks across the board.
- macOS 11 or later
- Works on Intel and Apple Silicon Macs
- Final Cut Pro, Adobe After Effects, or Adobe Premiere Pro
Questions I actually get
Which Mac video apps does Dehancer Pro work with?
You can use it inside Final Cut Pro, Adobe After Effects, and Adobe Premiere Pro on macOS 11 or later.
What film looks are included with the plugin?
The plugin includes more than 60 film profiles covering print films, negative stocks, grain, halation, bloom, and film damage effects.
Porch talk 0
Come in or pull up a chair to leave a comment.
Nobody has pulled up a chair yet. If you used it on a real Saturday, say what the hour was.
More for the same hour
Everything in Mac Apps Deep Glow
1.6 Mac Apps
3 MB
Deep Glow
1.6 Mac Apps
3 MB
 Depth Scanner
1.15.6 Mac Apps
2 MB
Depth Scanner
1.15.6 Mac Apps
2 MB

 DirEqual
7.7.2 Mac Apps
Updated 19 MB
DirEqual
7.7.2 Mac Apps
Updated 19 MB

 DCommander
3.10.0 Mac Apps
10 MB
DCommander
3.10.0 Mac Apps
10 MB

 Disk Drill
6.3.2326 Mac Apps
46 MB
Disk Drill
6.3.2326 Mac Apps
46 MB
 dBpoweramp Music Converter
2026.09.13 Mac Apps
31 MB
dBpoweramp Music Converter
2026.09.13 Mac Apps
31 MB

 Disk Xray
5.6.3 Mac Apps
Updated 3 MB
Disk Xray
5.6.3 Mac Apps
Updated 3 MB
 DaVinci Resolve Studio
21.1.1 Mac Apps
Updated 7.9 GB
DaVinci Resolve Studio
21.1.1 Mac Apps
Updated 7.9 GB