
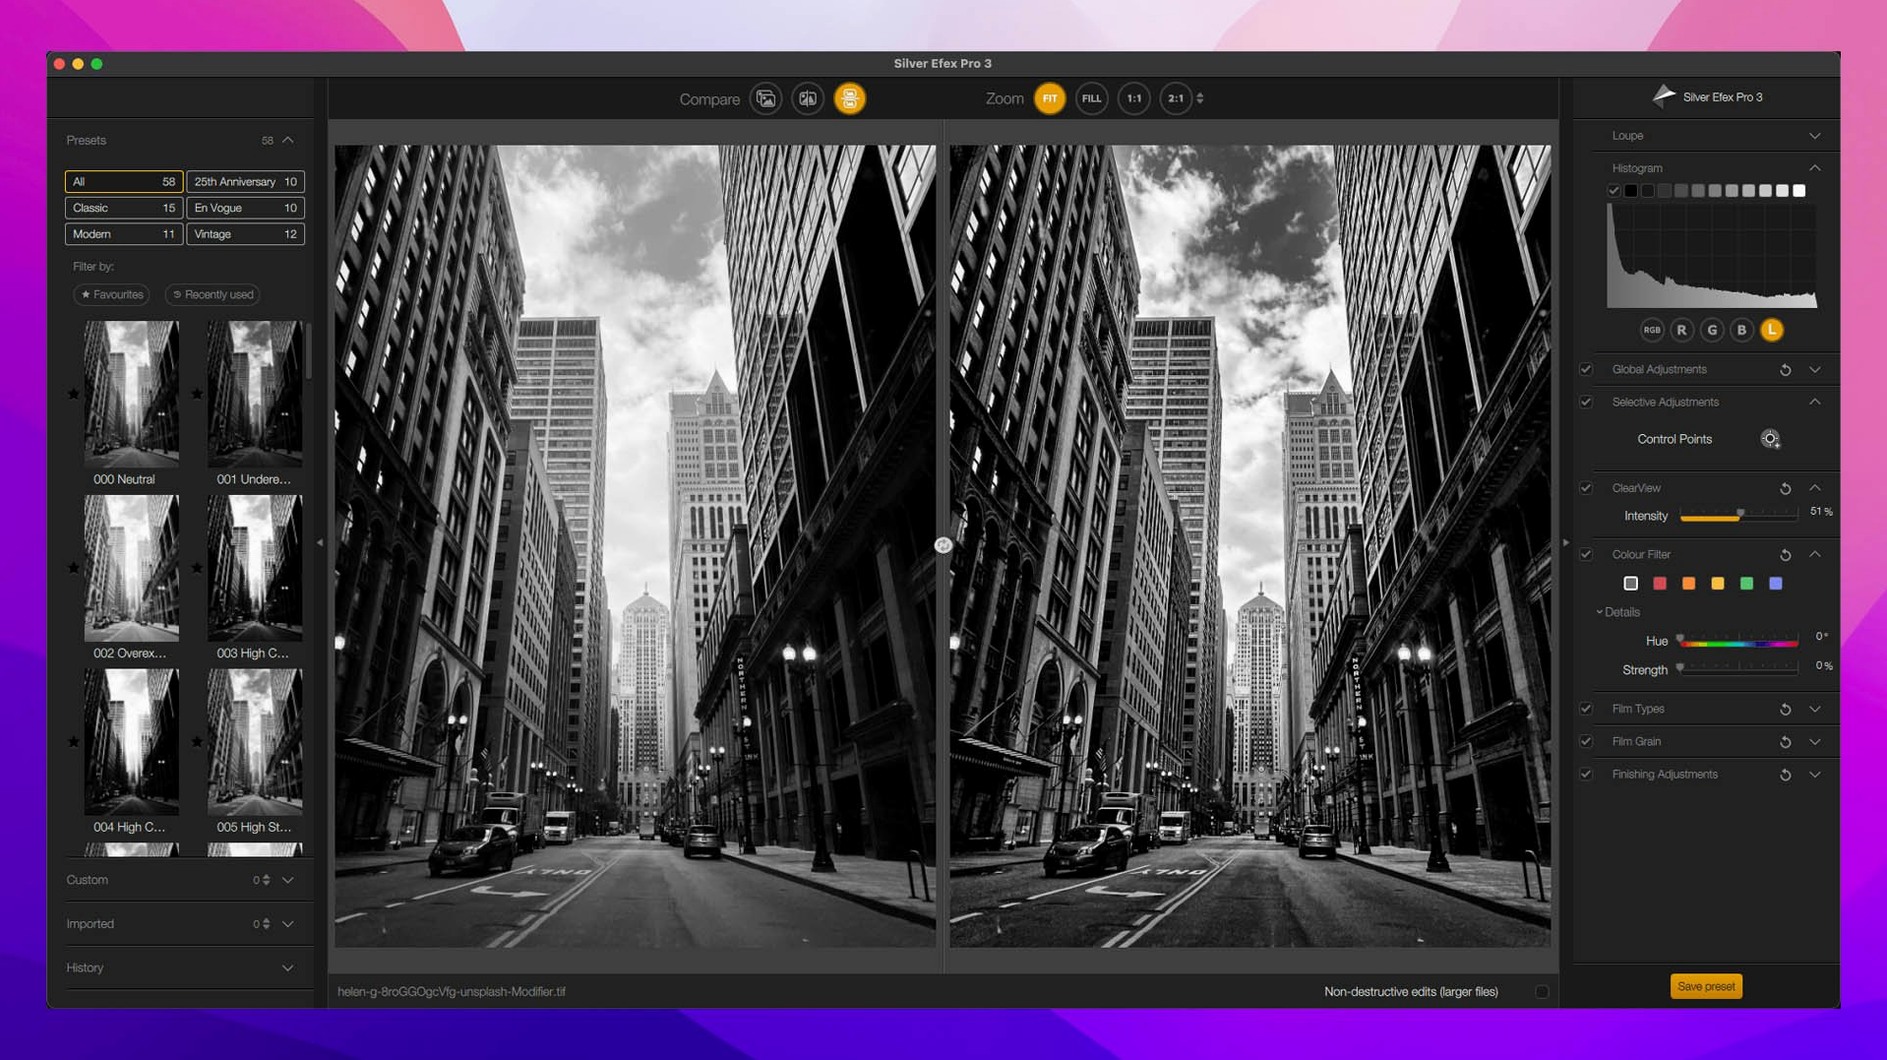
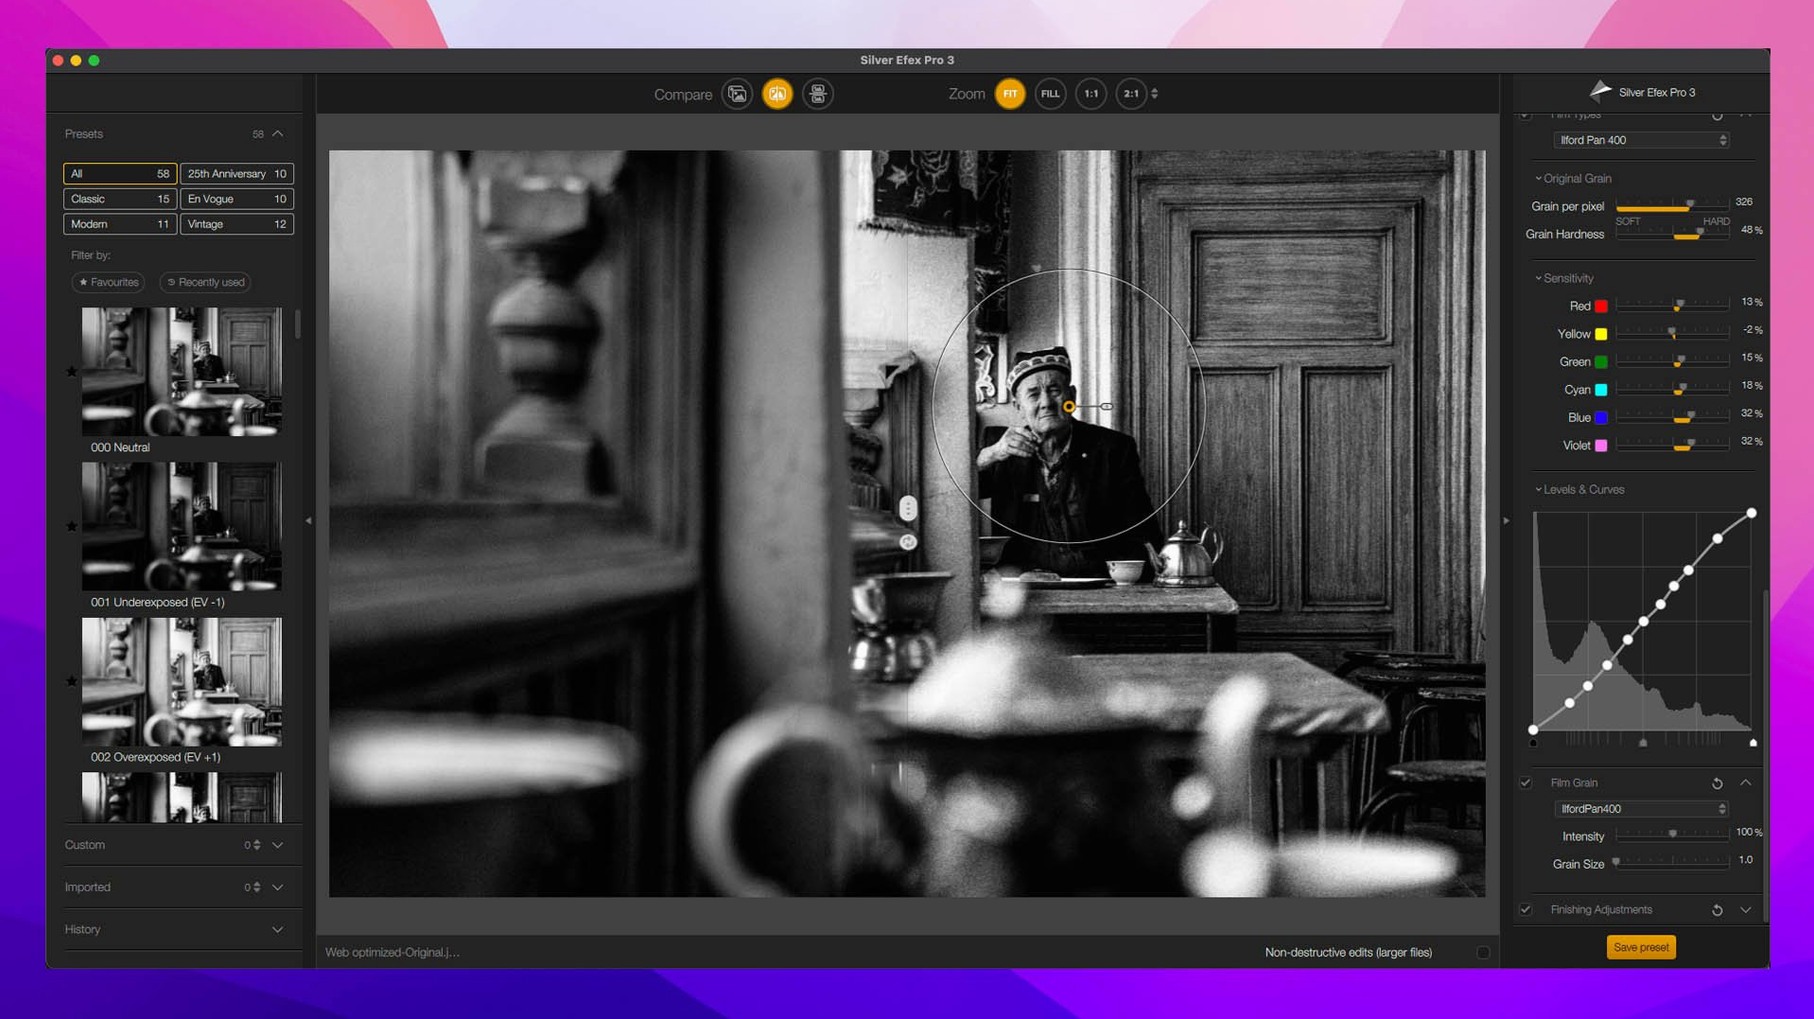
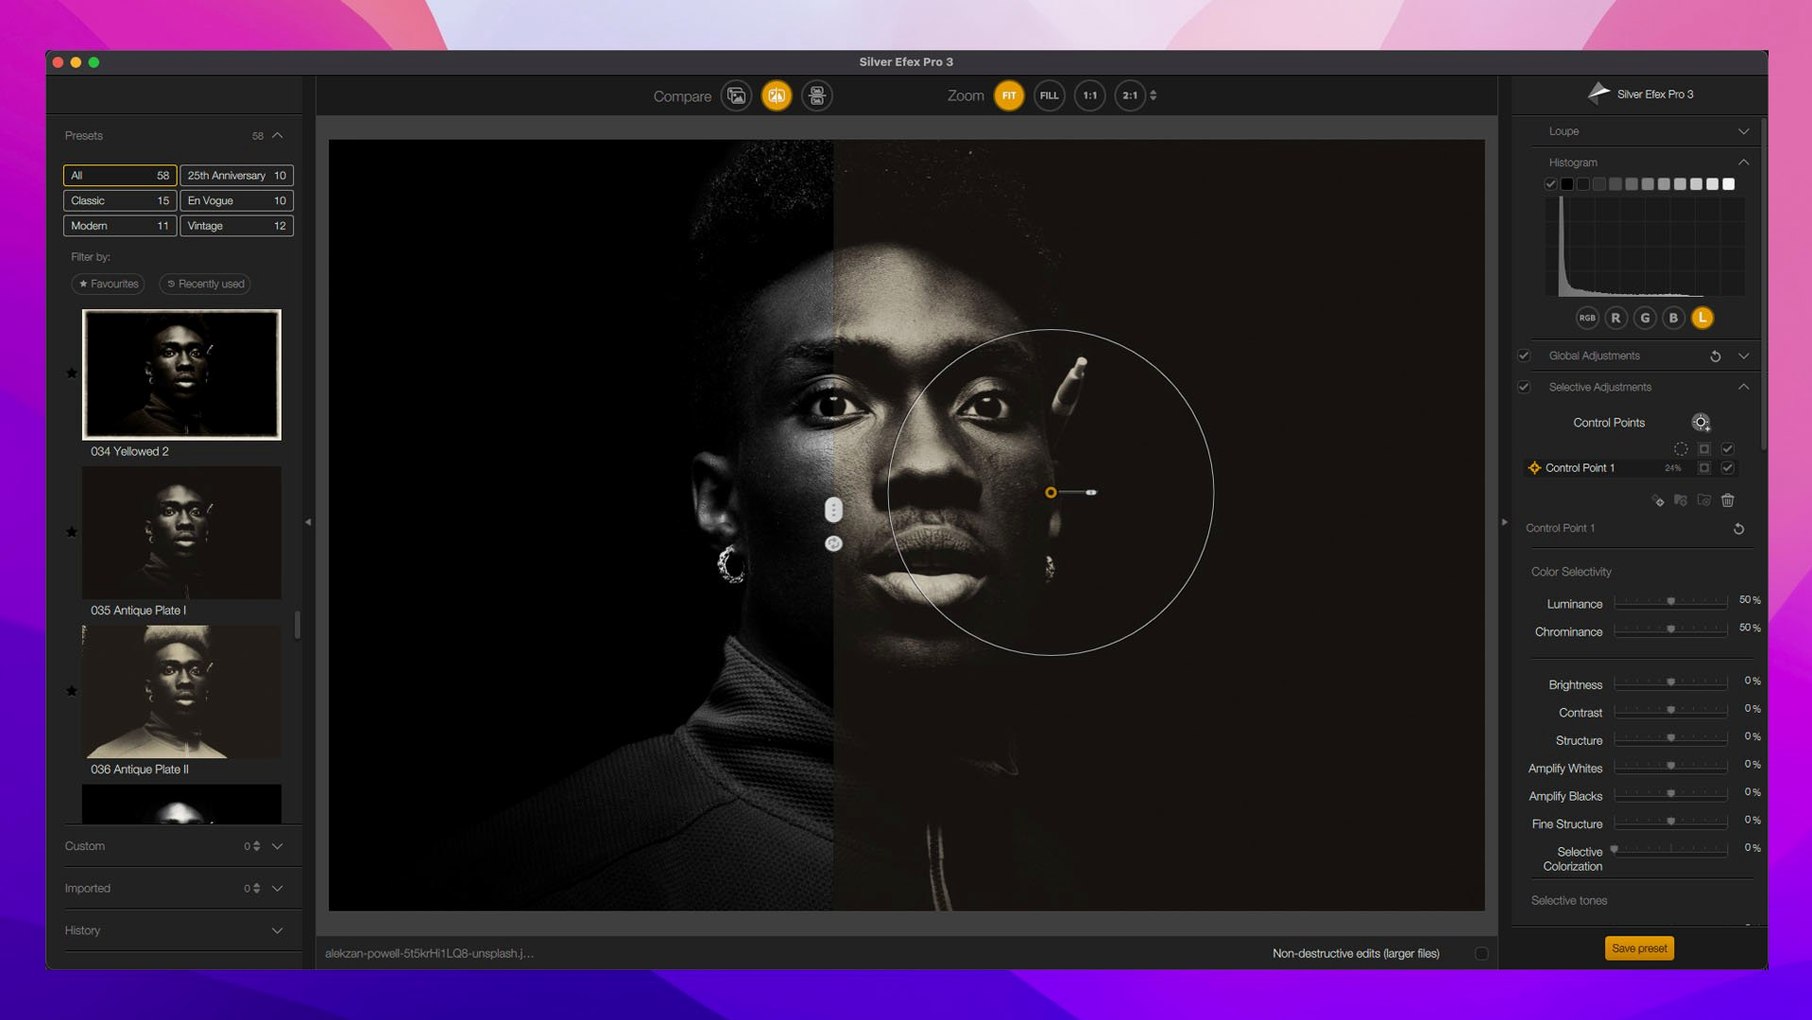
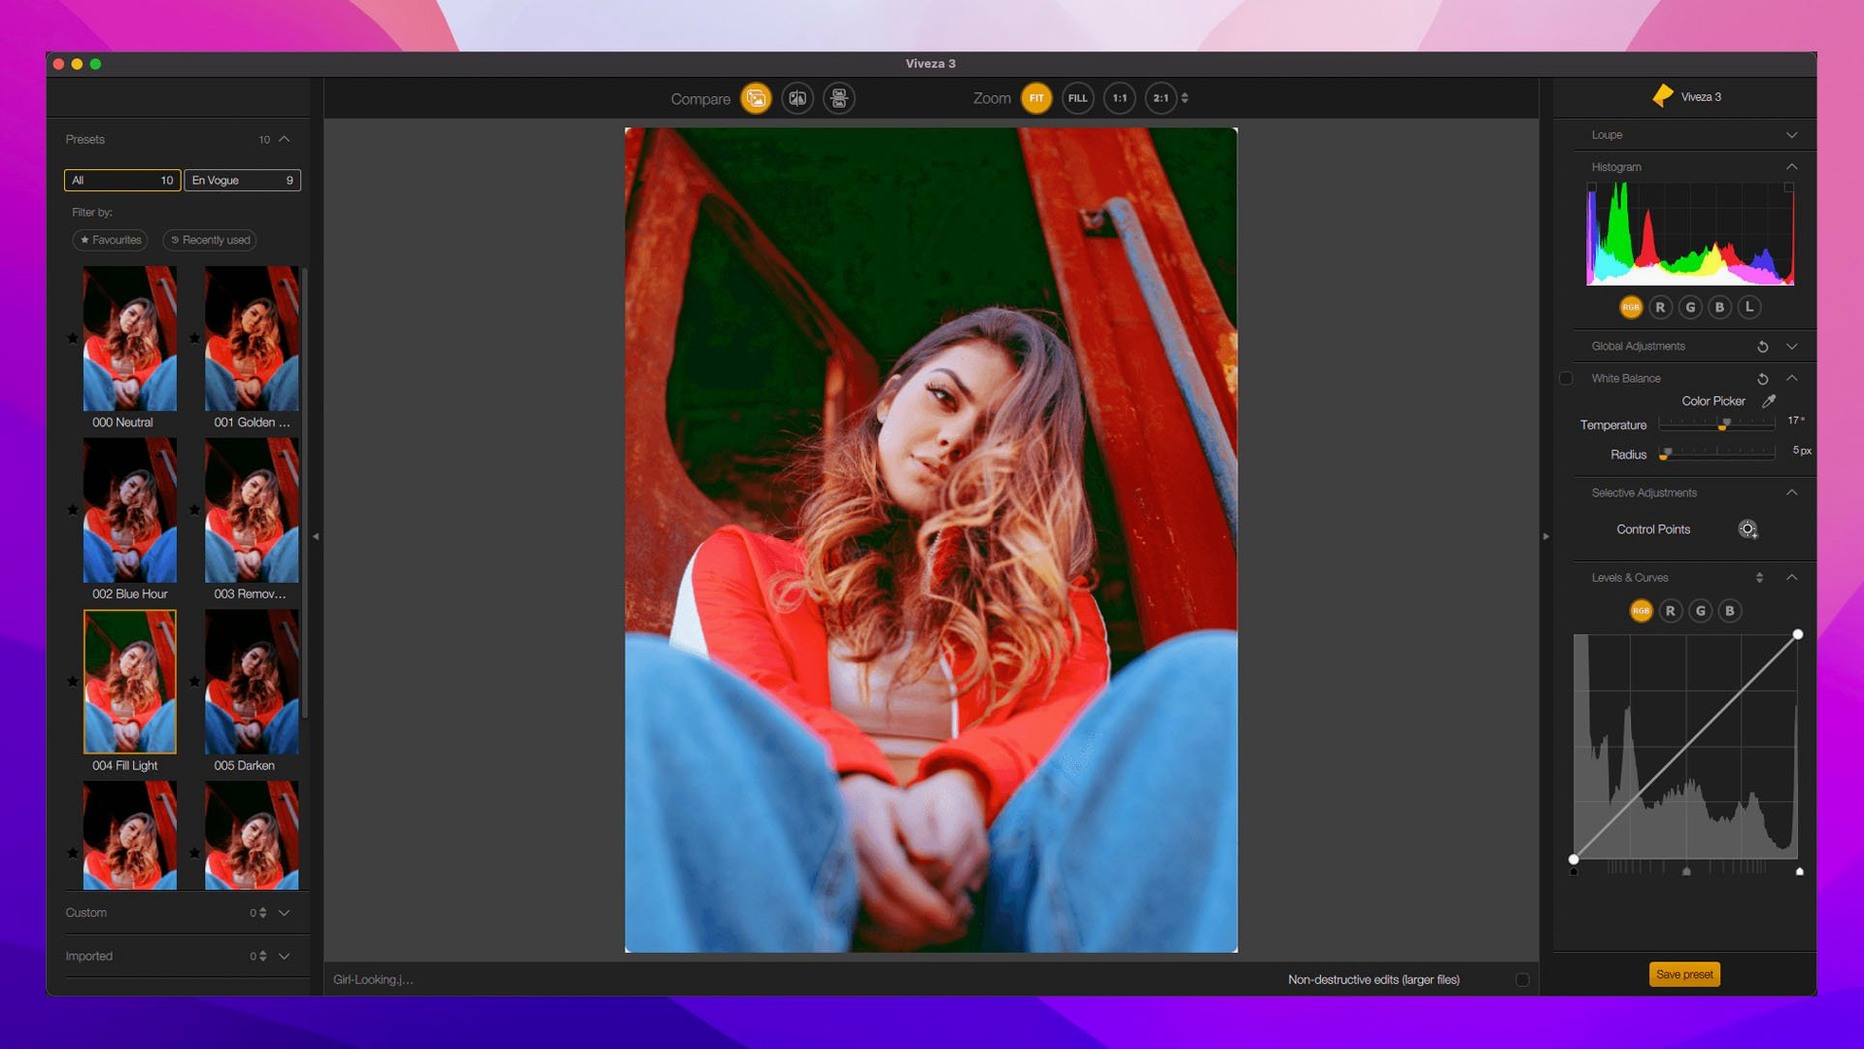
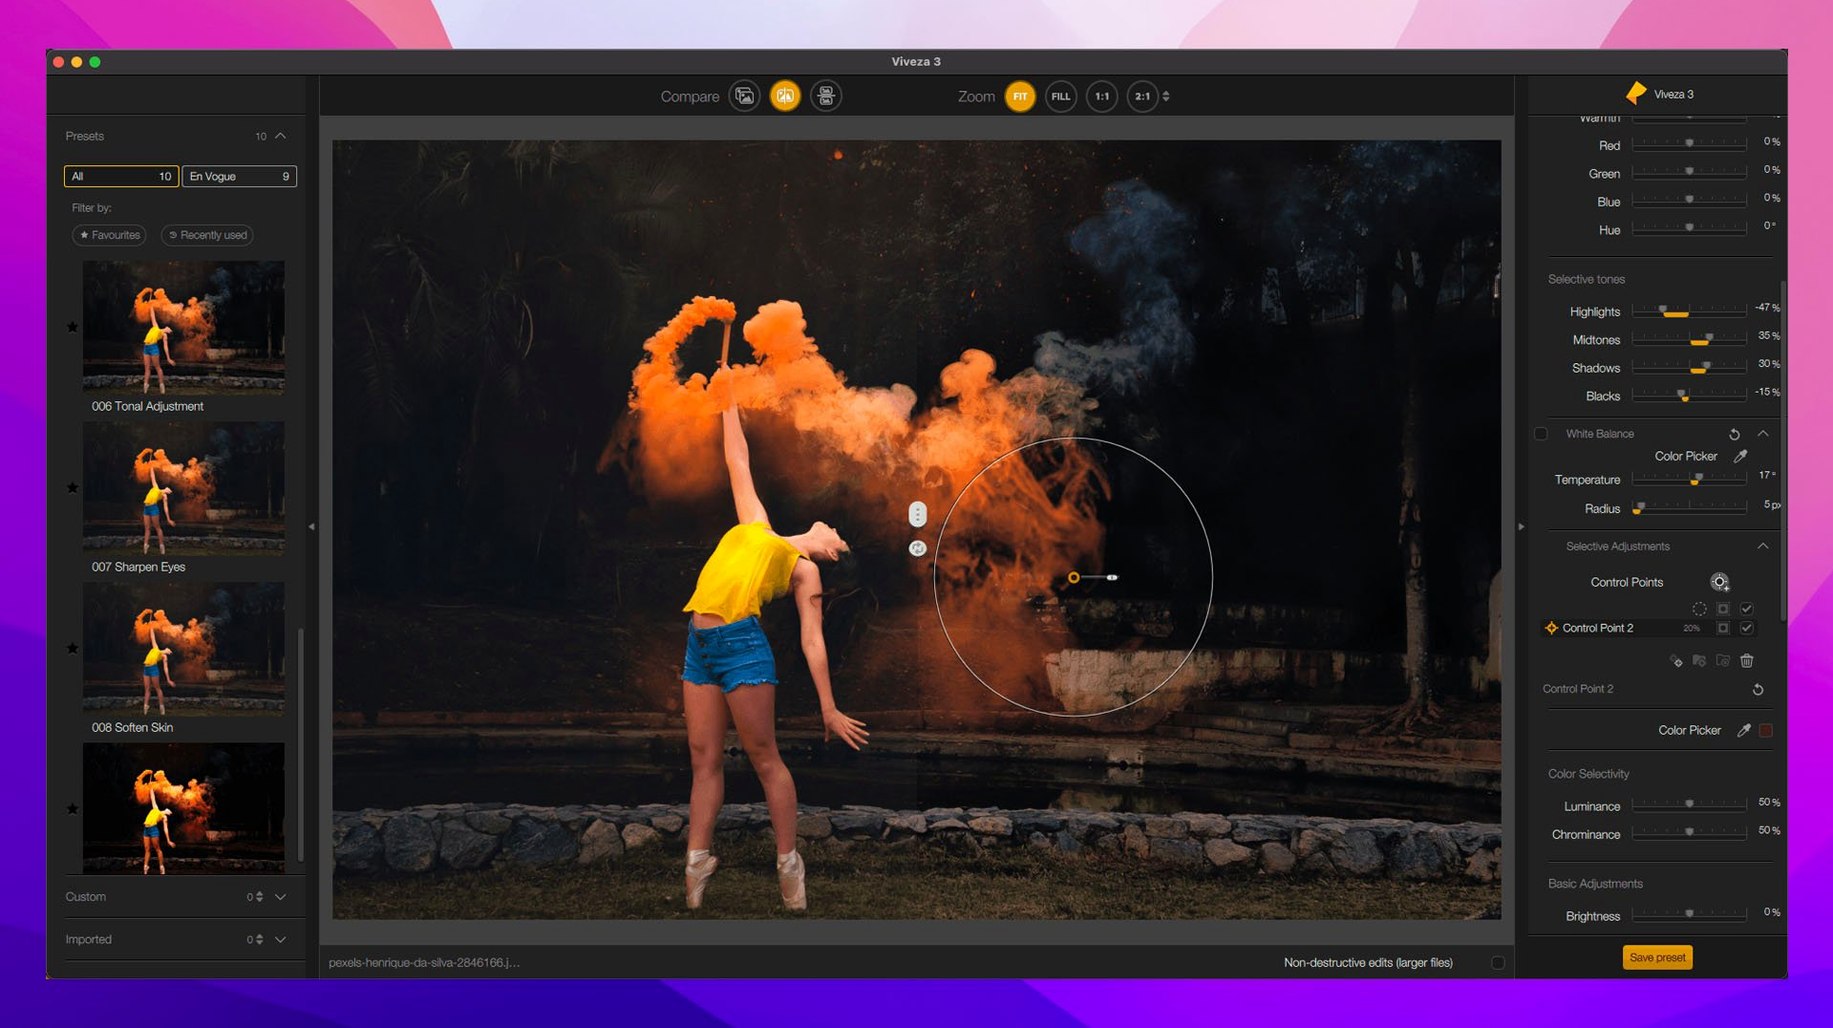
Nik Collection is a set of plugins that connects Adobe Photoshop and Lightroom to dedicated tools for sharpening, black-and-white conversion, and analog-era effects. You open an image from the host app, and the plugin draws its own window around the photo—a workspace built around one job, not a catch-all editor.
How the controls shape the look
Each module in the suite handles its task through a different kind of touch. Viveza relies on control points: drop one onto a sky or a face, and you can lift exposure or shift color in that area without painting a mask. It feels like guiding light with your fingers. Sharpener Pro works with a two-stage structure—capture sharpening first, then output sharpening tied to paper stock and viewing distance—and it keeps the math inside a 16‑bit pipeline so gradients stay smooth. Silver Efex Pro leans on presets that mimic the curve of specific films and papers, while its split preview lets you slide a divider across the frame to weigh the before and after of a selenium or sepia treatment.
New controls and a broader palette
Version 9 introduces a Color Grading tool inside Color Efex, where you can nudge the hue of shadows, midtones, and highlights along a color wheel rather than stacking multiple filters. Chromatic Shift, Glass Effect, and Halation join Analog Efex Pro’s toolbox—more than 80 tools now live inside that module alone—so you can add the kind of fringe glow or edge distortion that recalls a vintage lens. Mask Overlays appear across the suite, showing you exactly where an adjustment lands, which helps when a control point or a graduated filter needs a small nudge. The plugins also speak to Affinity and DxO PhotoLab, so you are not locked to Adobe’s ecosystem if you prefer another host.
A typical session with Nik Collection 9 starts the way most editing afternoons do: you’ve already done the raw conversion and cleaned up sensor spots. Now the image feels flat, or maybe the color is close but not quite the mood you saw on location. You right-click the layer in Photoshop and send it to Color Efex Pro. The plugin window fills the screen, and the recipe panel on the left already shows you a thumbnail grid of possibilities—Pro Contrast, Detail Extractor, the new Color Grading wheel. You start stacking. A little Tonal Contrast to give the midtones some bite. Then you open the Color Grading tool and push the shadows toward a cool teal while keeping the skin tones warmed up just enough in the highlights. The Mask Overlay toggle is right there; flip it on and the masked area glows red, so you see exactly where the last adjustment is landing. You drop a control point on the subject’s cheek to pull that area back toward neutral, and the red overlay shrinks around the point like a heatmap contracting. One click sends the finished stack back to Photoshop as a new layer, which you can dial down with opacity if the effect came on a little strong.
When the shot is destined for a gallery print, the next stop is usually Sharpener Pro. You zoom to 100% and the preview window locks onto the eye or the texture of a sweater. The raw pre-sharpening stage uses a Detail slider that never feels like it’s carving halos into edges—the 16‑bit pipeline keeps the transitions clean. The output sharpening tab asks what paper you’ll use and how far away people will stand, which sounds fussy until you see the preview shift from soft to crisp in a way that matches the actual print. It’s one of those tools that rewards the ten extra seconds it asks for.
Point your host to the missing plugins folder
The most common hiccup is a plugin not showing up in the host application at all. This usually means the host needs to be told where the plugin files live. In Photoshop, check the Preferences under Plug‑Ins and make sure the Nik Collection folder is listed in the Additional Plug‑Ins Folder path. After adding it, restart Photoshop—the eight modules should appear under the Filter menu. For Lightroom, the path is slightly different: under Photo > Edit In, the plugins appear as external editors once Lightroom knows about them. If they’re greyed out, hop into Preferences > External Editing and point each module to its .app file inside the Nik Collection folder.
Another frustration crops up when the plugin window opens but the preview image looks jagged or pixelated. The suite defaults to a lower-resolution proxy to keep the controls snappy, but you can change that. Inside any plugin, look for the small gear icon or the display preferences and bump the preview quality to the highest setting your Mac can handle. On an Apple Silicon machine, the difference in rendering speed is hardly noticeable, so you rarely need to compromise.
The new AI Masks and Depth Masks sometimes grab too much or too little of the subject, especially when the background is busy. Instead of redrawing the mask from scratch, try the copy‑and‑paste local adjustments feature. Fine‑tune the mask on one image—adding to it, subtracting from it with a few quick brush strokes—then copy that local adjustment and paste it onto the next frame in a burst. The paste lands with the same control points and mask refinements intact, which saves repeating the same fiddly corrections across a dozen shots from the same shoot.
Photoshop and Lightroom regulars, right at home
Photographers who already live inside Photoshop or Lightroom for their main workflow tend to click with the suite fastest. They’re not looking for a separate raw processor—they want tools that pull a specific lever well, and that’s exactly how the collection is built. A wedding photographer who needs to drop a quick black‑and‑white conversion on three hundred reception shots will lean on Silver Efex Pro’s presets and the Preset Hover Preview, which shows the look just by hovering the cursor over a thumbnail, no clicking required. A fine‑art landscape shooter, on the other hand, might spend twenty minutes inside Color Efex Pro building a stack of five filters and then pasting the local adjustments across a panorama sequence.
Graphic designers who use Affinity instead of Adobe software also benefit from the version 9 integration. The plugins show up in Affinity Photo’s Filters menu under Plugins, and the experience is nearly identical—same full‑screen workspace, same control point logic. It makes the suite a practical choice for someone who left the Adobe subscription behind but still wants the analog‑era toolset. Even hobbyists who just enjoy the craft of making a digital photo feel like a print from the 1970s will find themselves reaching for Analog Efex Pro regularly. The Glass Effect and Halation additions give that module a tactile, almost unpredictable quality that rewards playing around rather than following a recipe.
Nik Collection 9 brings fresh color and masking tools to the suite:
- New Color Grading tool inside Nik Color Efex for shadow, midtone, and highlight adjustments.
- Chromatic Shift, Glass Effect, and Halation added to Analog Efex Pro.
- Depth Masks and AI Masks introduced for more precise local edits.
- Mask Overlays help you see exactly where adjustments are applied.
- macOS 13.3 or later
- Intel or Apple Silicon Mac
Questions I actually get
Which host apps does Nik Collection work with on a Mac?
The plugins integrate with Adobe Photoshop, Lightroom, Affinity Photo, and DxO PhotoLab.
What is the point of control points in Viveza?
Control points let you adjust color and light in a localized area based on the tones and hues under the point, without manual masking.
Does Silver Efex Pro let me compare edits to the original?
Yes, it includes a before-and-after split preview that you can drag across the image to check your black-and-white conversion against the source.
Porch talk 0
Come in or pull up a chair to leave a comment.
Nobody has pulled up a chair yet. If you used it on a real Saturday, say what the hour was.